


Introducing SwiftLint
EnvironmentInstall SwiftLint to make your project code clean and unified. This will be essential to maintain the quality of your code.
About SwiftLint
SwiftLint is a static analysis tool for adding Swift styles and conventions. The conventions are based on the GitHub Swift Style Guide.
realm/SwiftLint: A tool to enforce Swift style and conventions.
Install with Mint
In this article, I will show you how to install SwiftLint using Mint. For other methods, please check README.md.
Mint is package manager that installs and runs Swift command line tool packages.
Installing Mint
// Install Mint
$ brew install mint
// Check Version
$ mint version-
Installing
Create a
Mintfilein the root of your project.cd ProjectName touch Mintfile. ├─ ProjectName.xcodeproj ├─ ProjectName └─ MintfileWrite the following in your
Mintfile.realm/SwiftLint@0.44.0Do a
mint bootstrapwhere theMintfileis located.mint bootstrapVerify that it is installed with
mint list.mint list -
Add a Run Script
Open your project in Xcode, open
TARGETS>BuidPhases, and selectNew Run Script Phasefrom the + button.(Fregure 1)
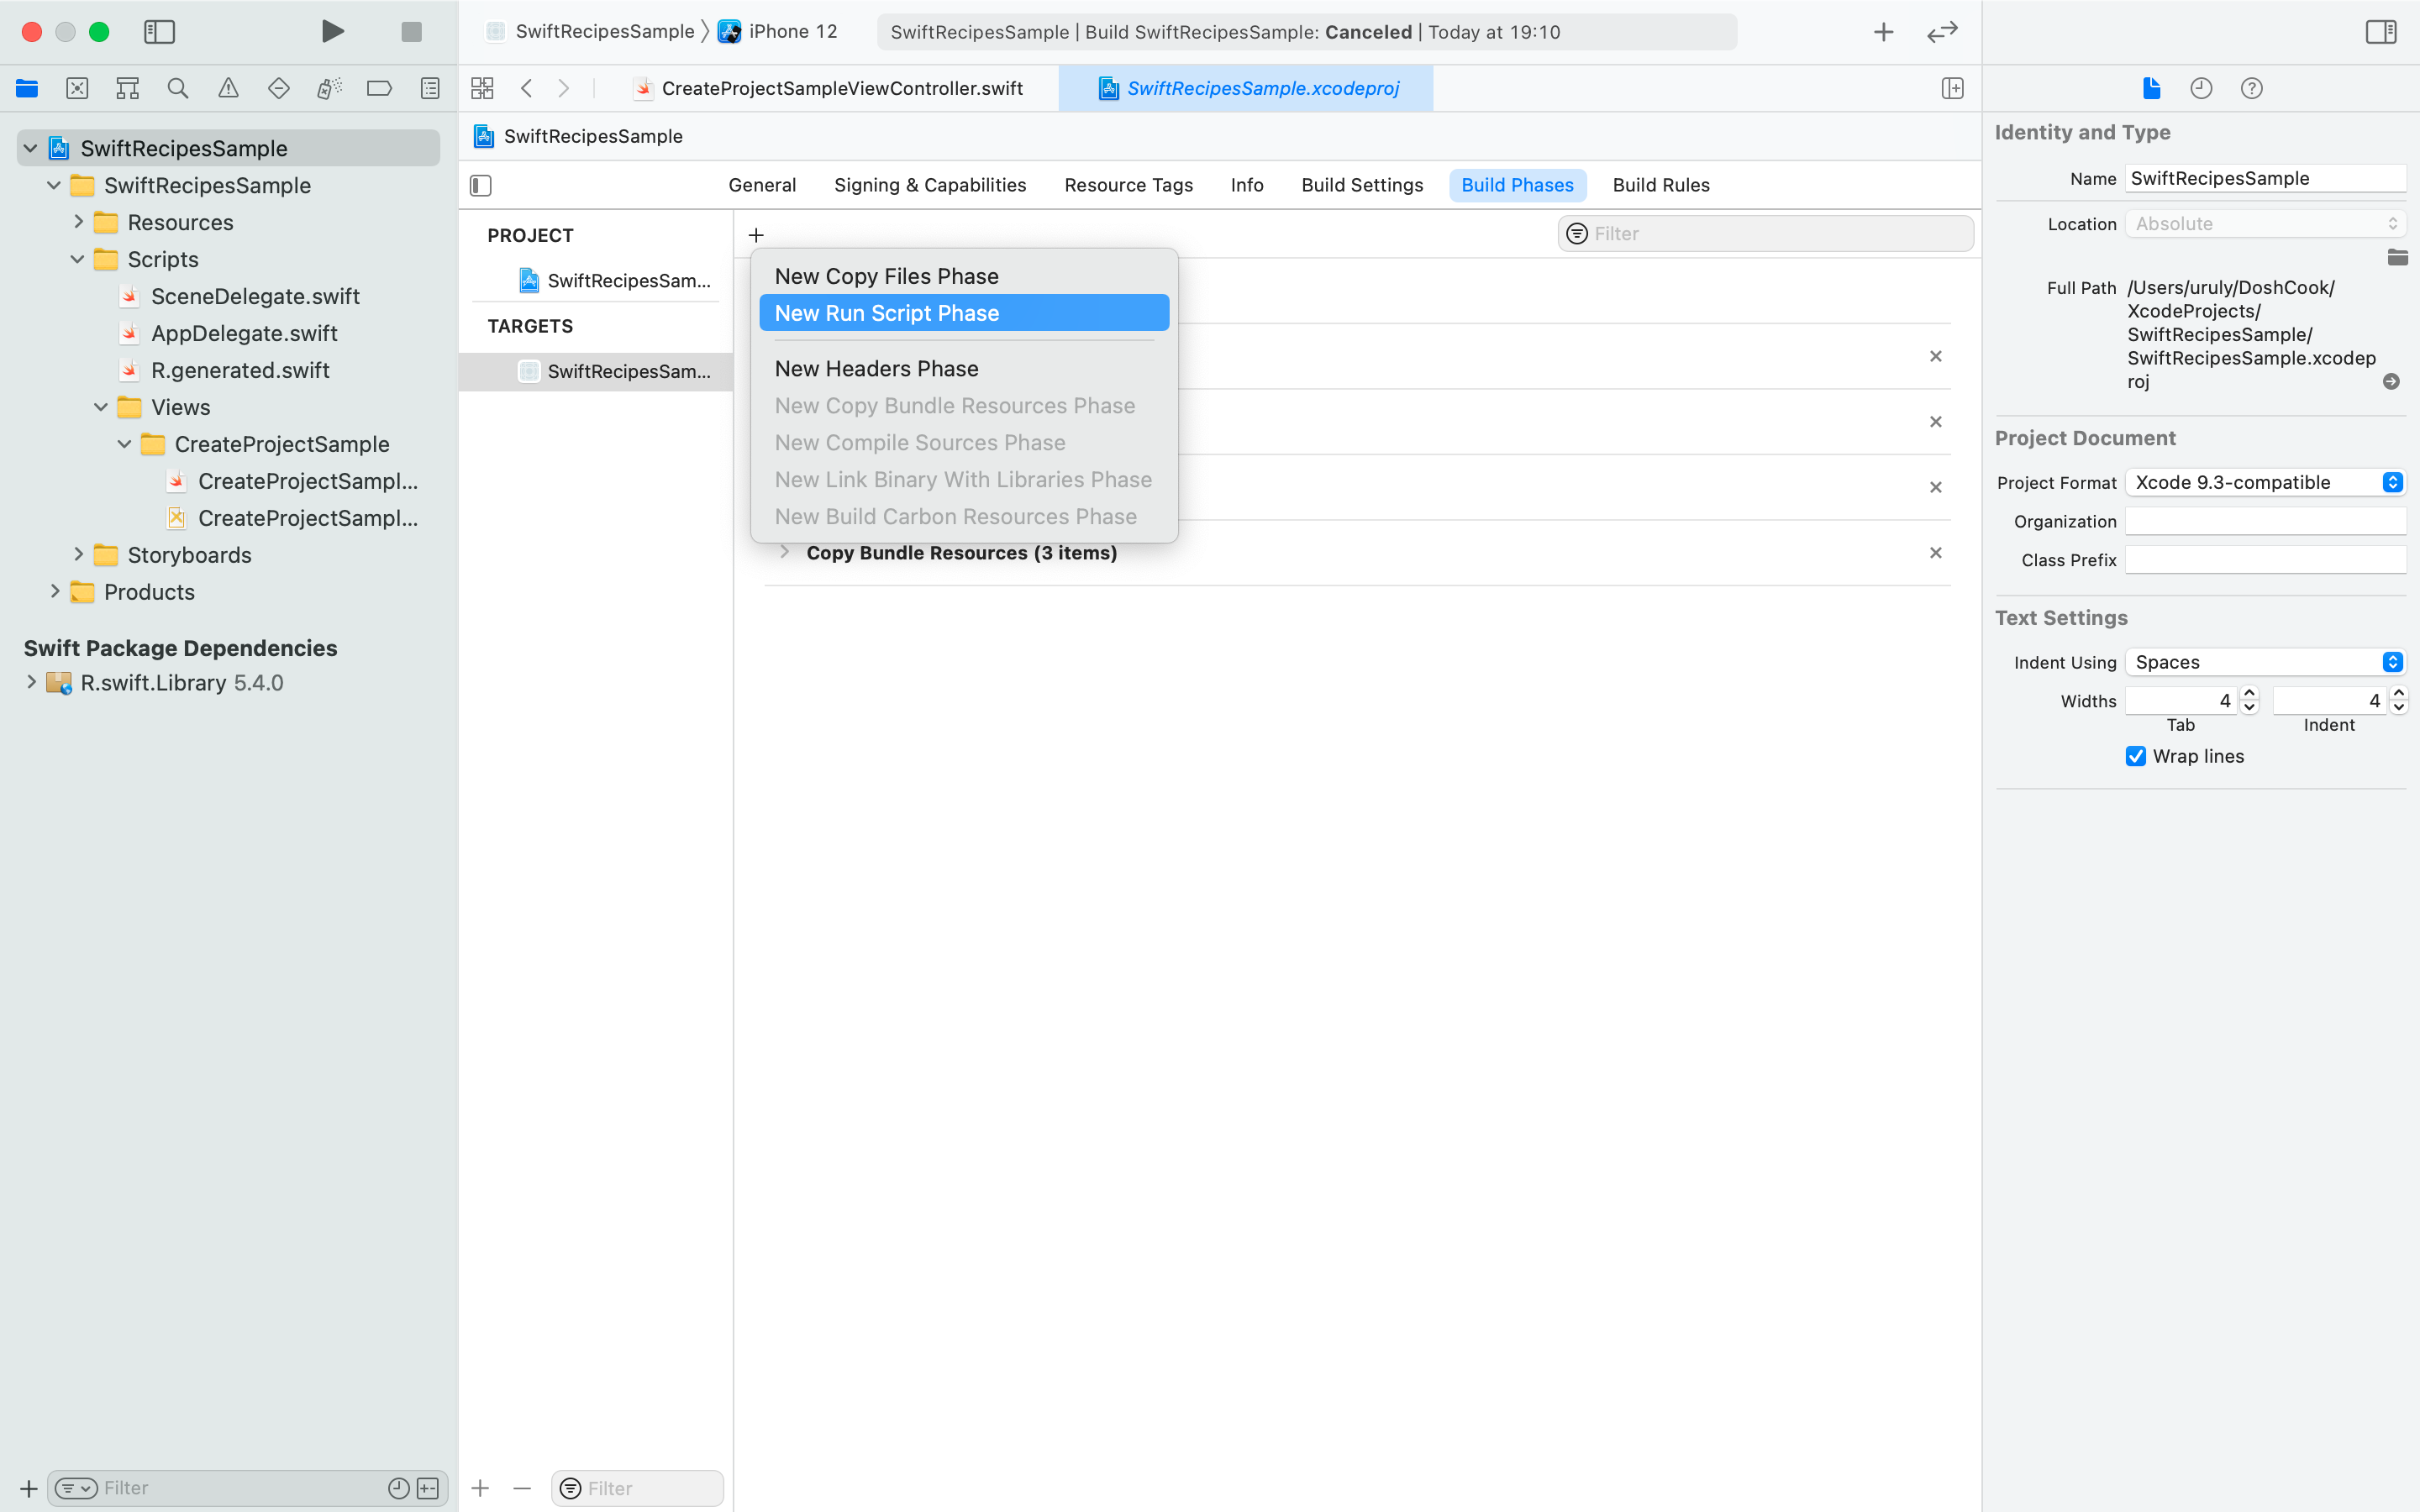
Figure 1Add the following Script.(Figure 2)
if which mint >/dev/null; then
mint run swiftlint swiftlint autocorrect --format
mint run swiftlint swiftlint
else
echo "warning: Mint not installed, download from https://github.com/yonaskolb/Mint"
fi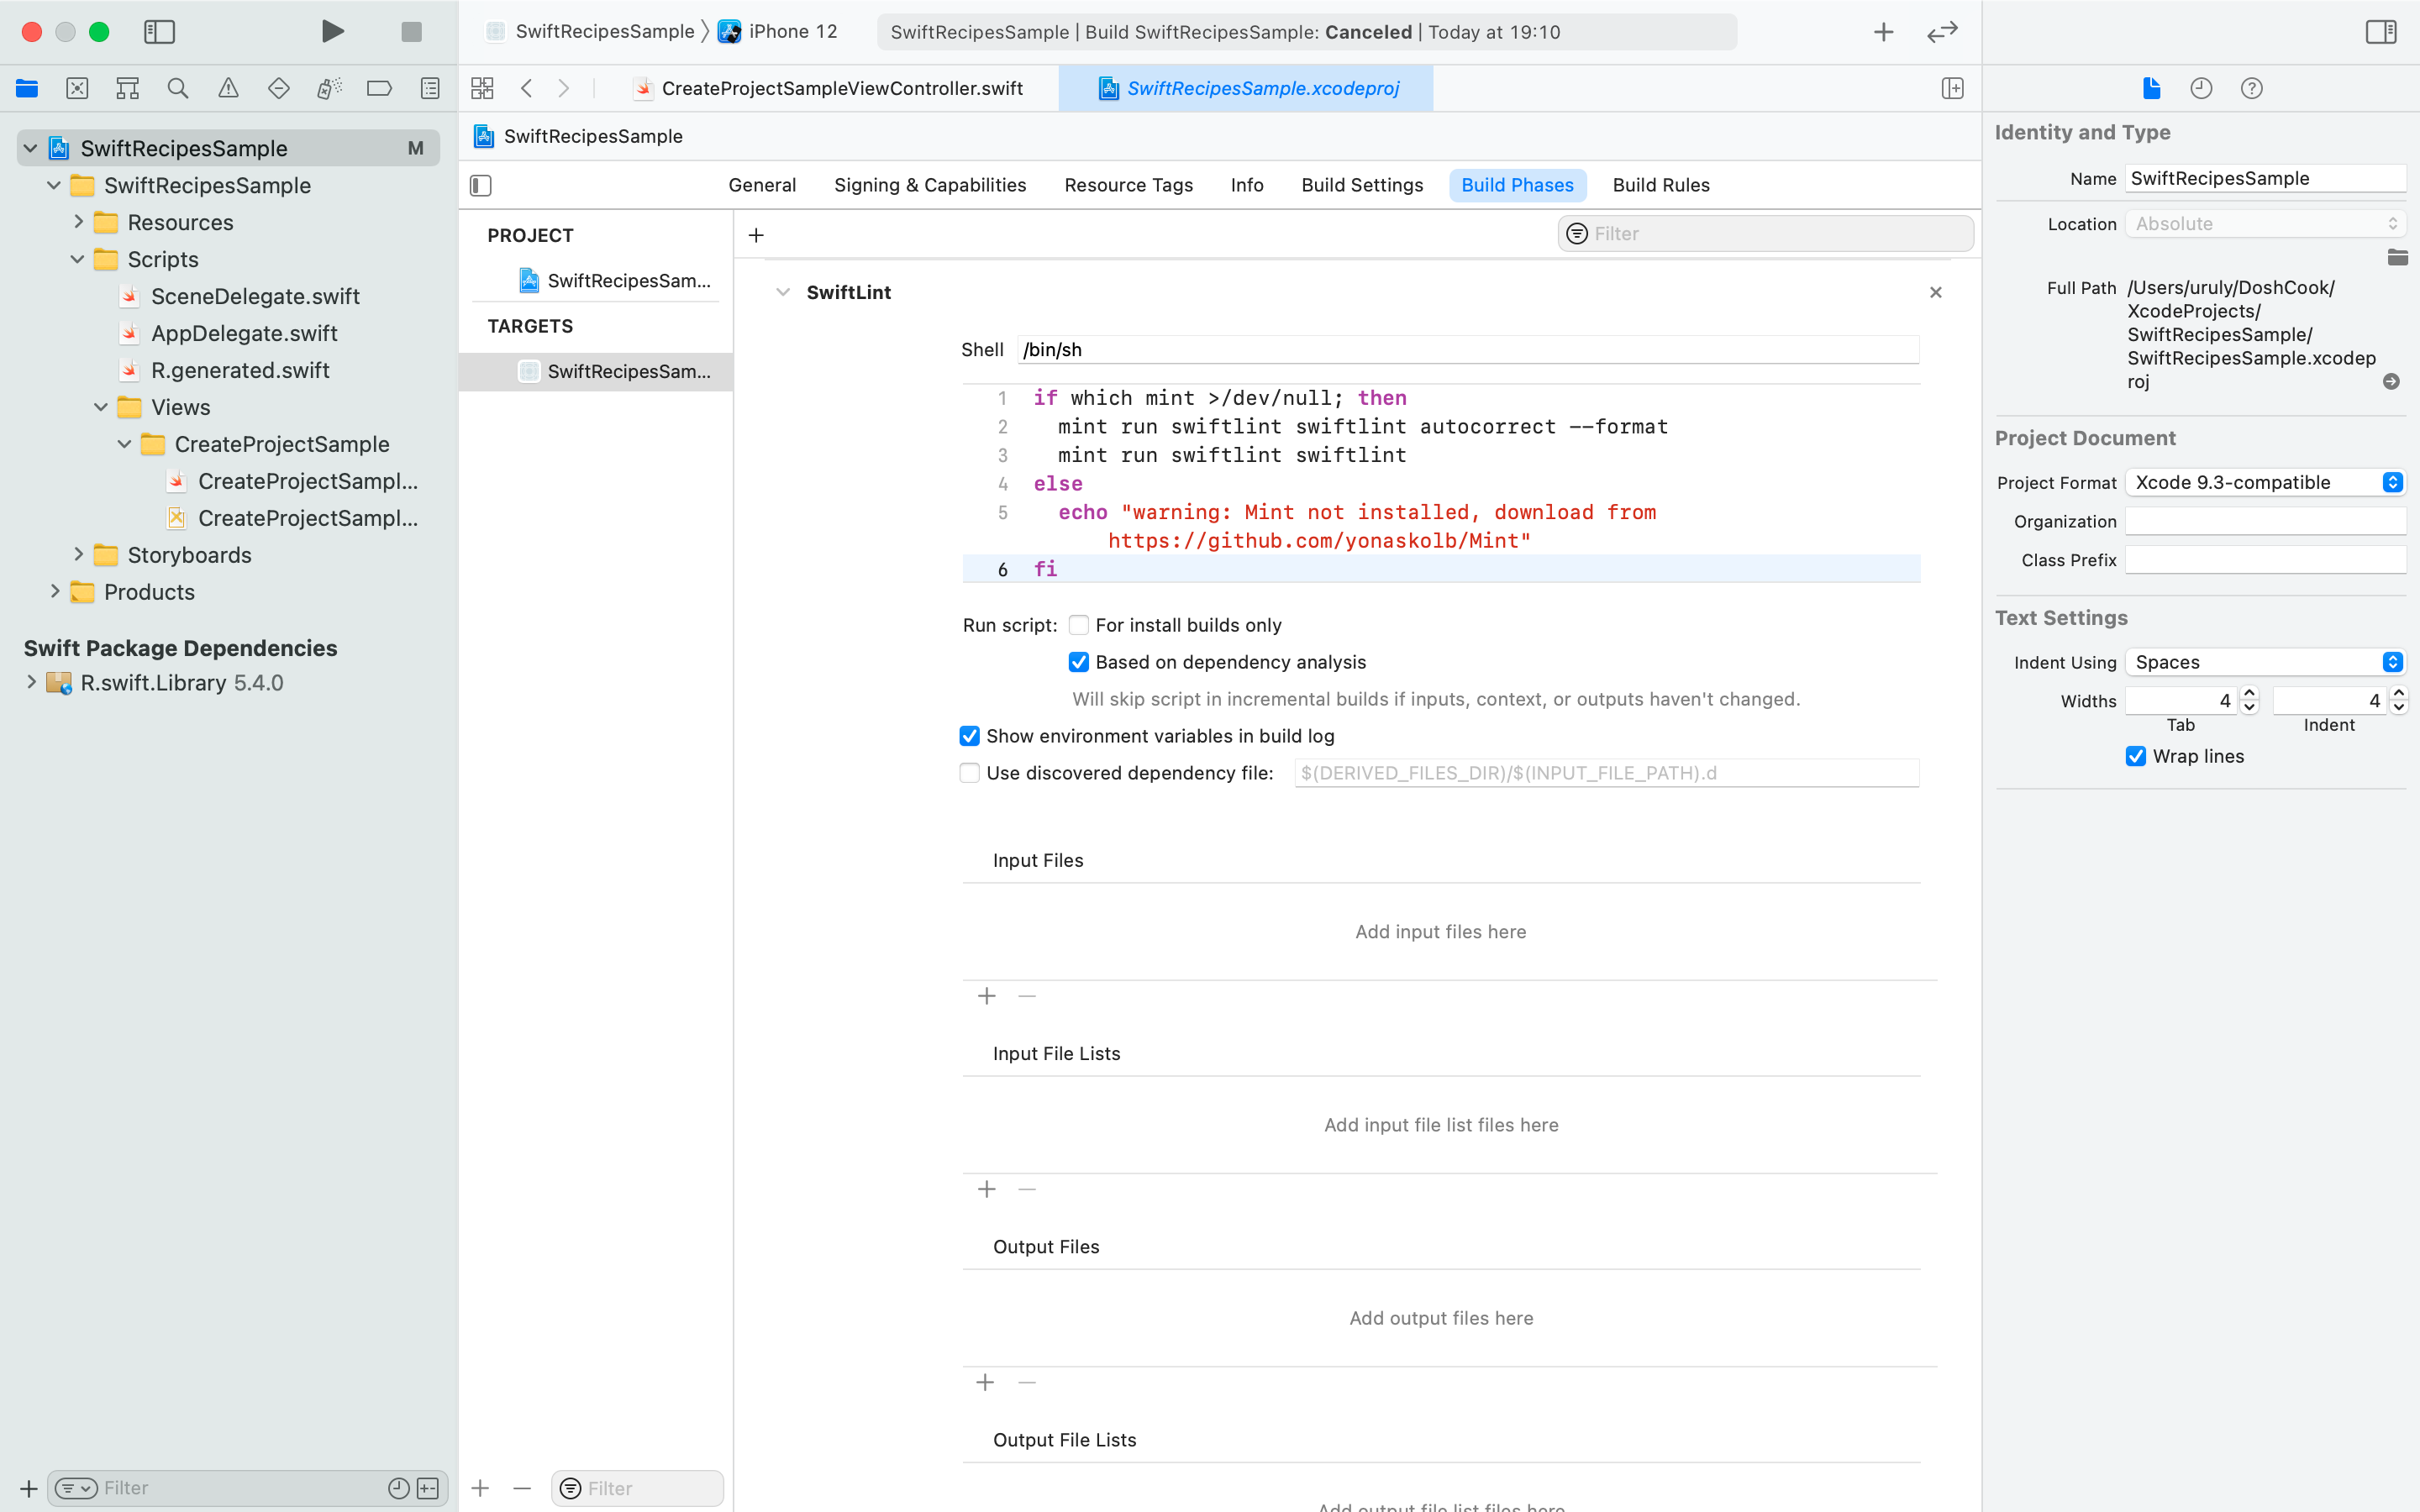
Figure 2 -
Add .swiftlint.yml
Create a
.swiftlint.ymlin the root of your project.. ├─ ProjectName.xcodeproj ├─ ProjectName ├─ Mintfile └─ .swiftlint.ymlIn this file, you can change or disable detailed rules.
included:
 - SwiftRecipesSample

excluded:
 - SwiftRecipesSample/Scripts/R.generated.swift
 - Carthage

line_length: 200
large_tuple: 5

file_length:
 warning: 500
 error: 1200

nesting:
 type_level:
  warning: 2

identifier_name:
 excluded:
  - id
  - URL
  - en
  - ja
cyclomatic_complexity: 20
In
included, describe the target.
excludeddescribes the files to be excluded. If you use it withR.swift, addR.generated.swifthere.For more rules, see SwiftLint's README.
-
Let's build.
If the
.swiftlint.ymlis not reflected, do a clean build (⌘+Shift+K) and build it again. If it still doesn't work, make sure that the yaml (Be careful of extra spaces, etc.)When checking if SwiftLint is working correctly, write a statement that violates the rule and build it to check it, as shown below. (Figure 3)
let i = 1
Figure 3
Disable rules in code
SwiftLint allows you to avoid errors by explicitly adding a comment in your code to disable the rule.
For example, the error in Figure 3 can be avoided as Figure 4.
let i = 1 // swiftlint:disable:this identifier_name
Figure 4
Conclusion
Of course, SwiftLint can be used on its own, but we recommend that you try building an environment with the following recipe.
SwiftLint has a lot more to offer. Please see GitHub for more information.