


Basics of component placement using XIB
UIKit BasicLet's place a UILabel on the XIB and display "Hello Wolrd!"
Introduction
Project creation is based on the following.
Create a project, Application development using XIB.
Sample
Here is a sample.👉DoshCook/SwiftRecipesSample
Placement in XIB
First, let's place the label on the XIB.
-
Open the .xib file of the screen you want to place and select the + button (Figure 1).
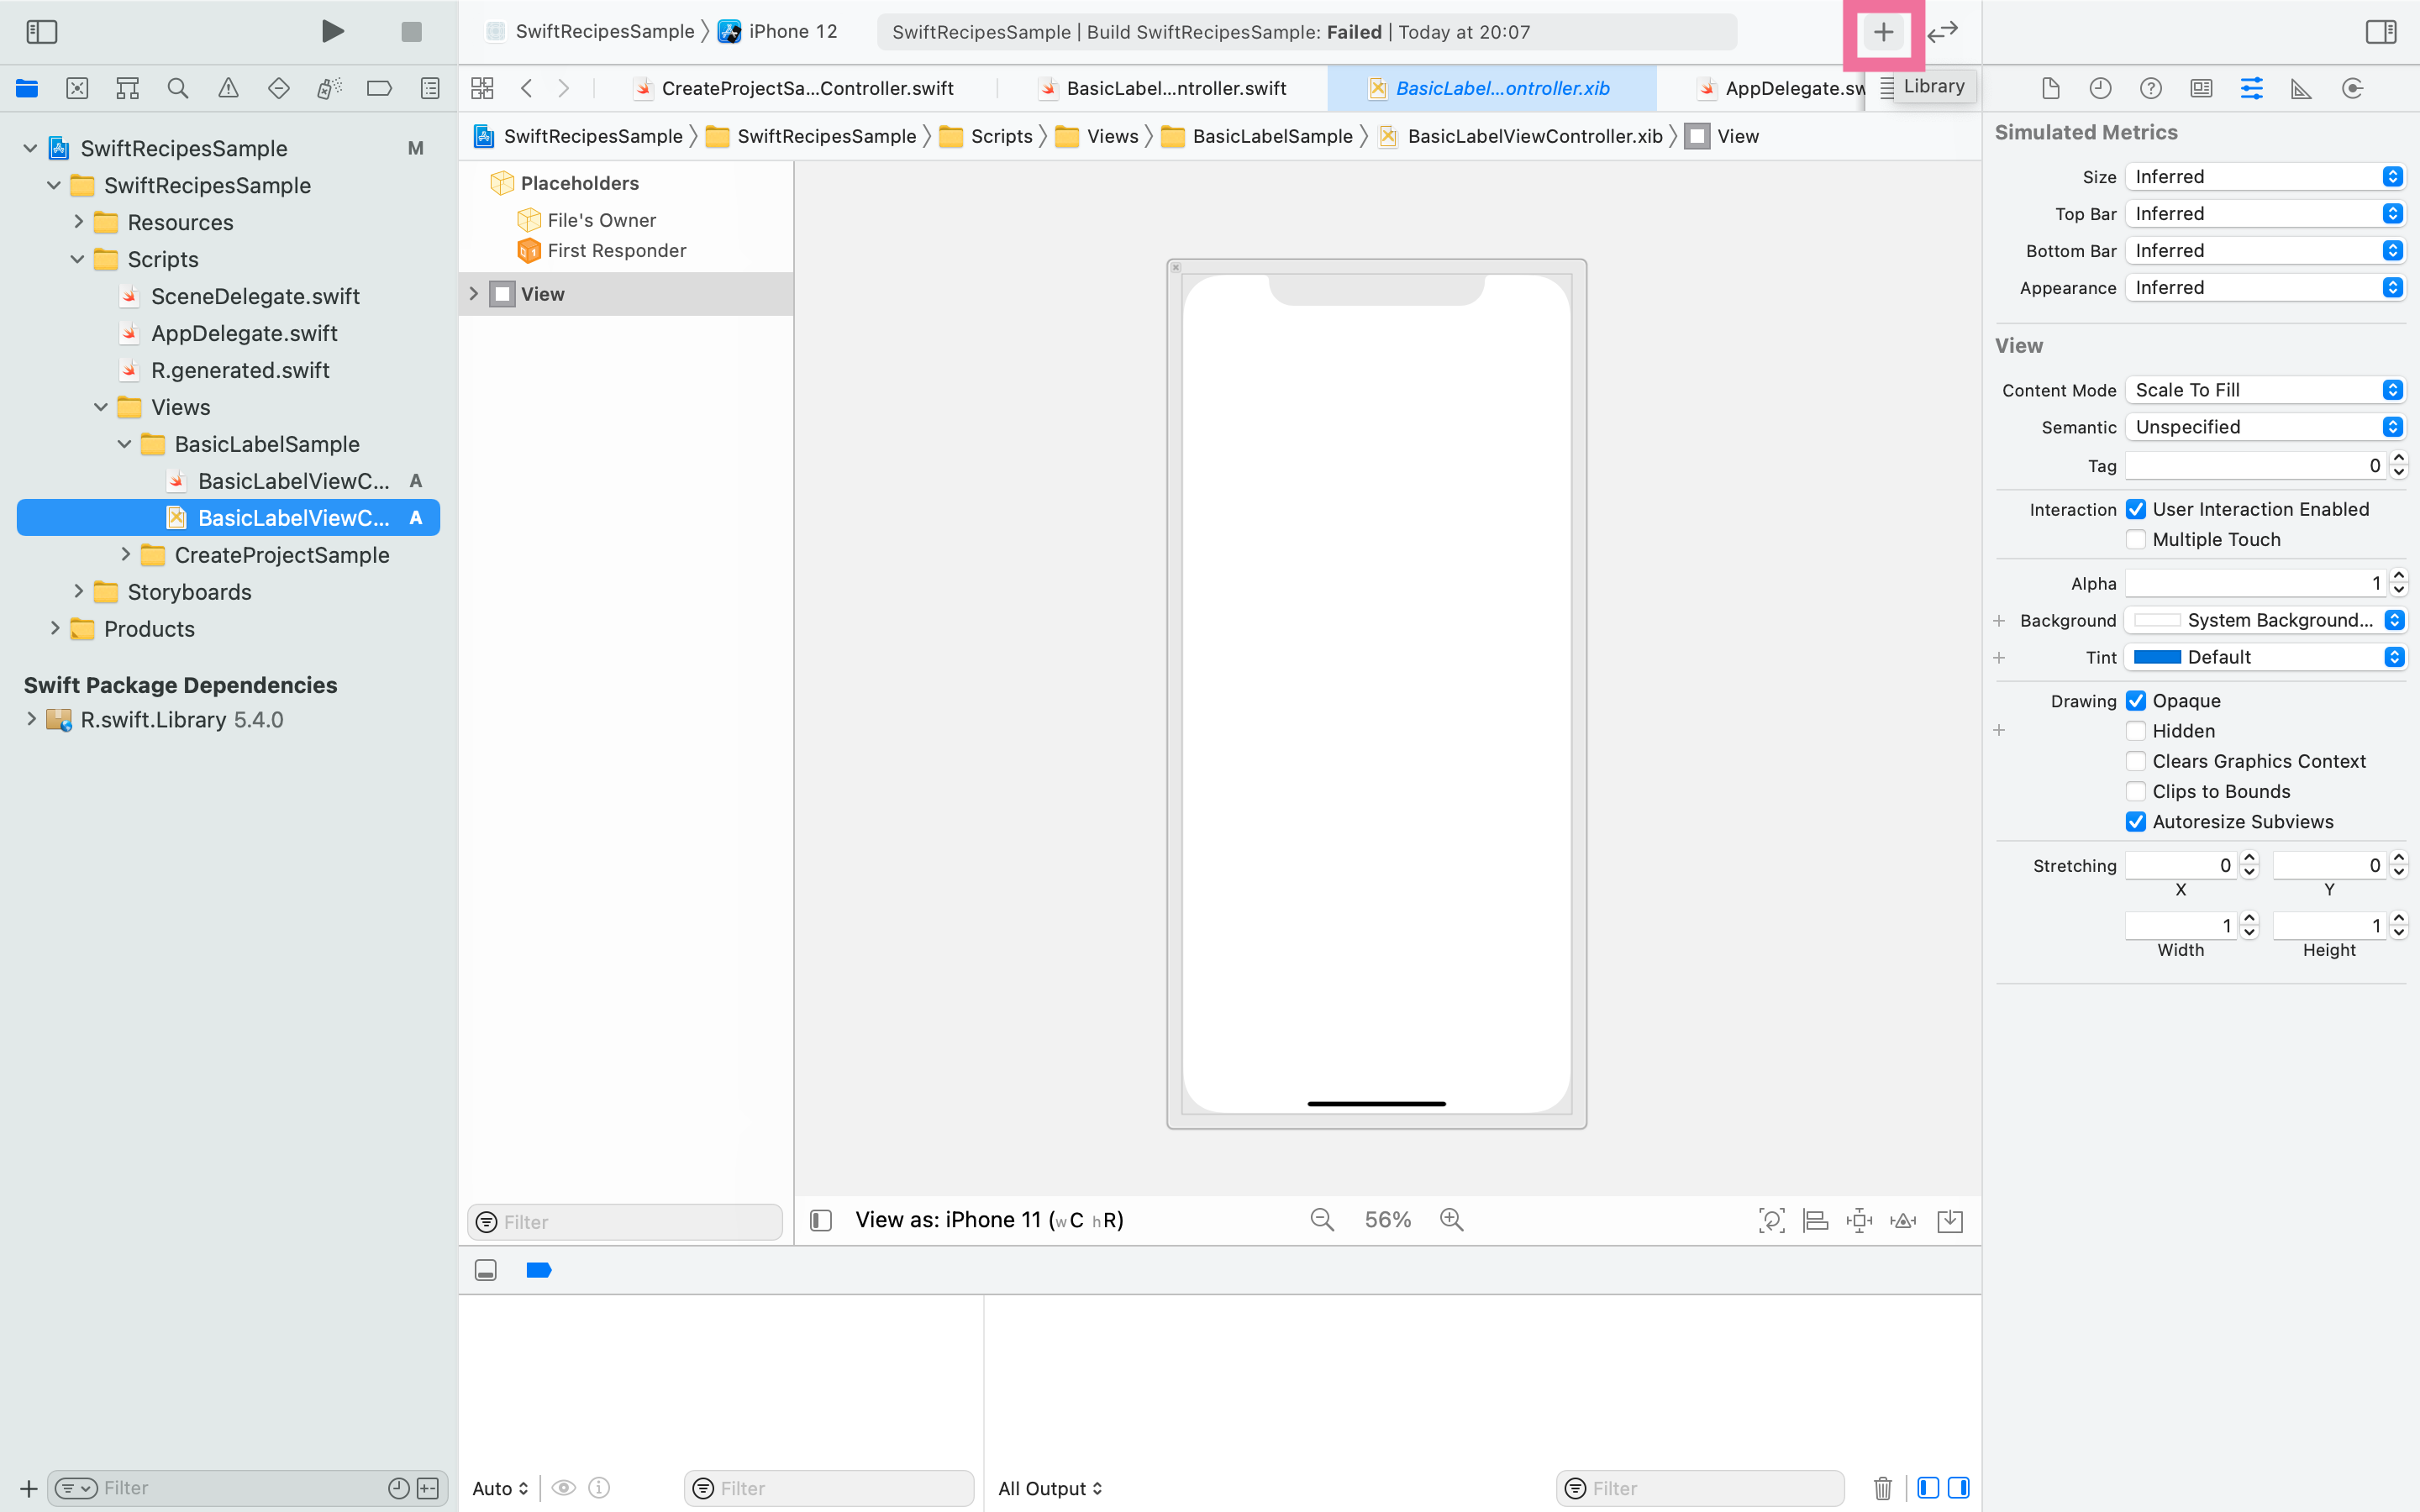
Figure 1 -
Select the UILabel and drag and drop it onto the screen. (Figure 2 -> Figure 3)
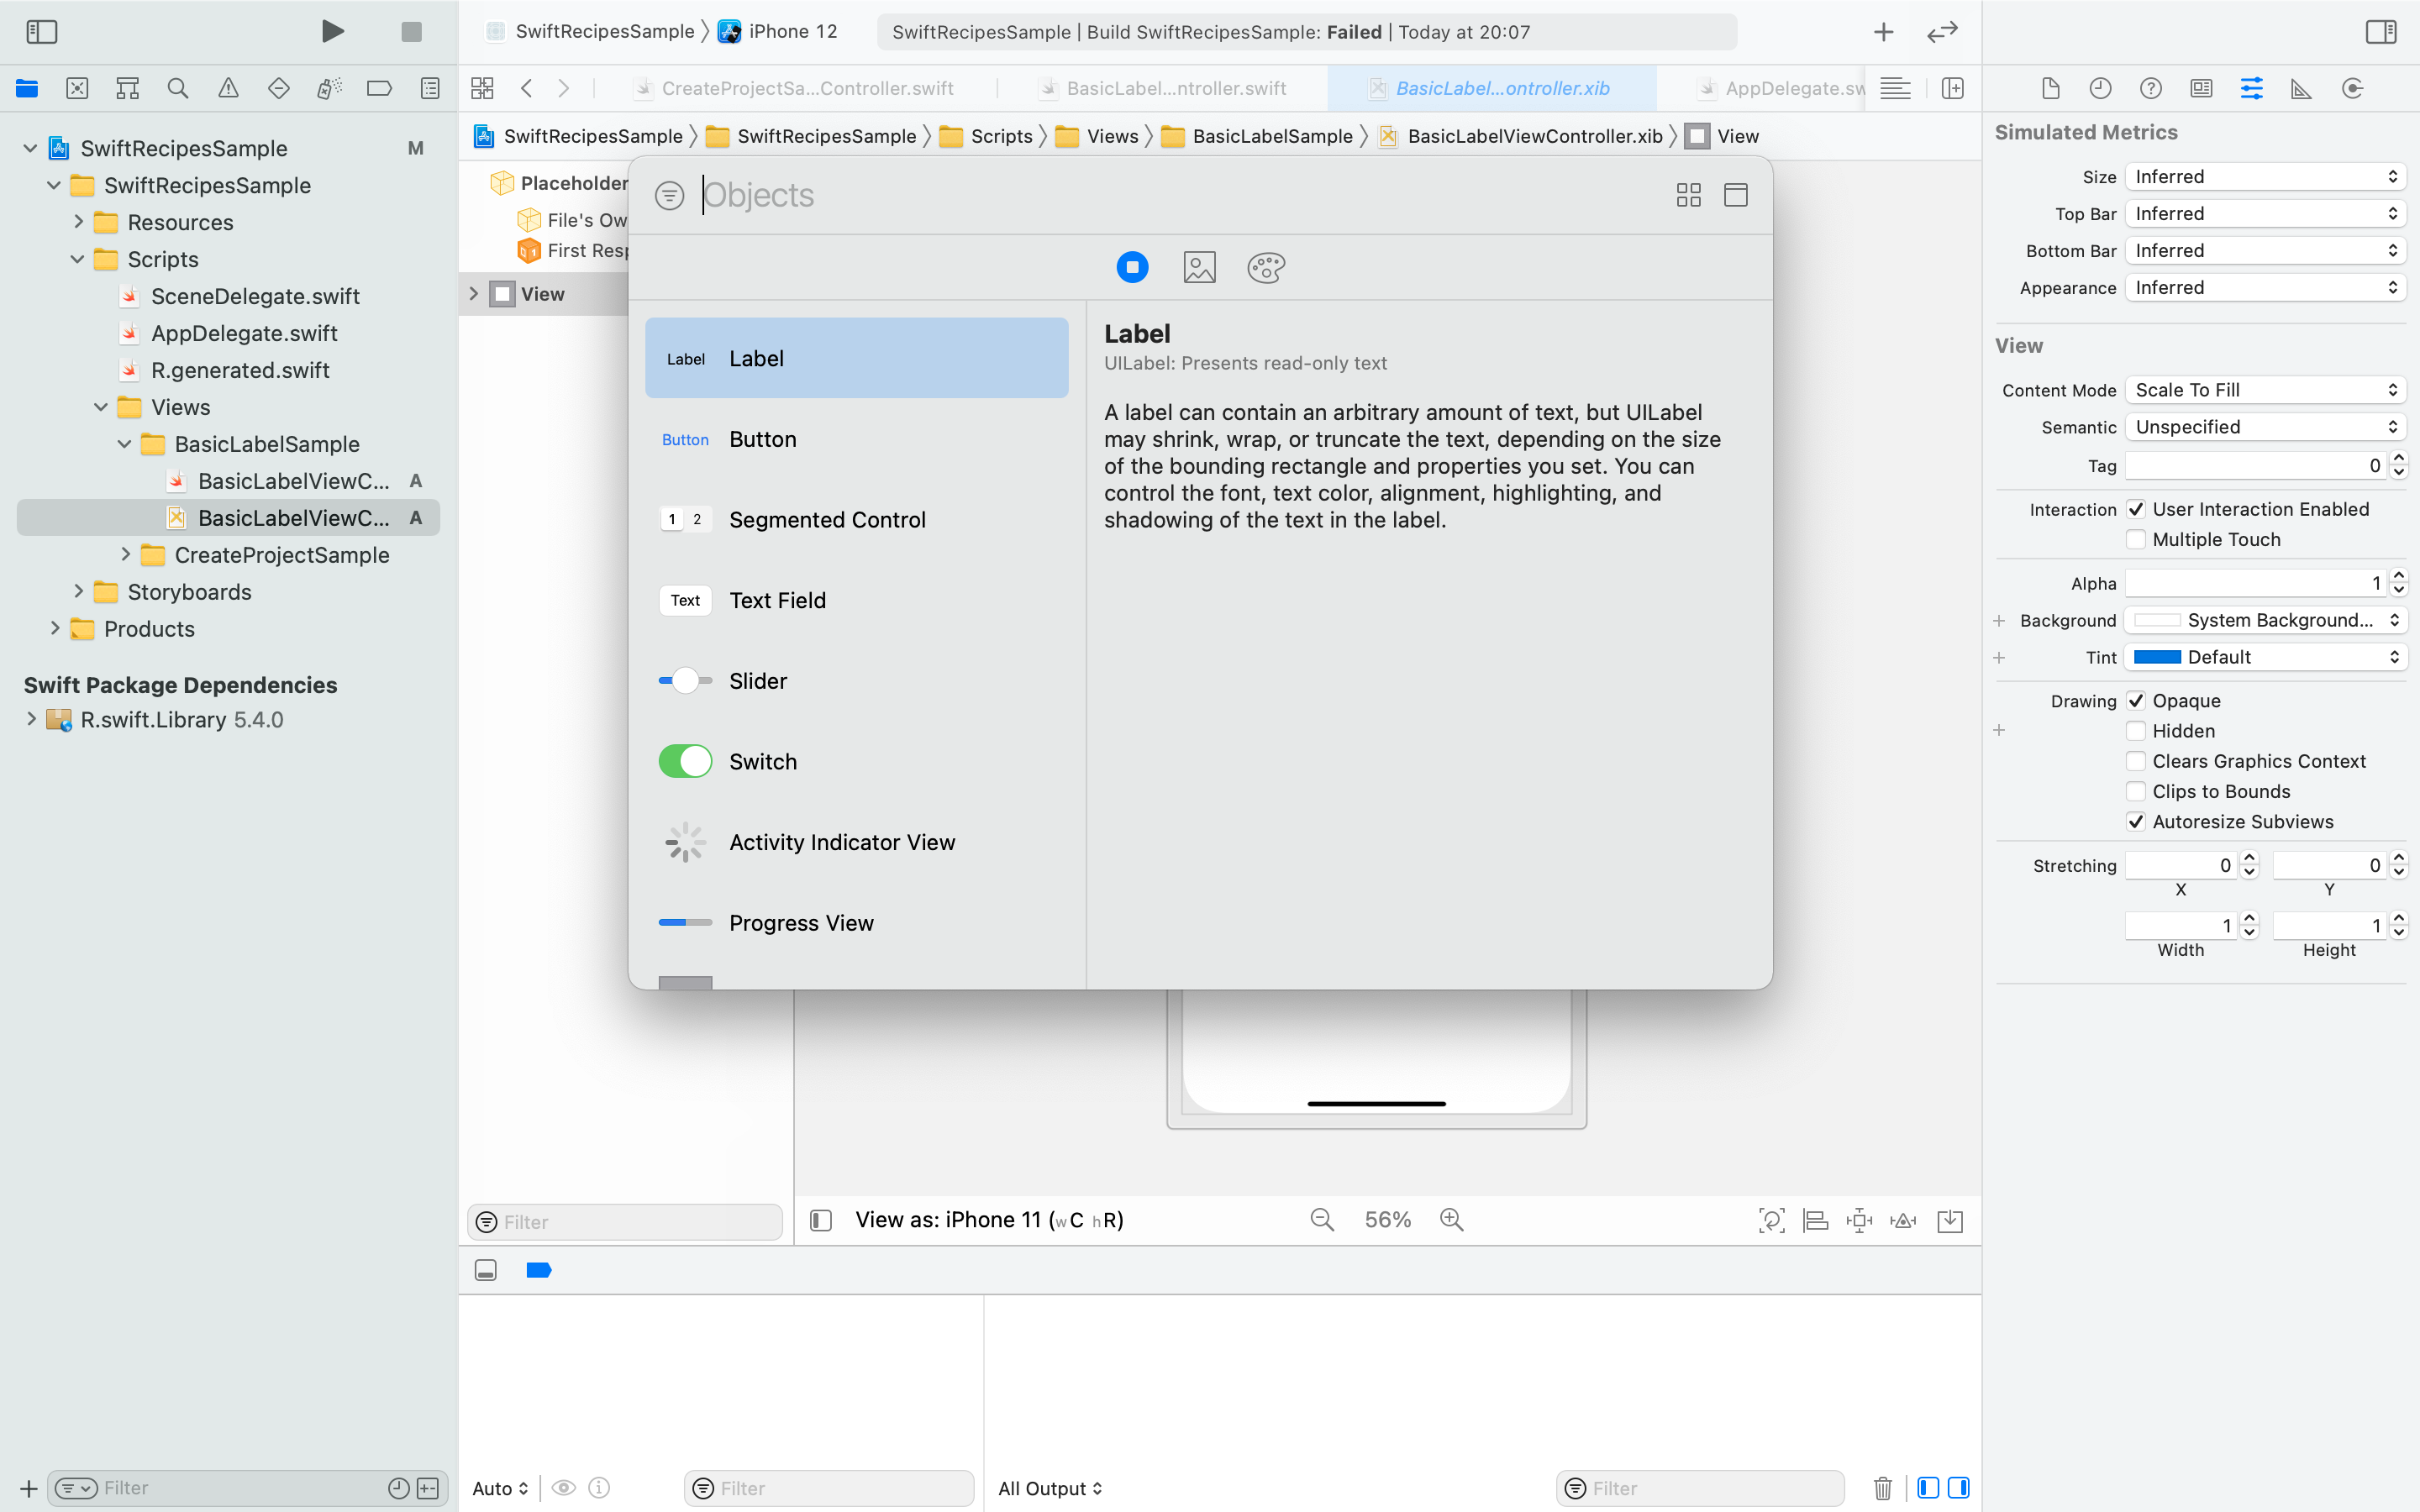
Figure 2
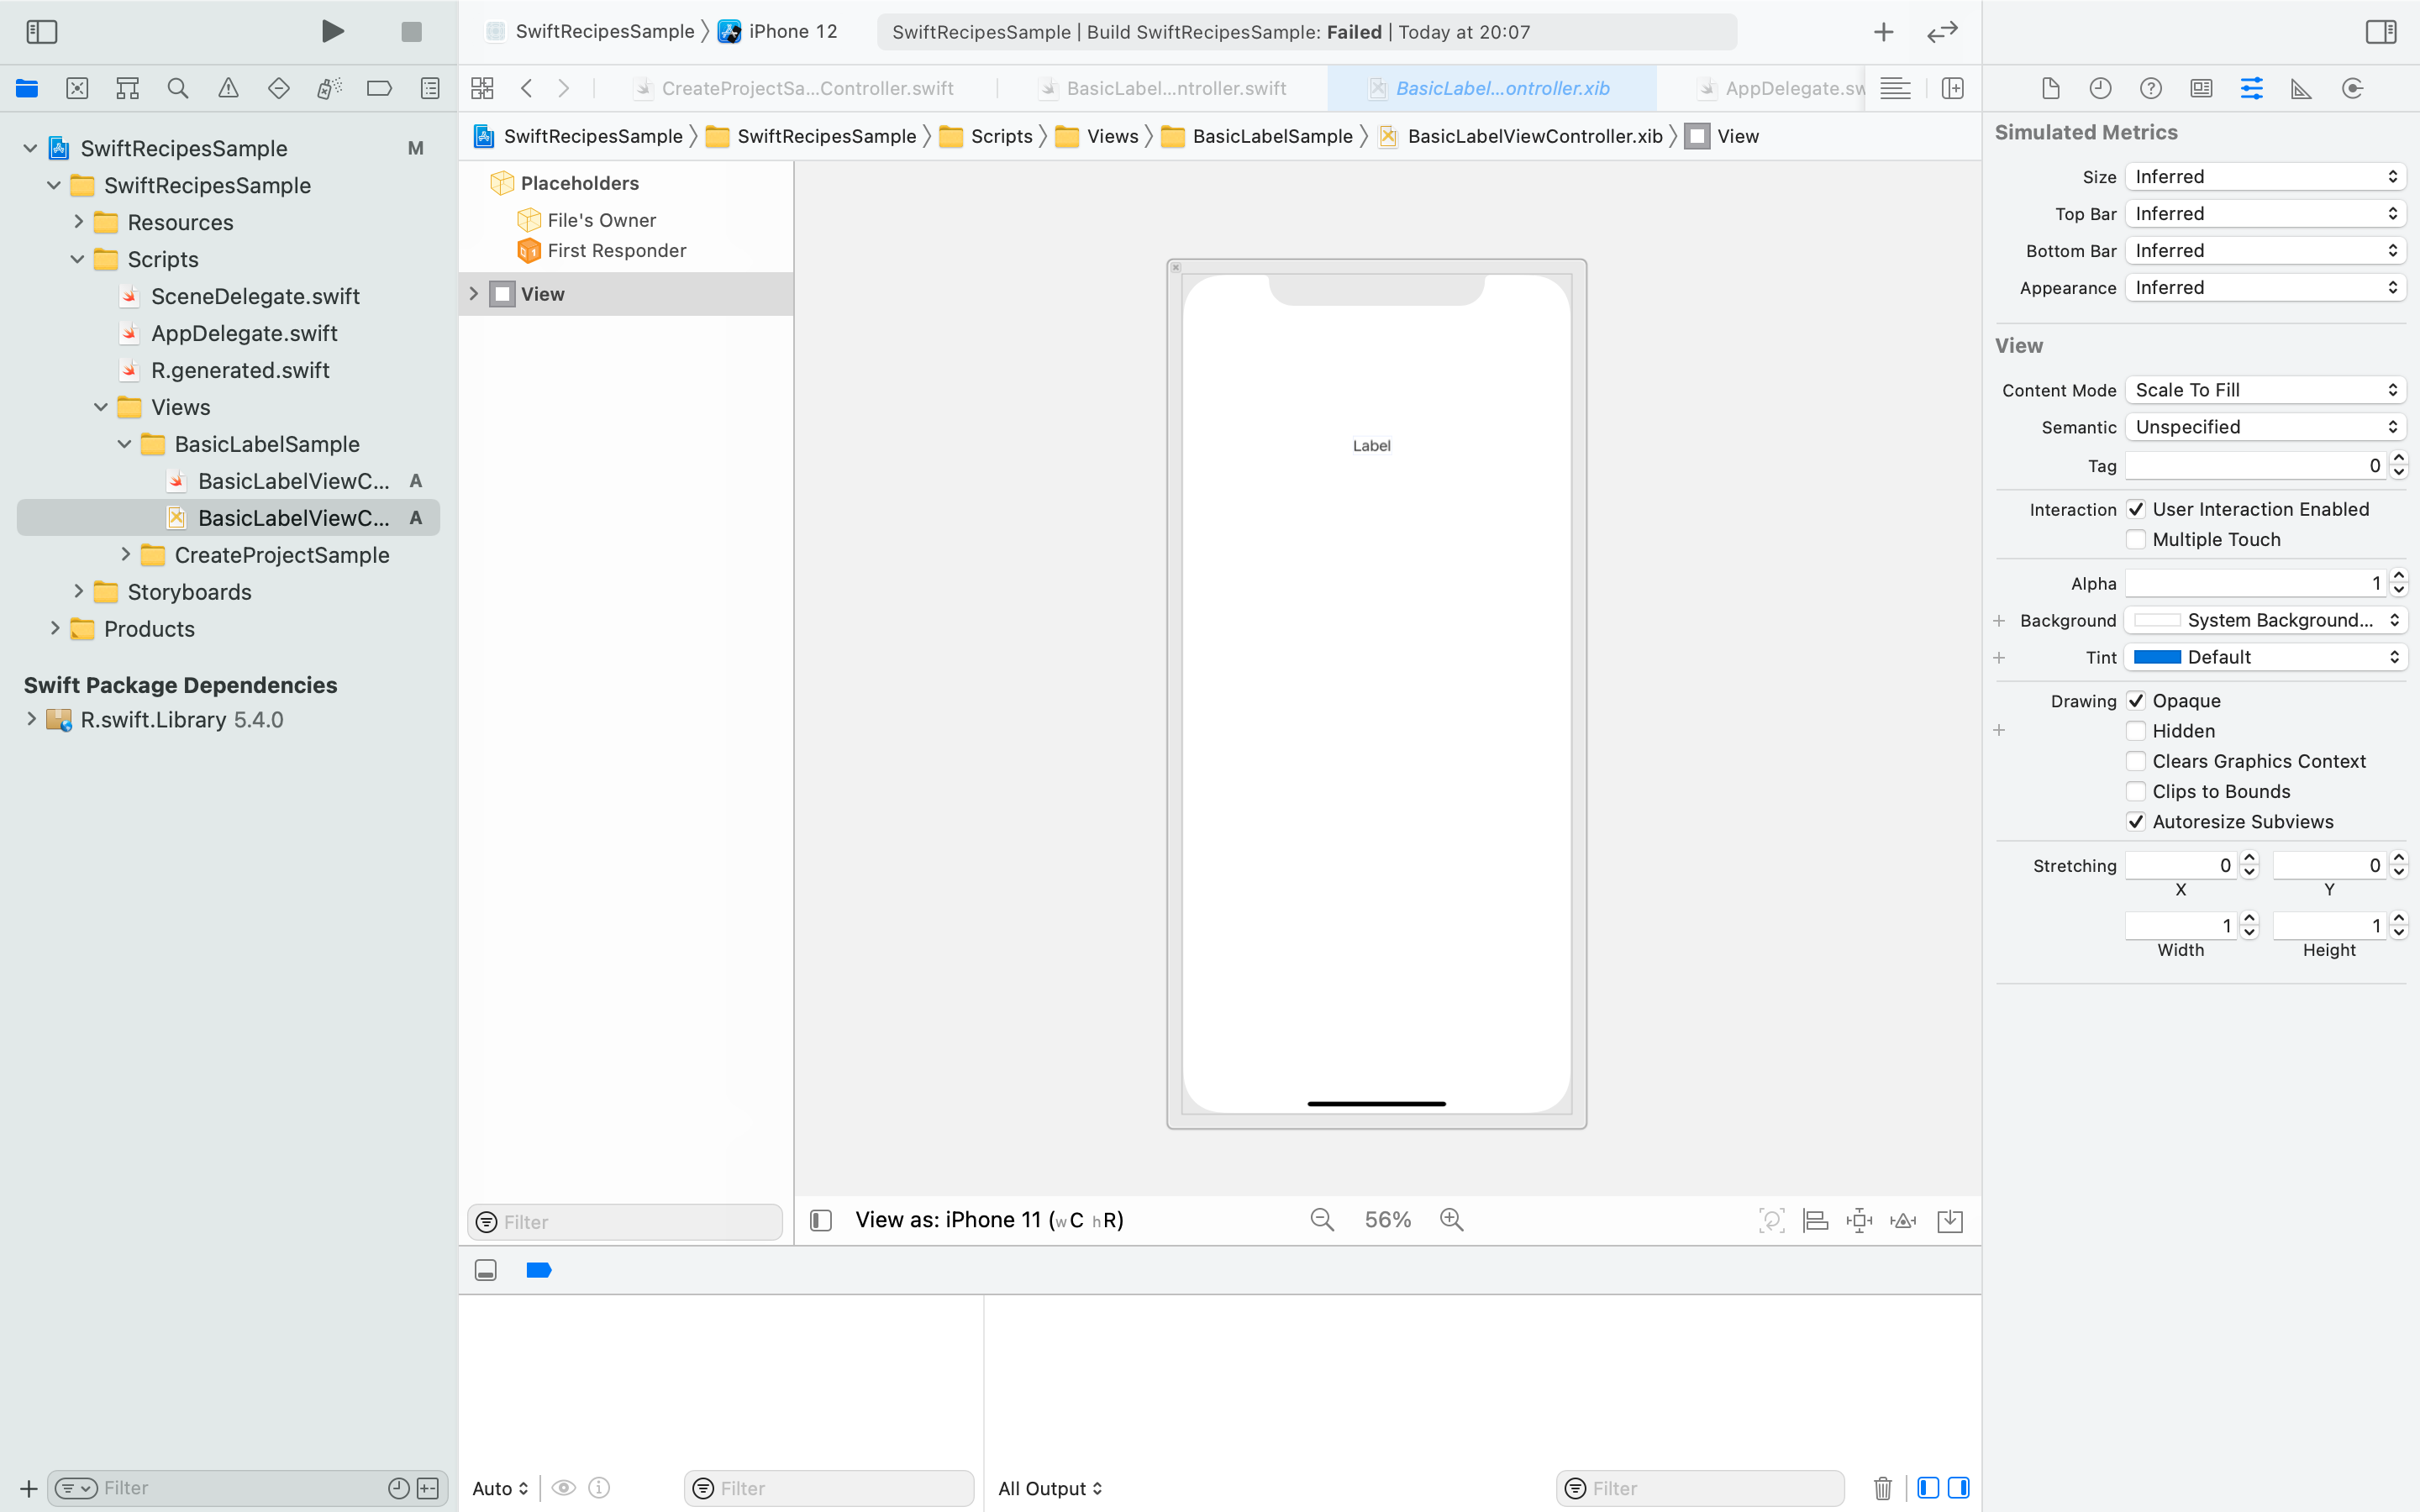
Figure 3 -
Set the AutoLayout setting.
Use AutoLayout to specify the location of the label. This time we will place it in the center of the screen.
With the label you want to layout selected, select theAlignicon at the bottom of the screen.Check the
Horizontally in ContainerandVertically in Containerboxes and selectAdd Constraints. (Figure 4)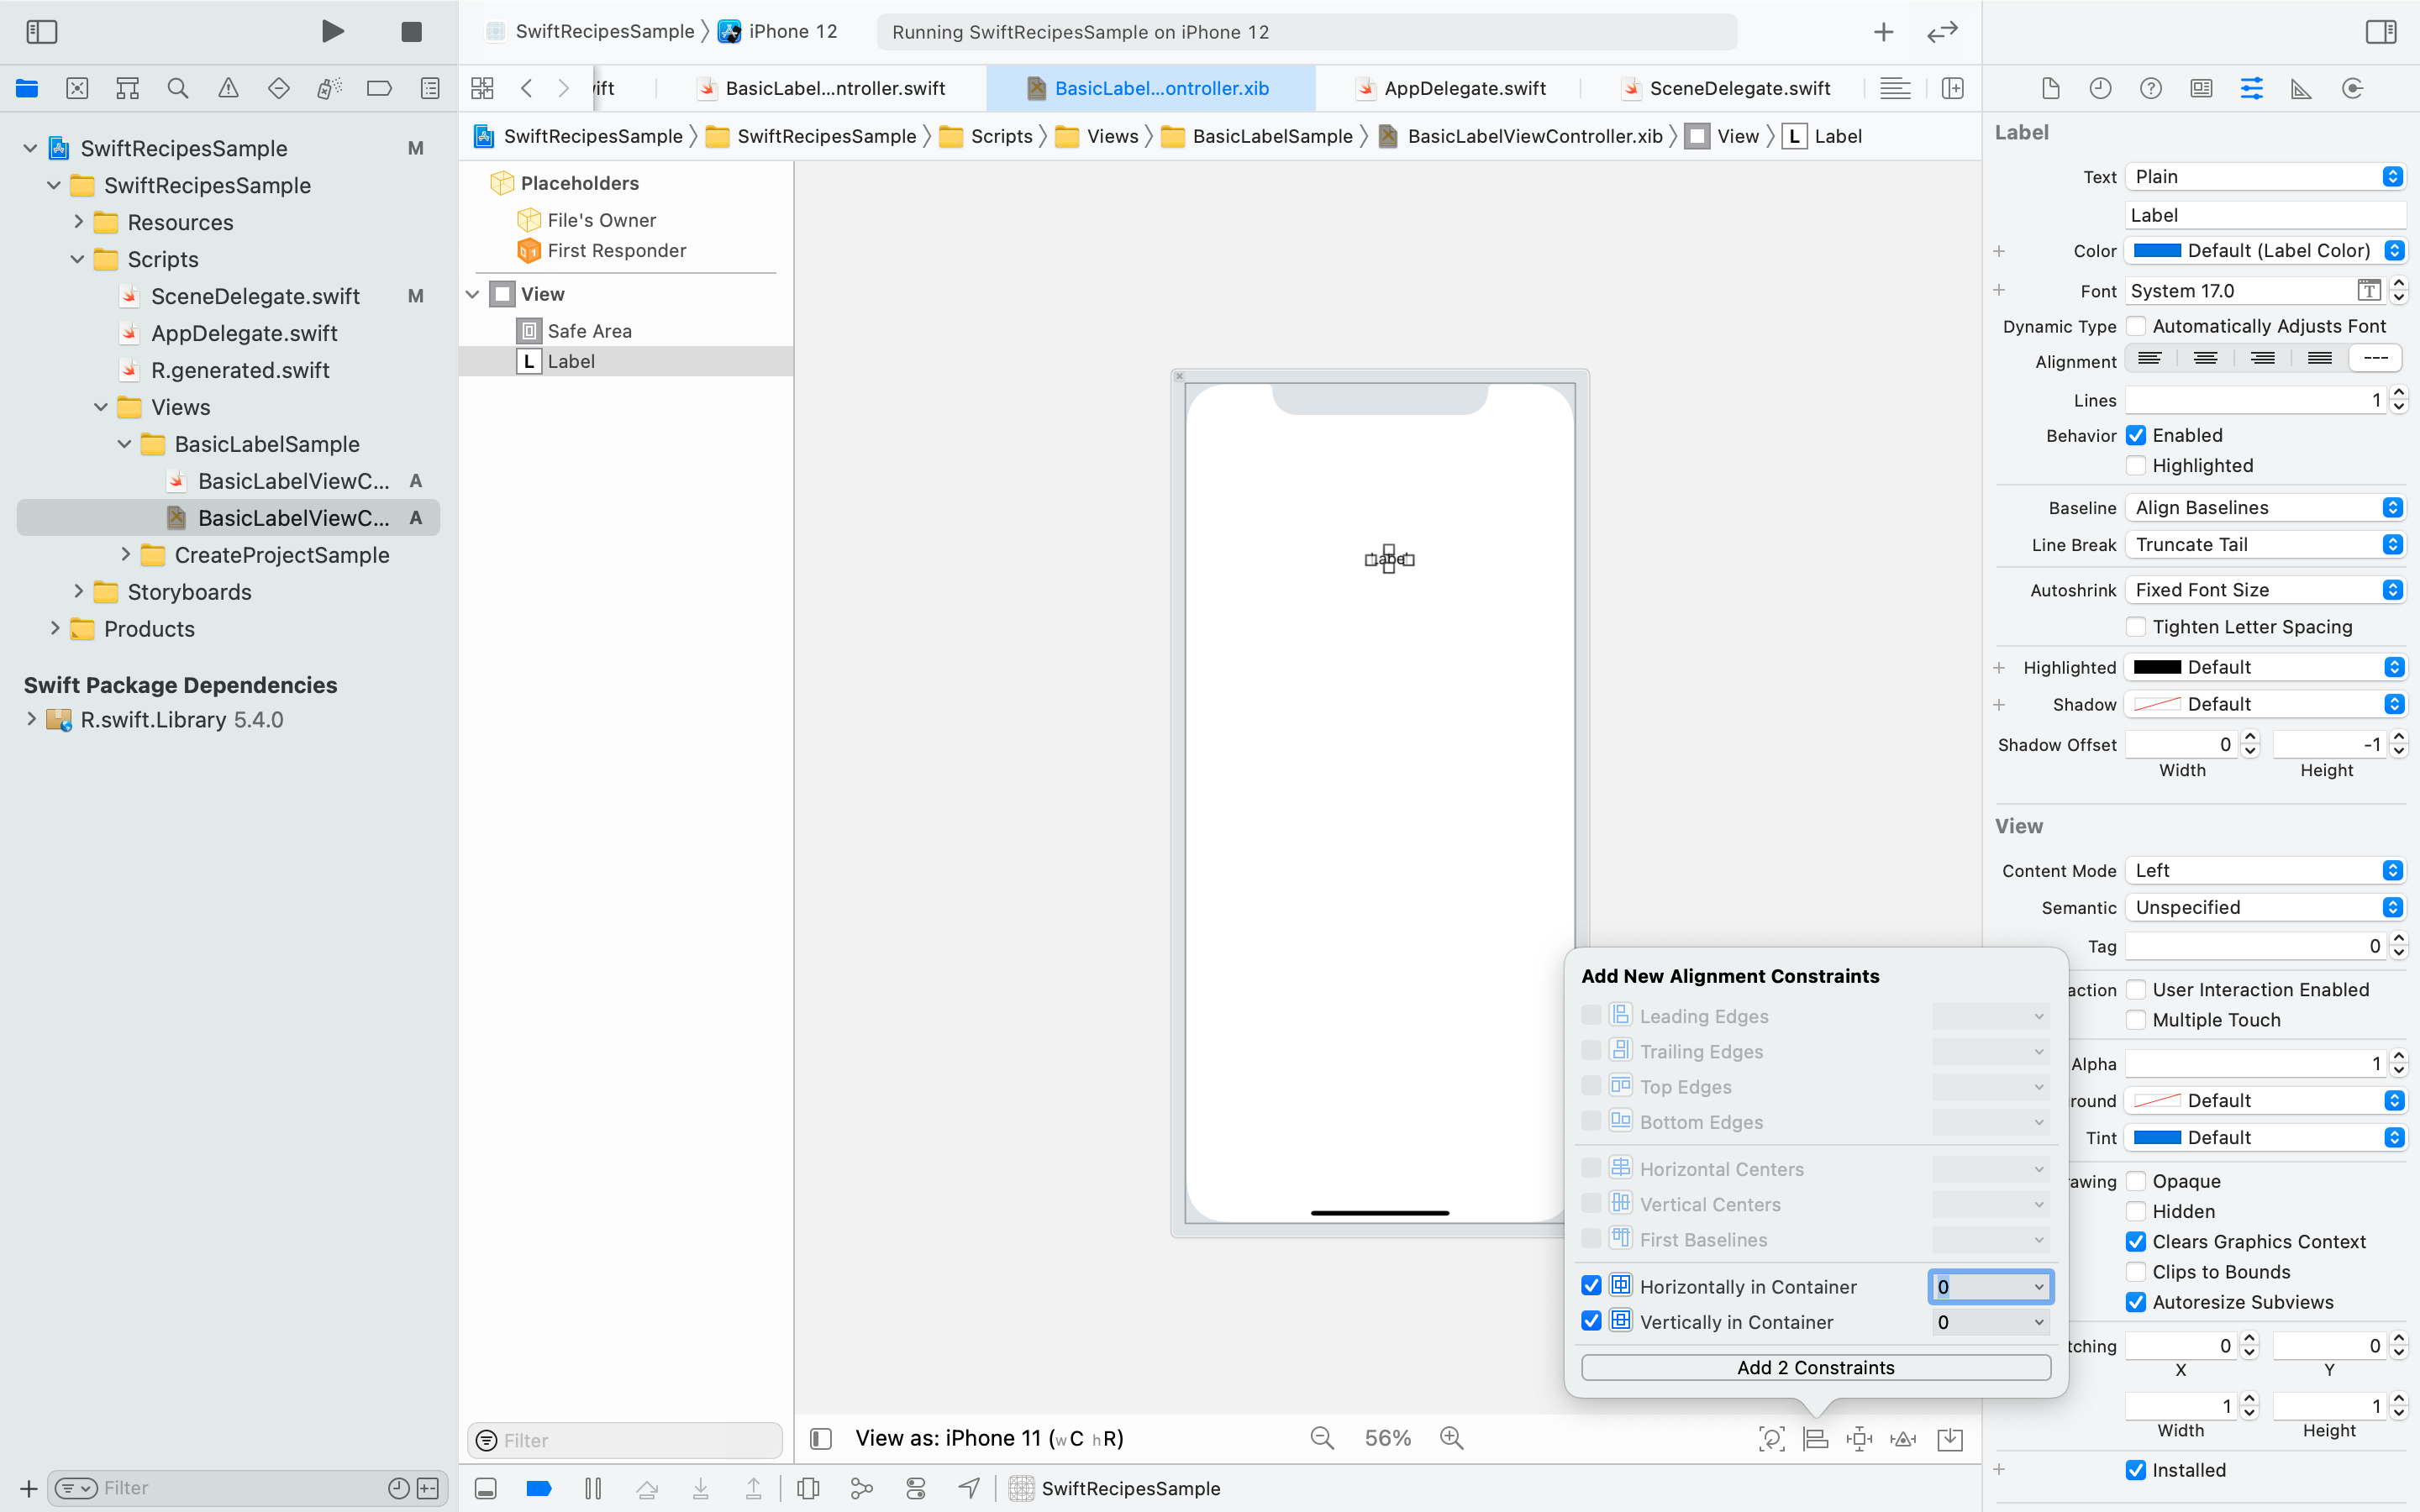
Figure 4How to check the AutoLayout that is currently attached
To check the AutoLayout you have attached, select the line on the screen, or go to `Constraints` in the hierarchy.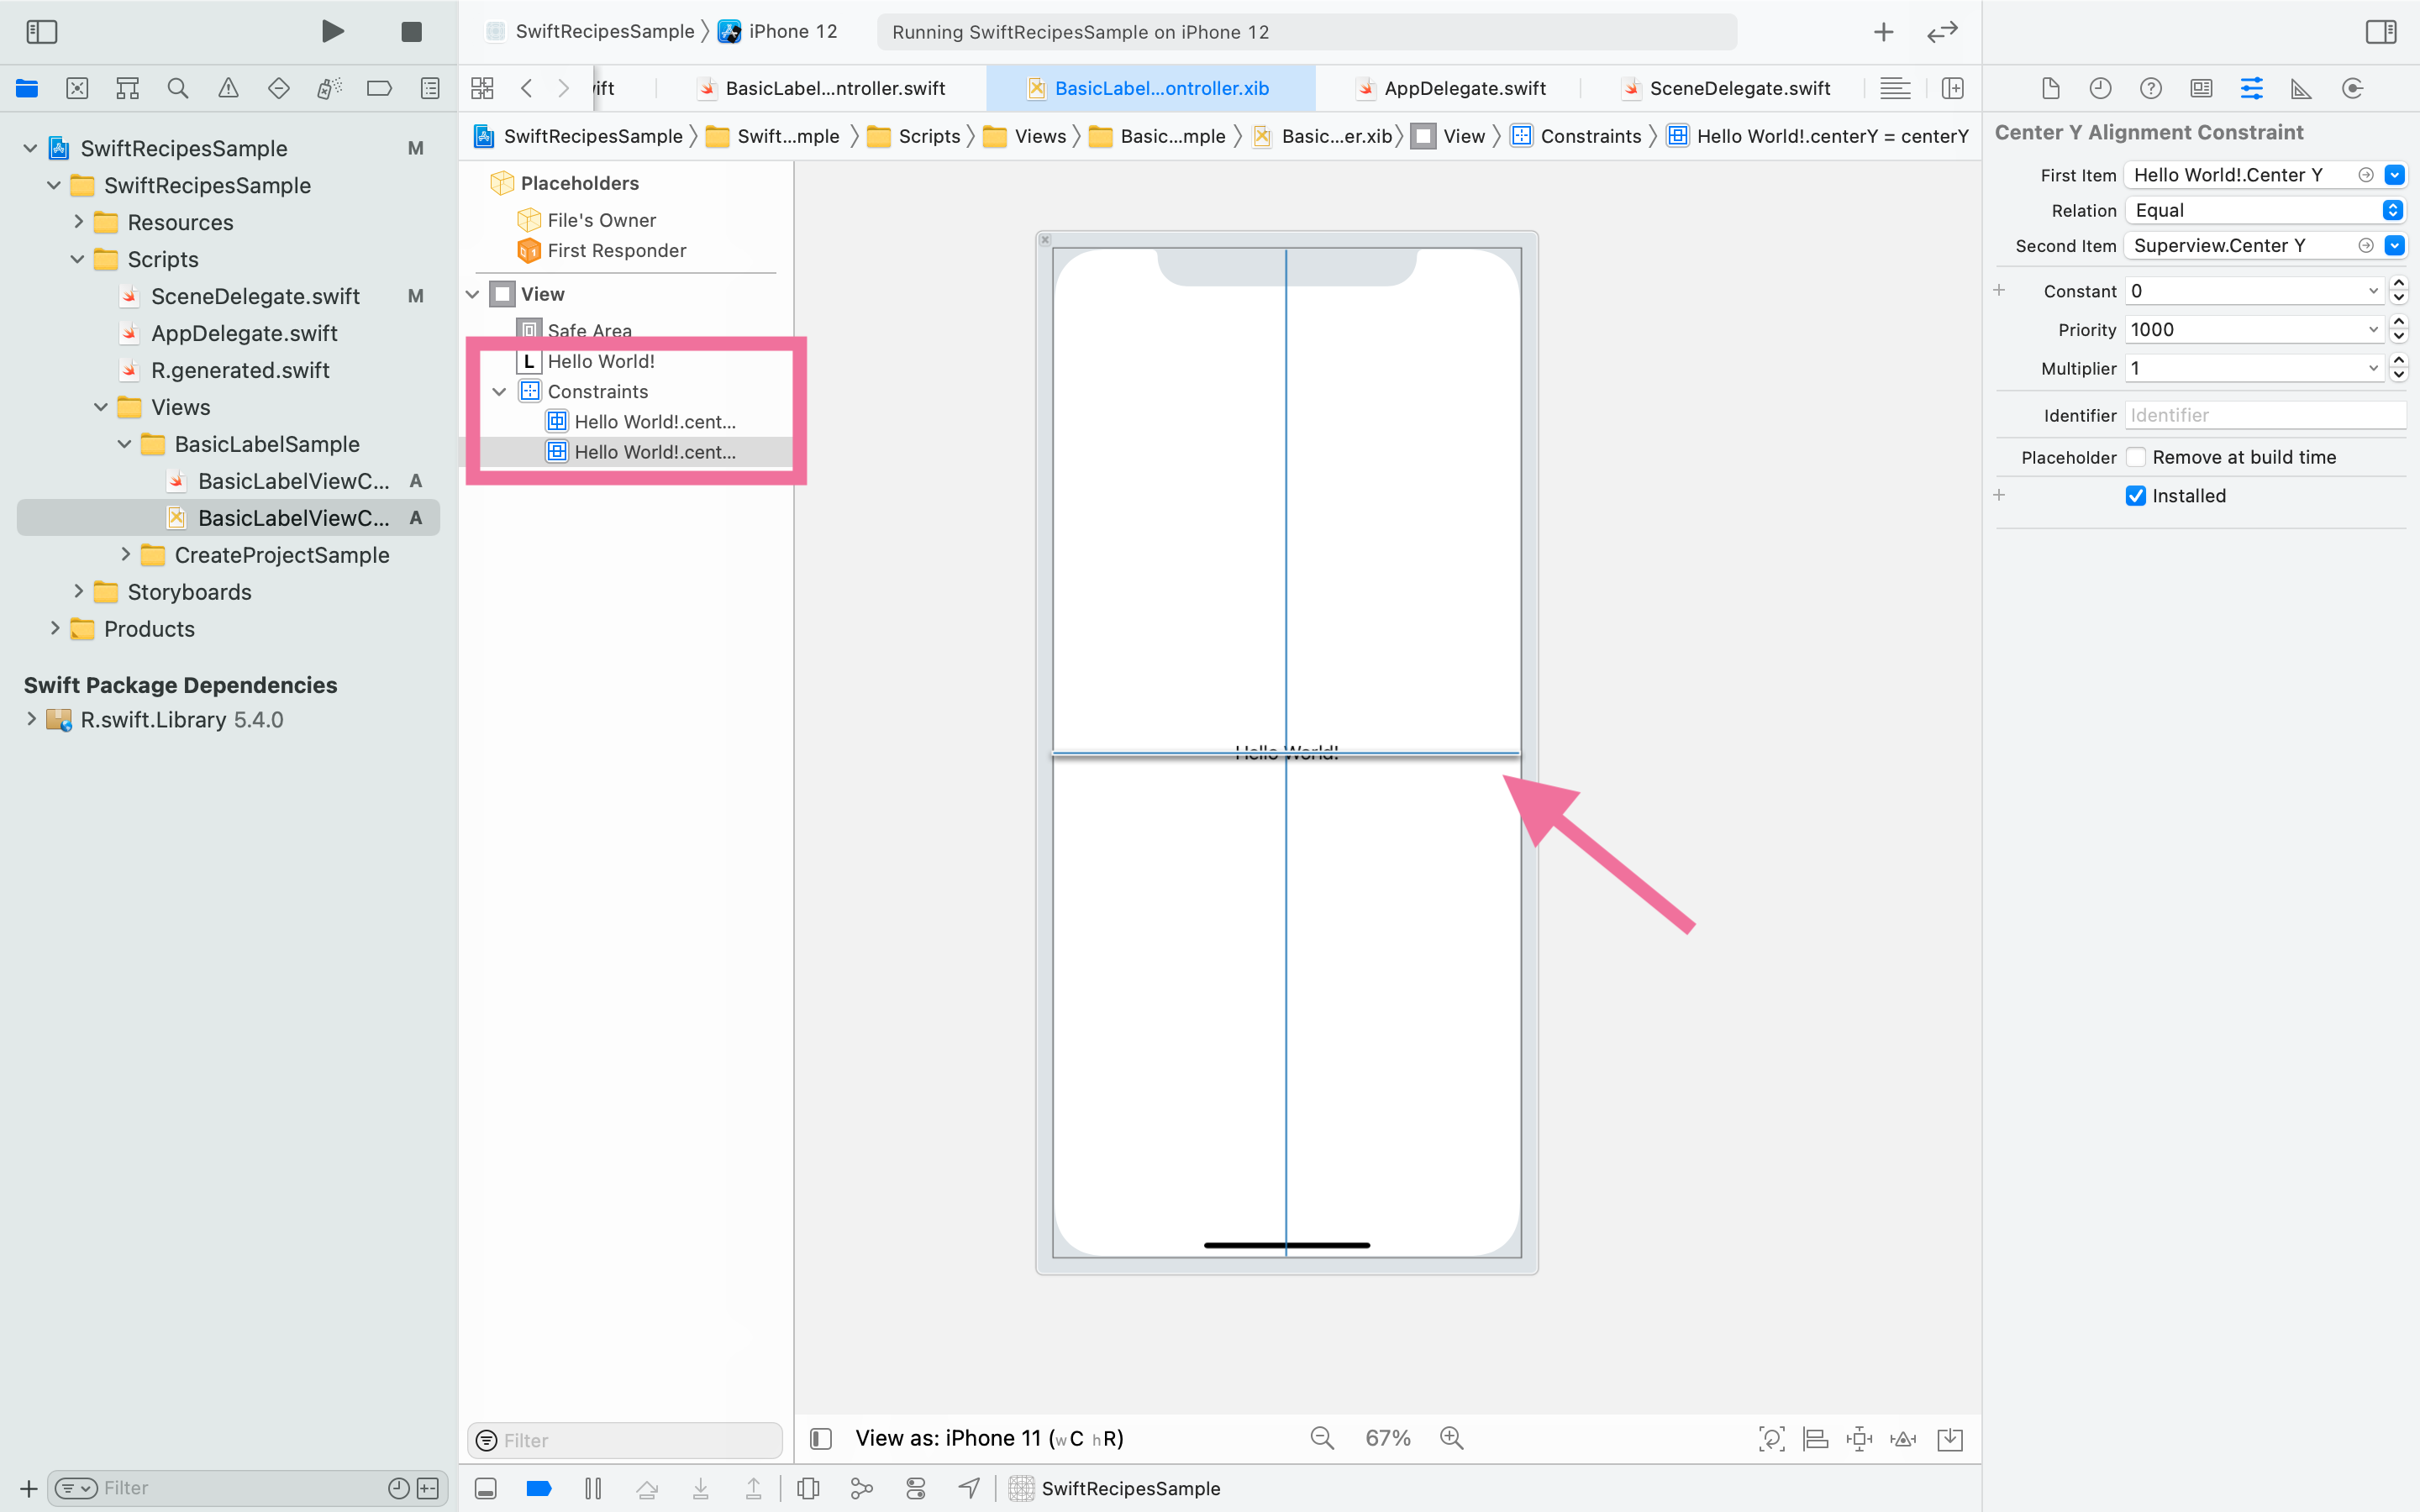
-
Let's change the label text to "Hello World!".
Select the
Show the Attributes inspectoricon on the right side of the screen and change the text of the label.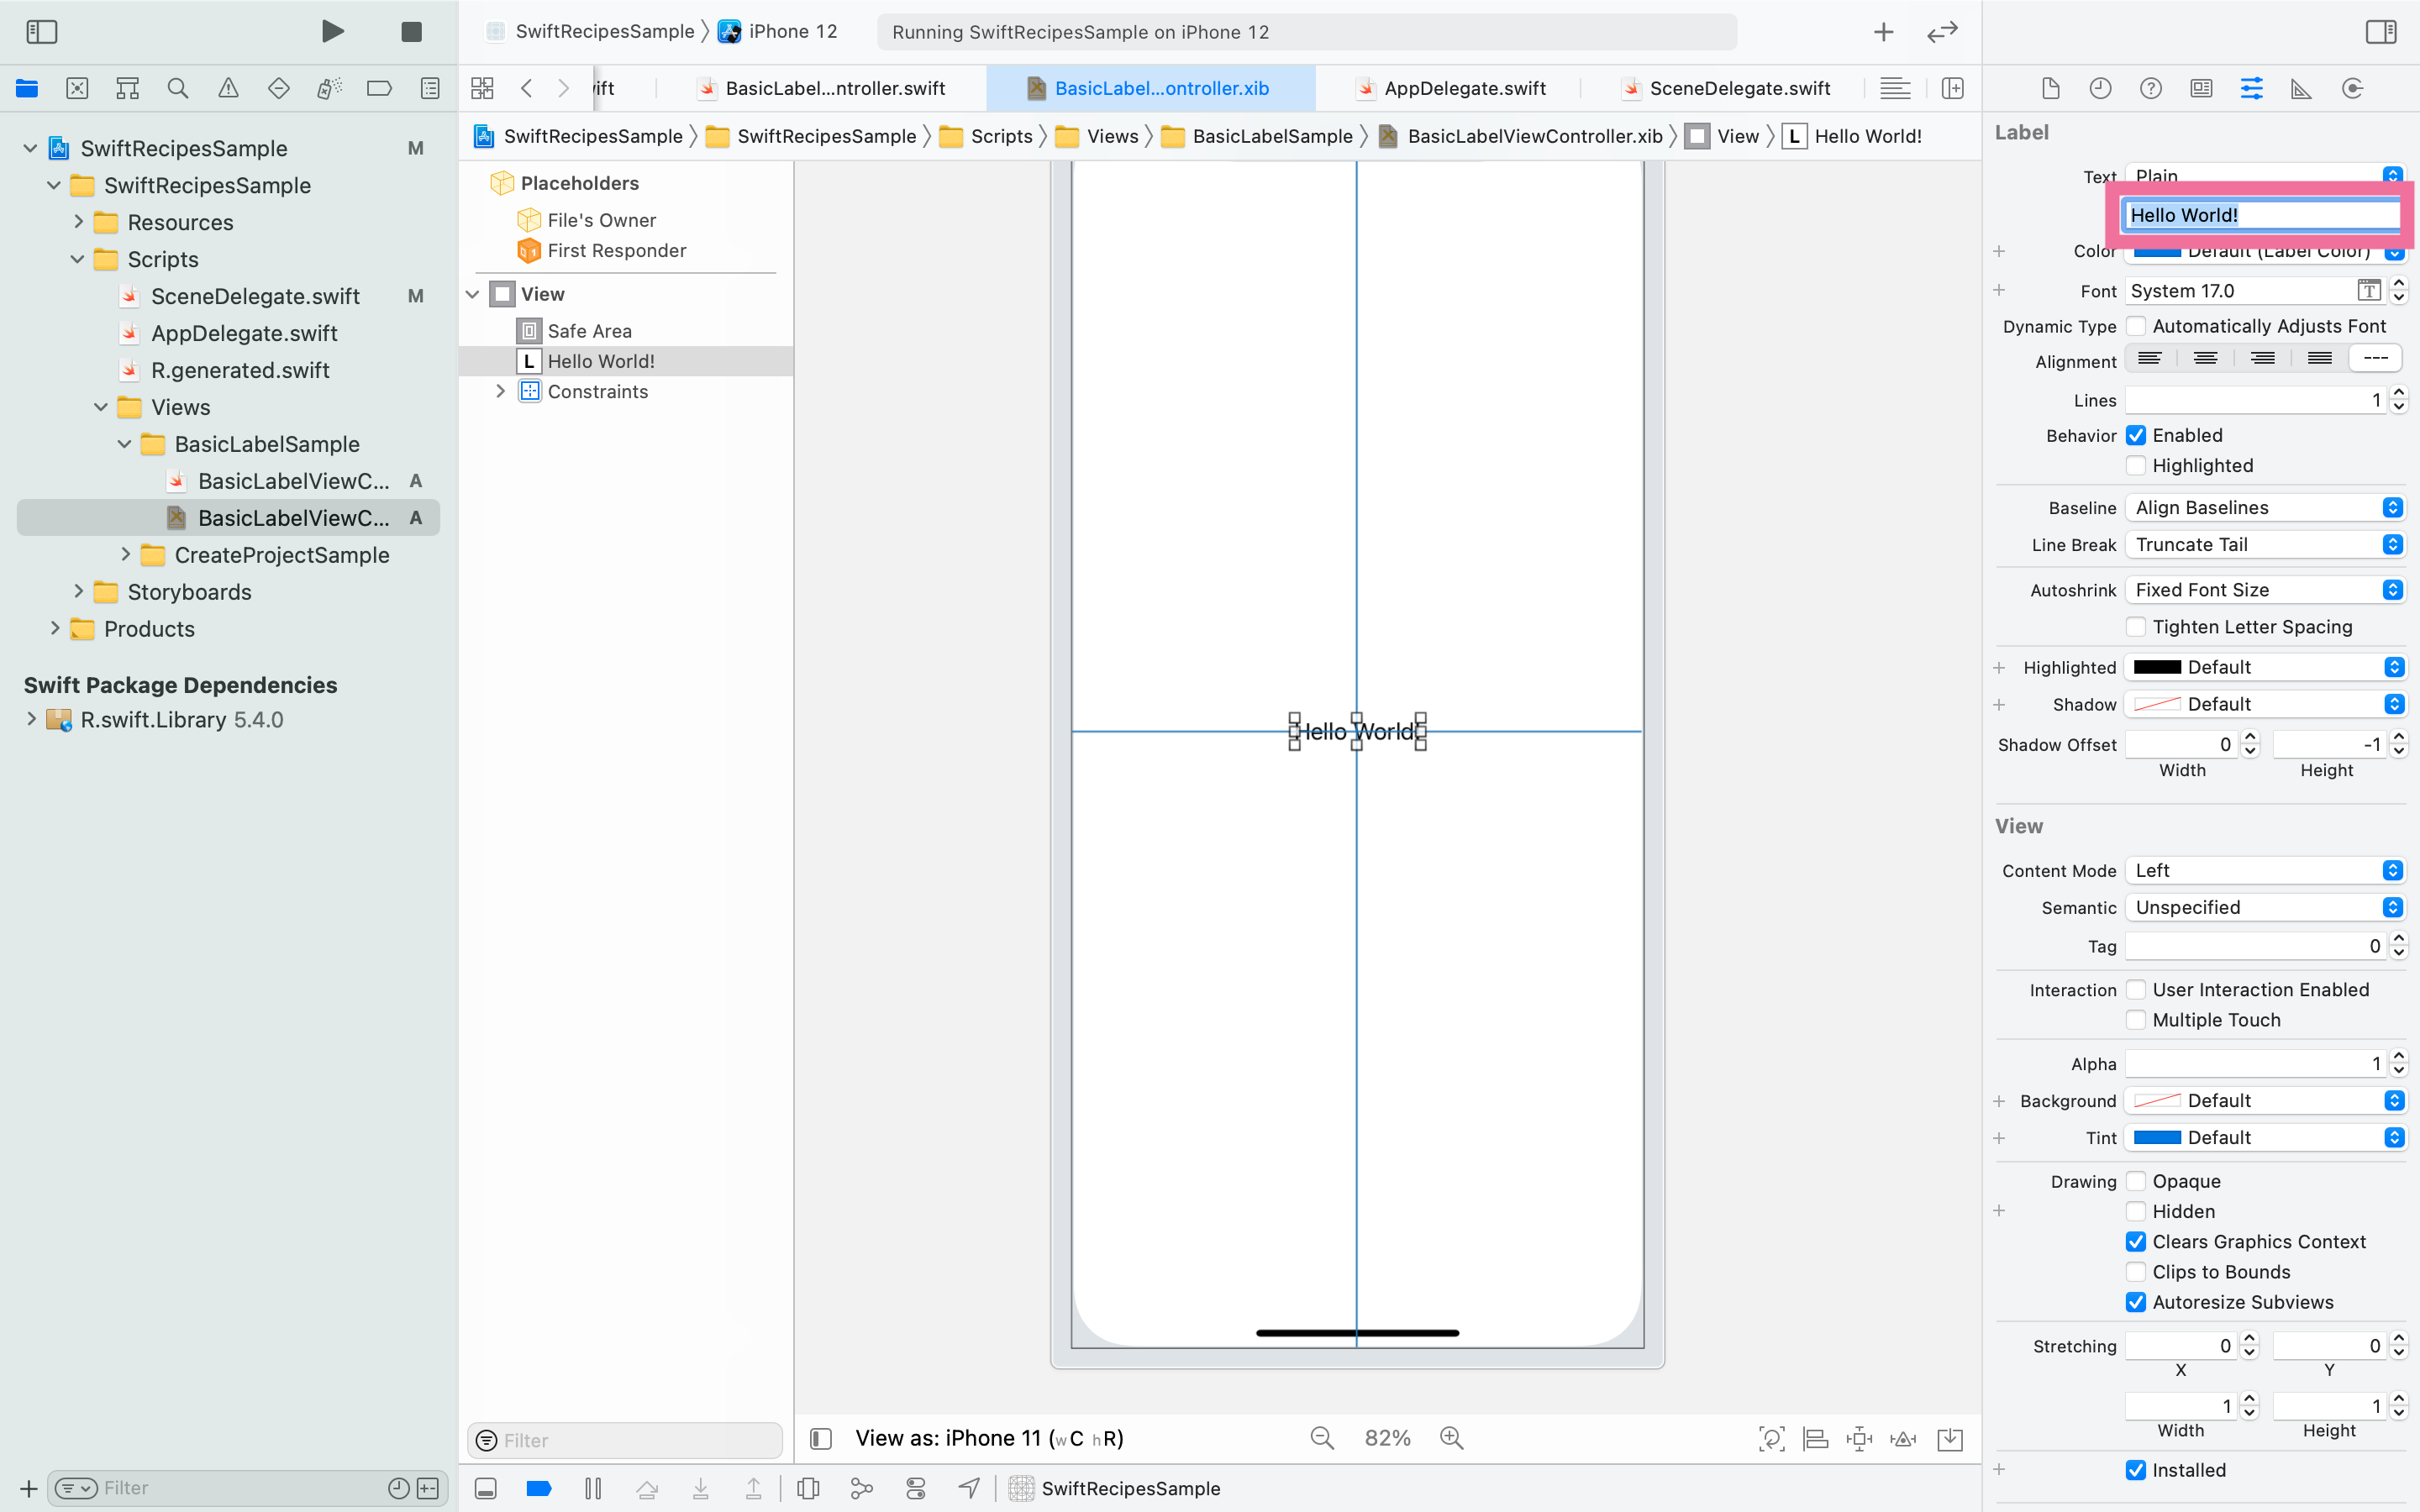
Figure 5
Now that the labels are in place.
Let's run it and check it out.
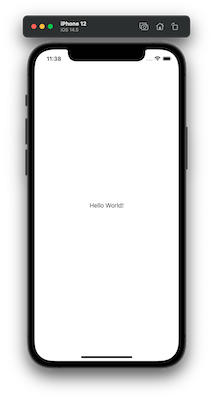
Figure 6
Connect to code
Next, let's tie the UILabel placed in xib to the code. In this case, we'll name it titleLabel.
-
Select
Add Editor on Right. (Figure 7)
Figure 7Since the screen will be split, let's display the code on one side since it will be split (Figure 8).
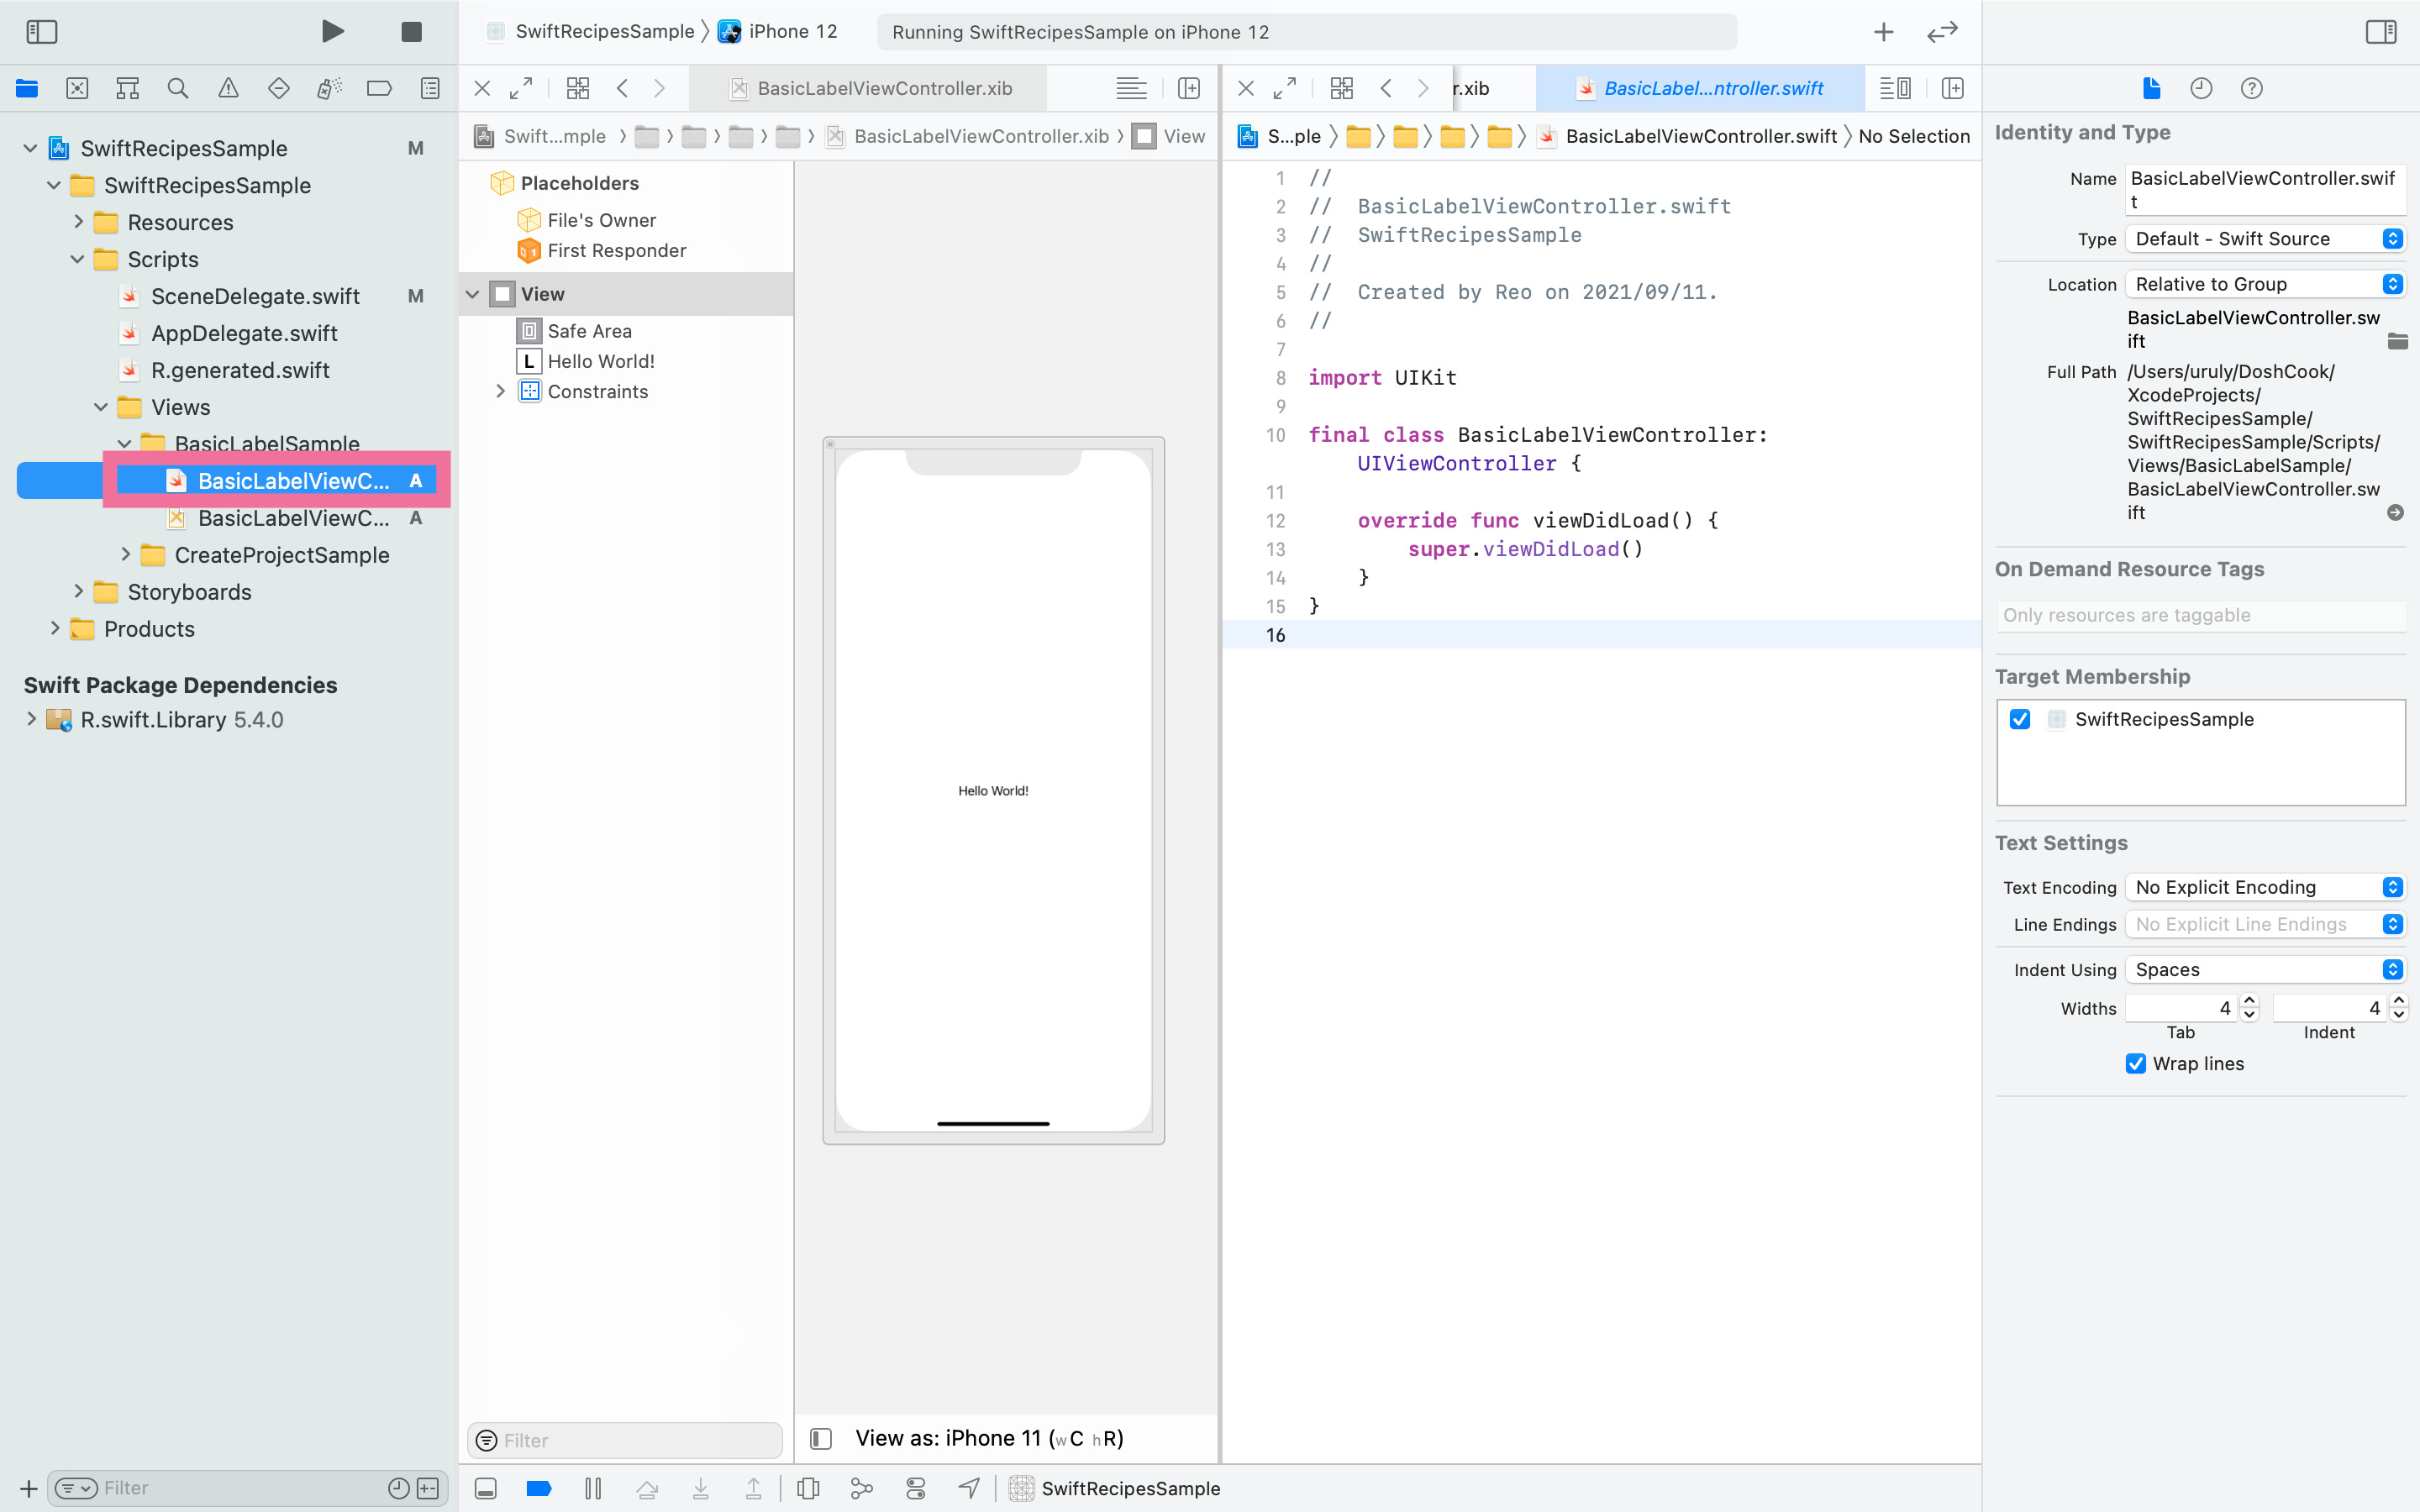
Figure 8How to open a file in split-screen mode.
When the screen is split, the file will be opened on the screen that has the focus. If you want to place it on the right side of the screen, click on the right side and then select the file you want to open.You can also hold down
optionwhile selecting to open the file on the other side of the focused screen. -
While holding down the Control button, drag from the label to be connected to the cord. (Figure 9)
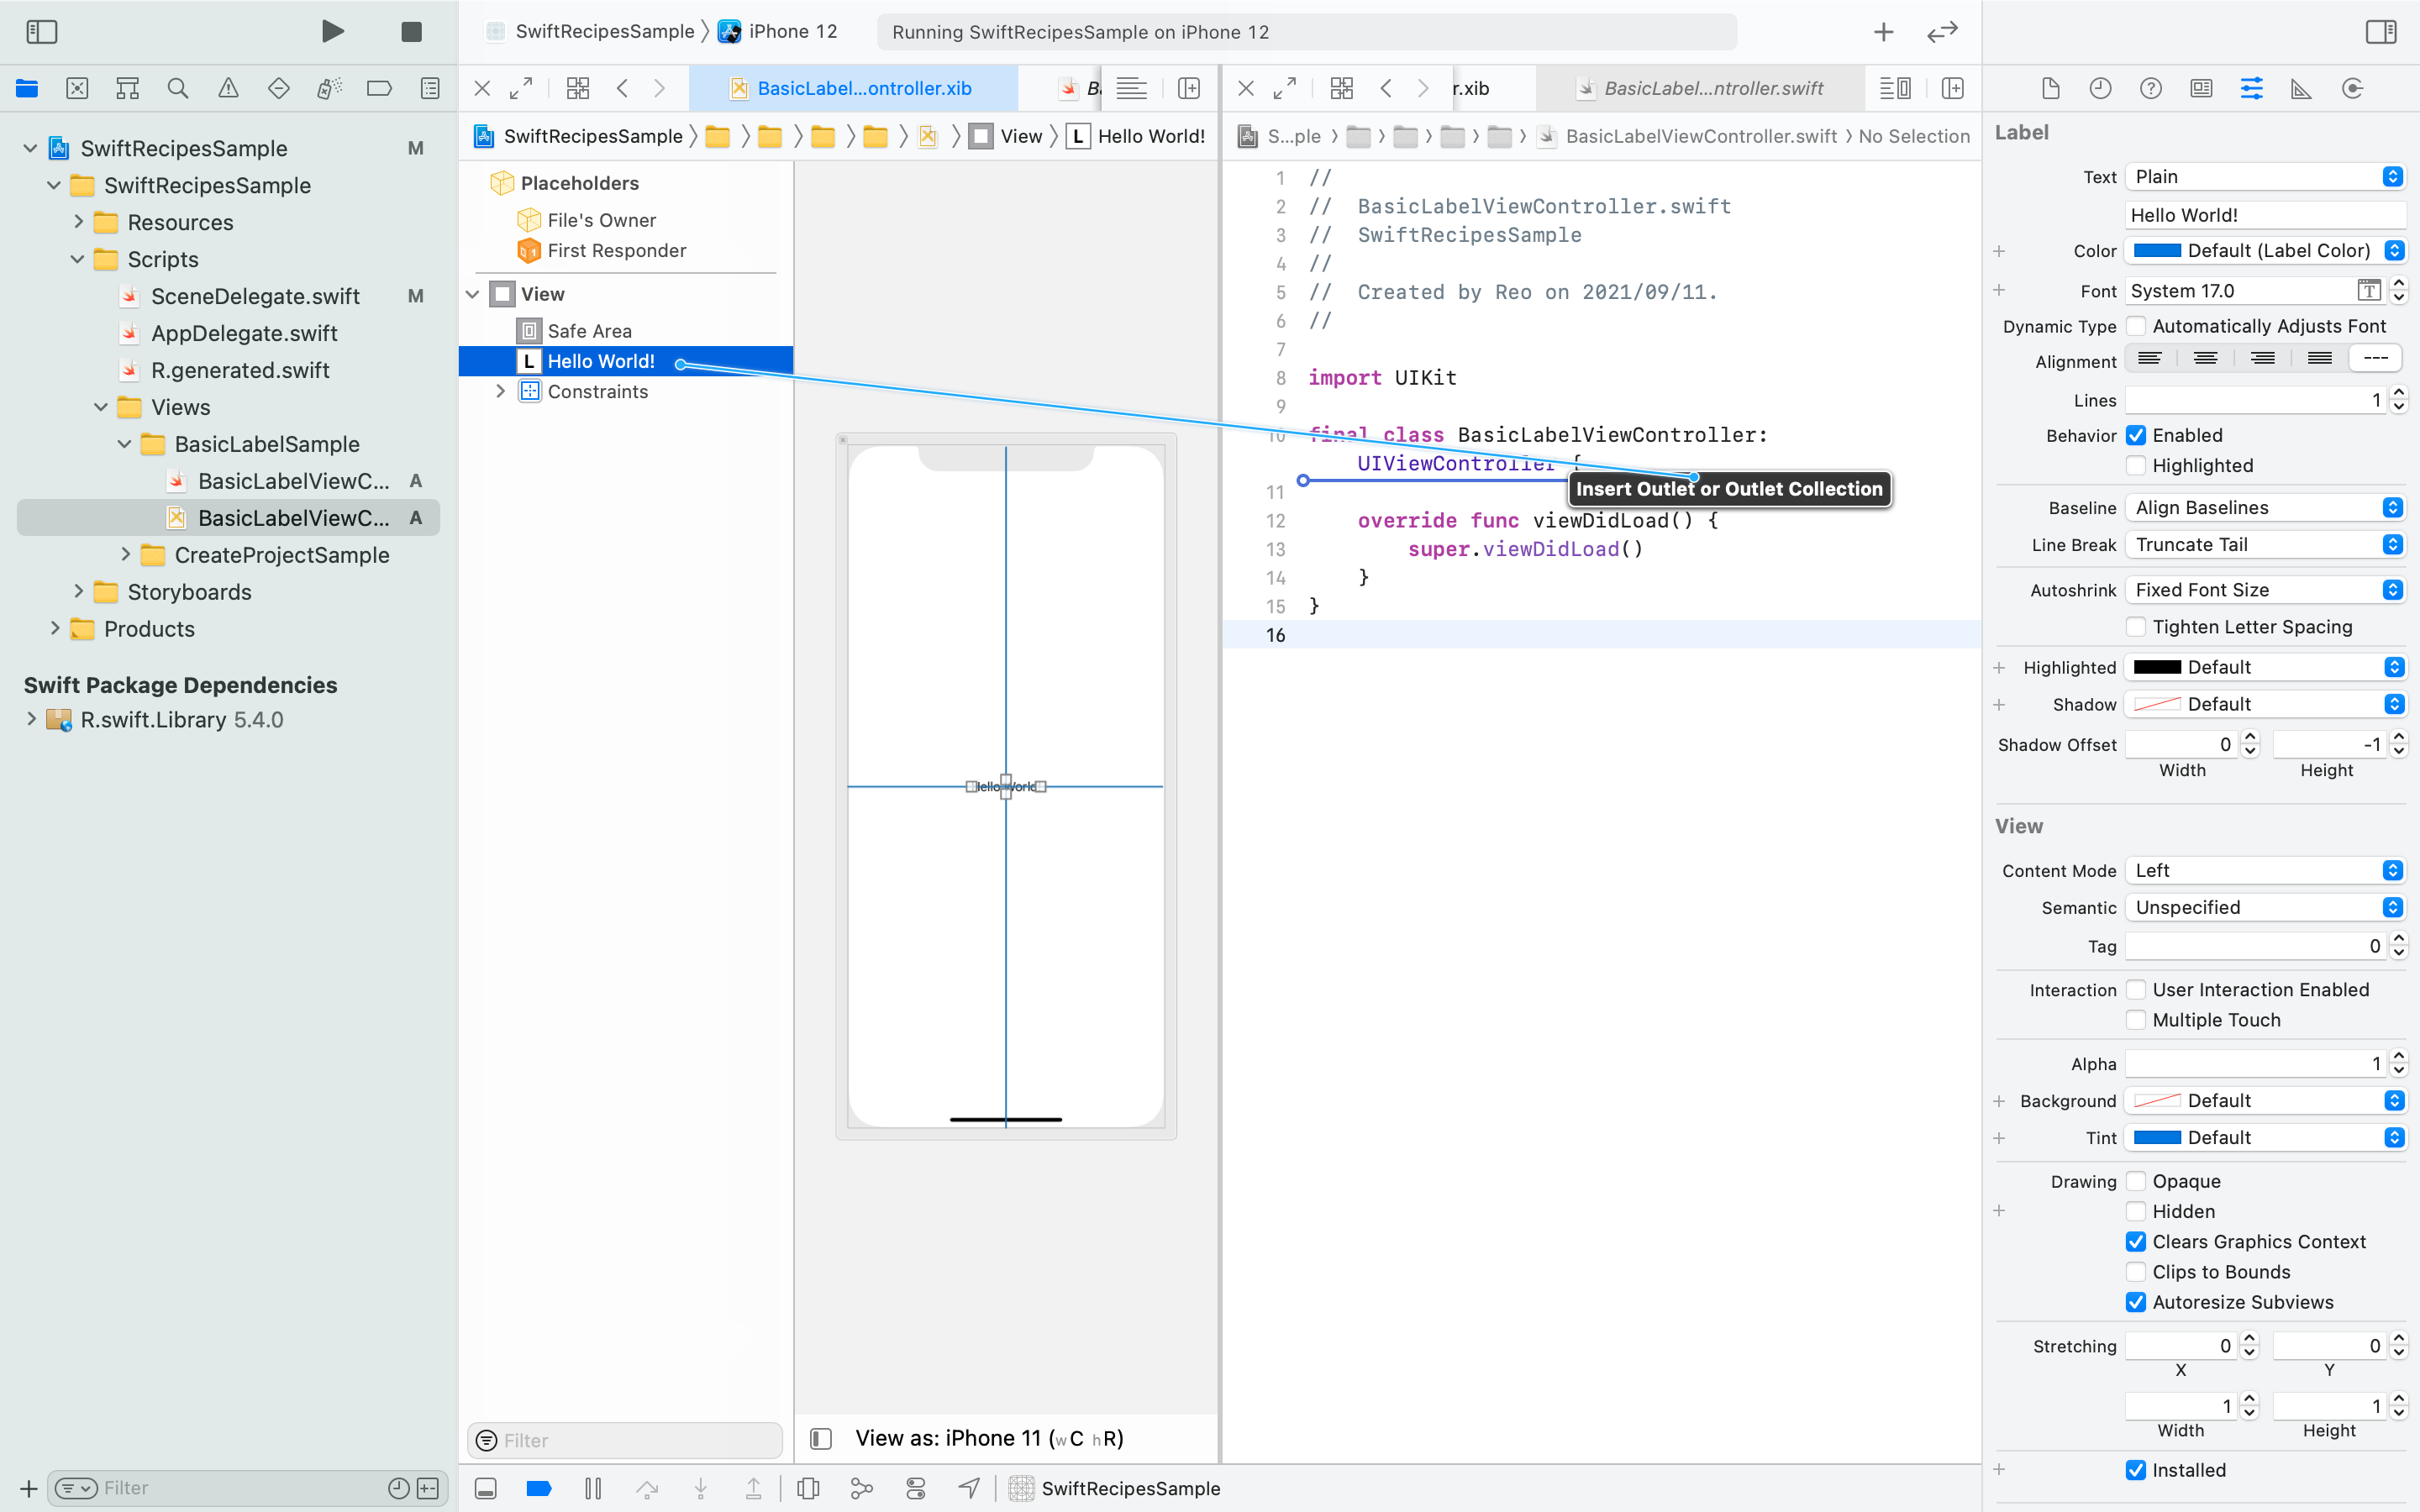
Figure 9 -
Give it a name and select
connect. (Figure 10)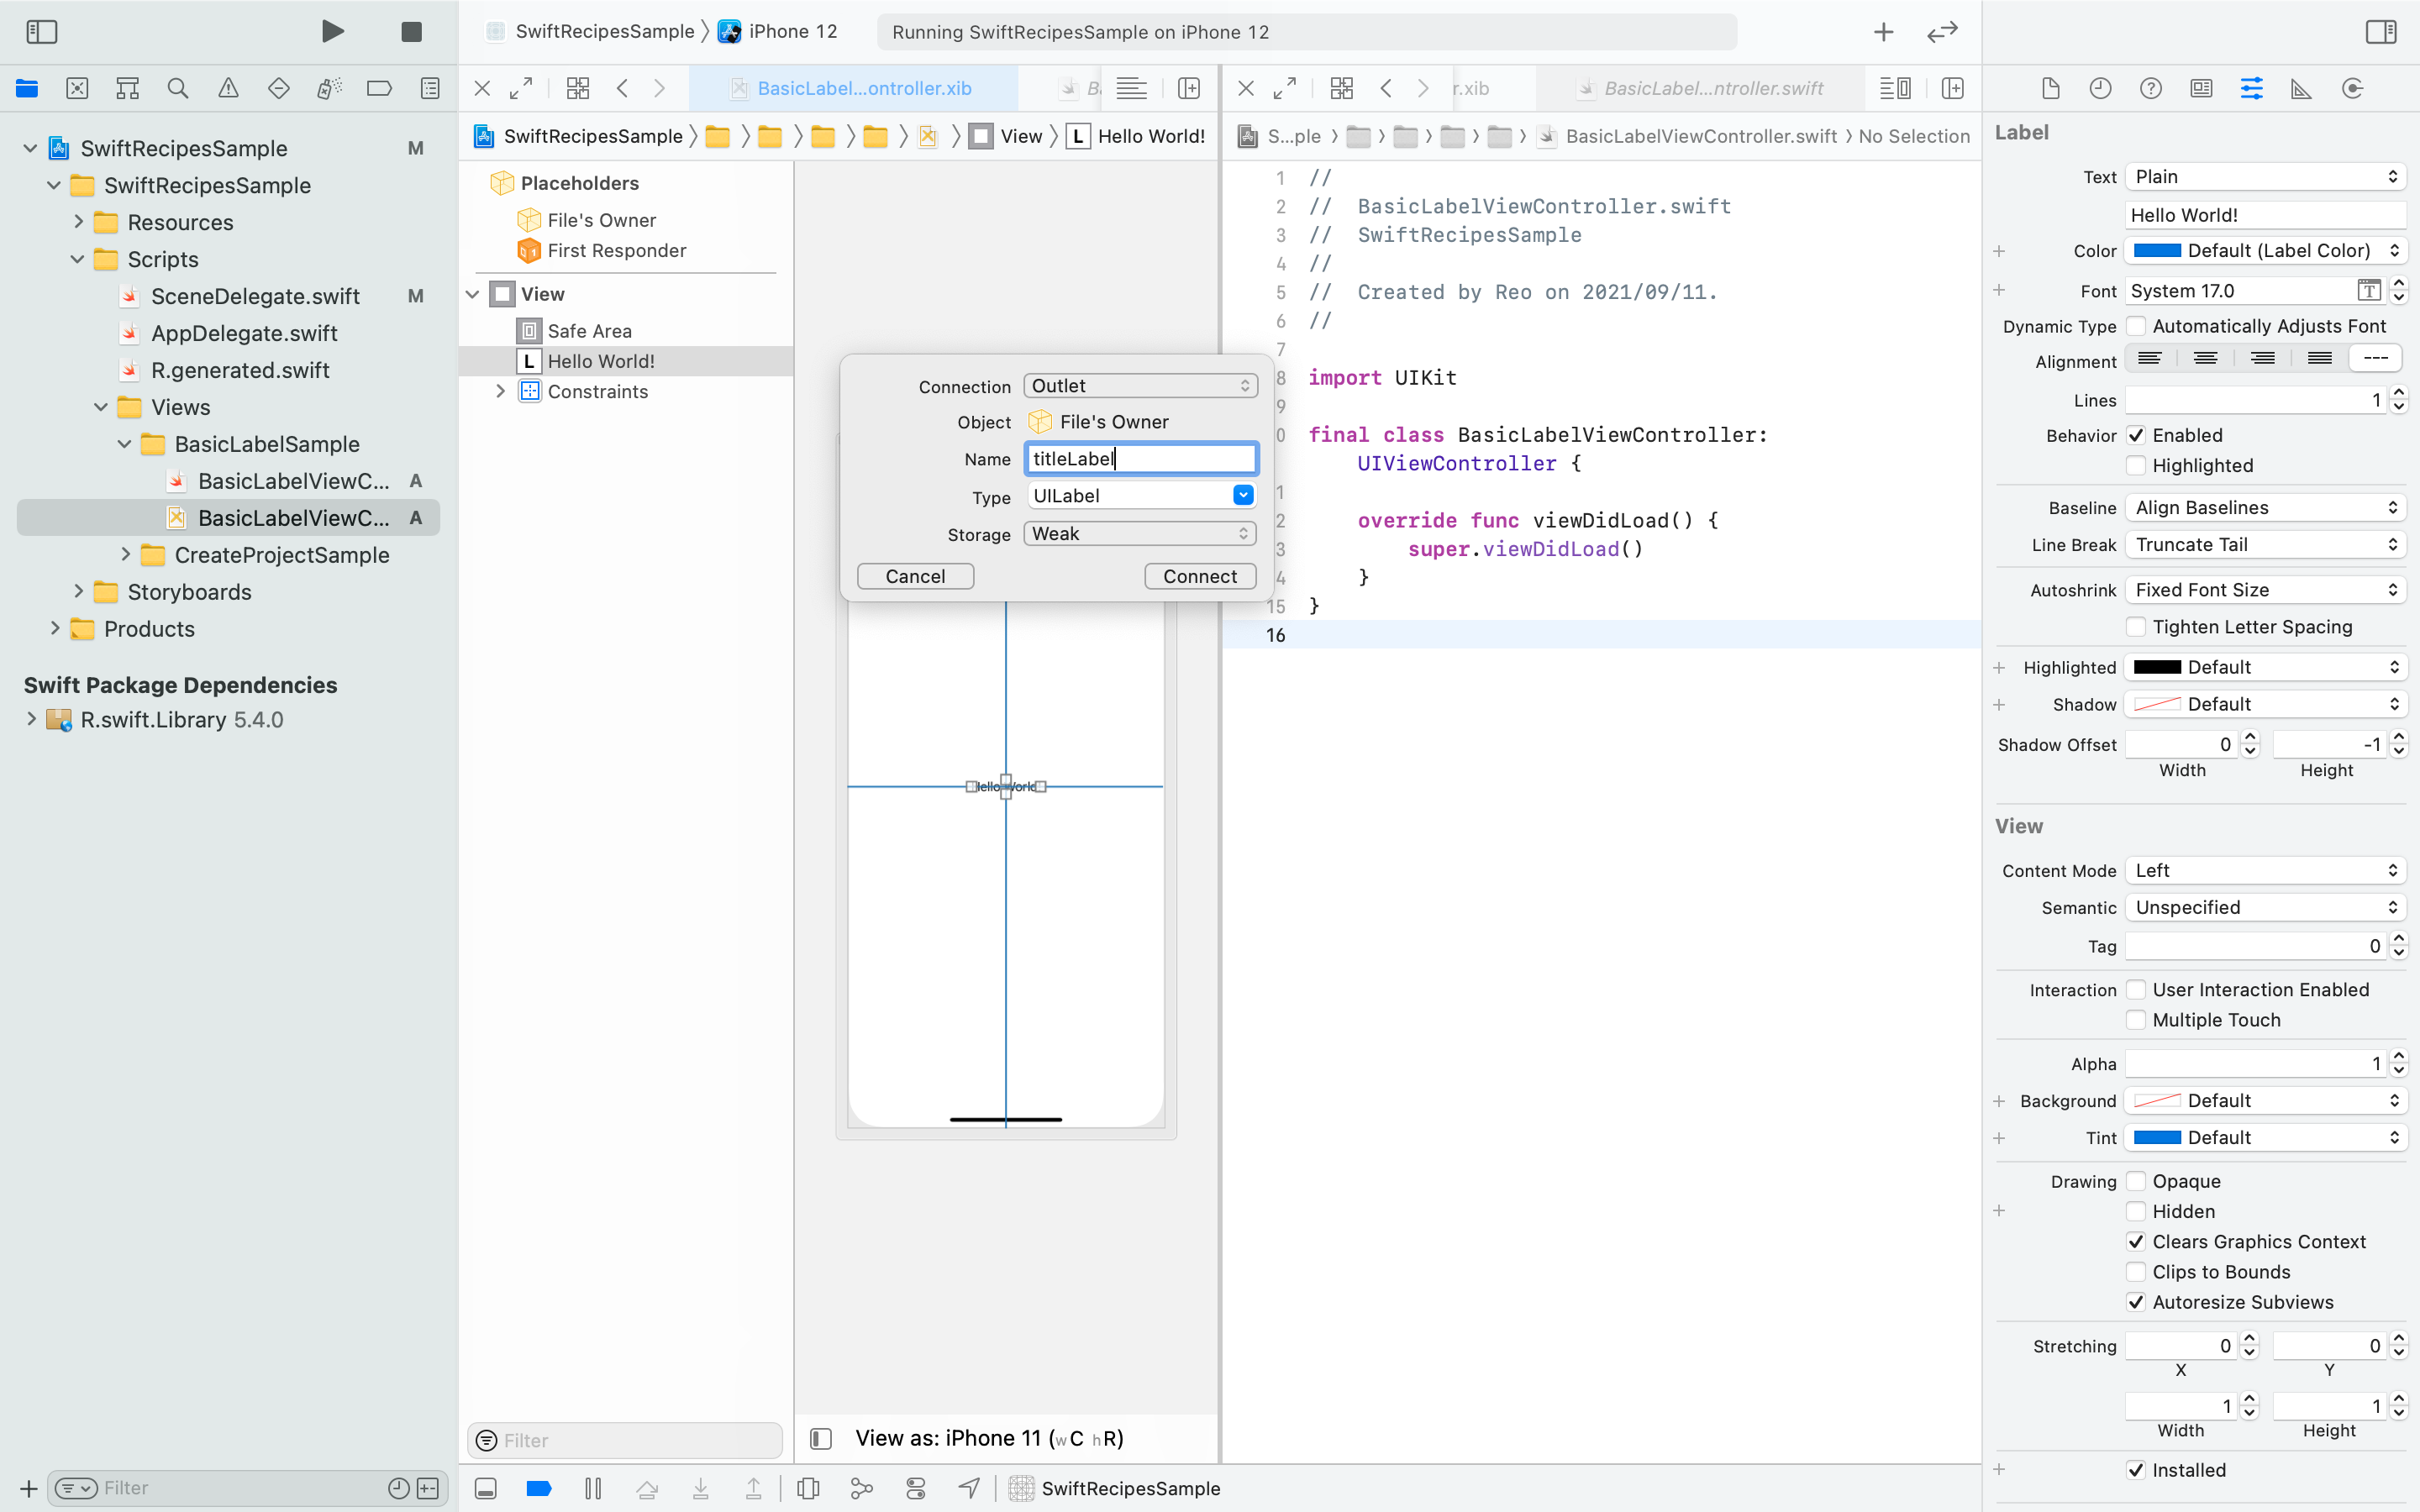
Figure 10
This completes the connection with the code.
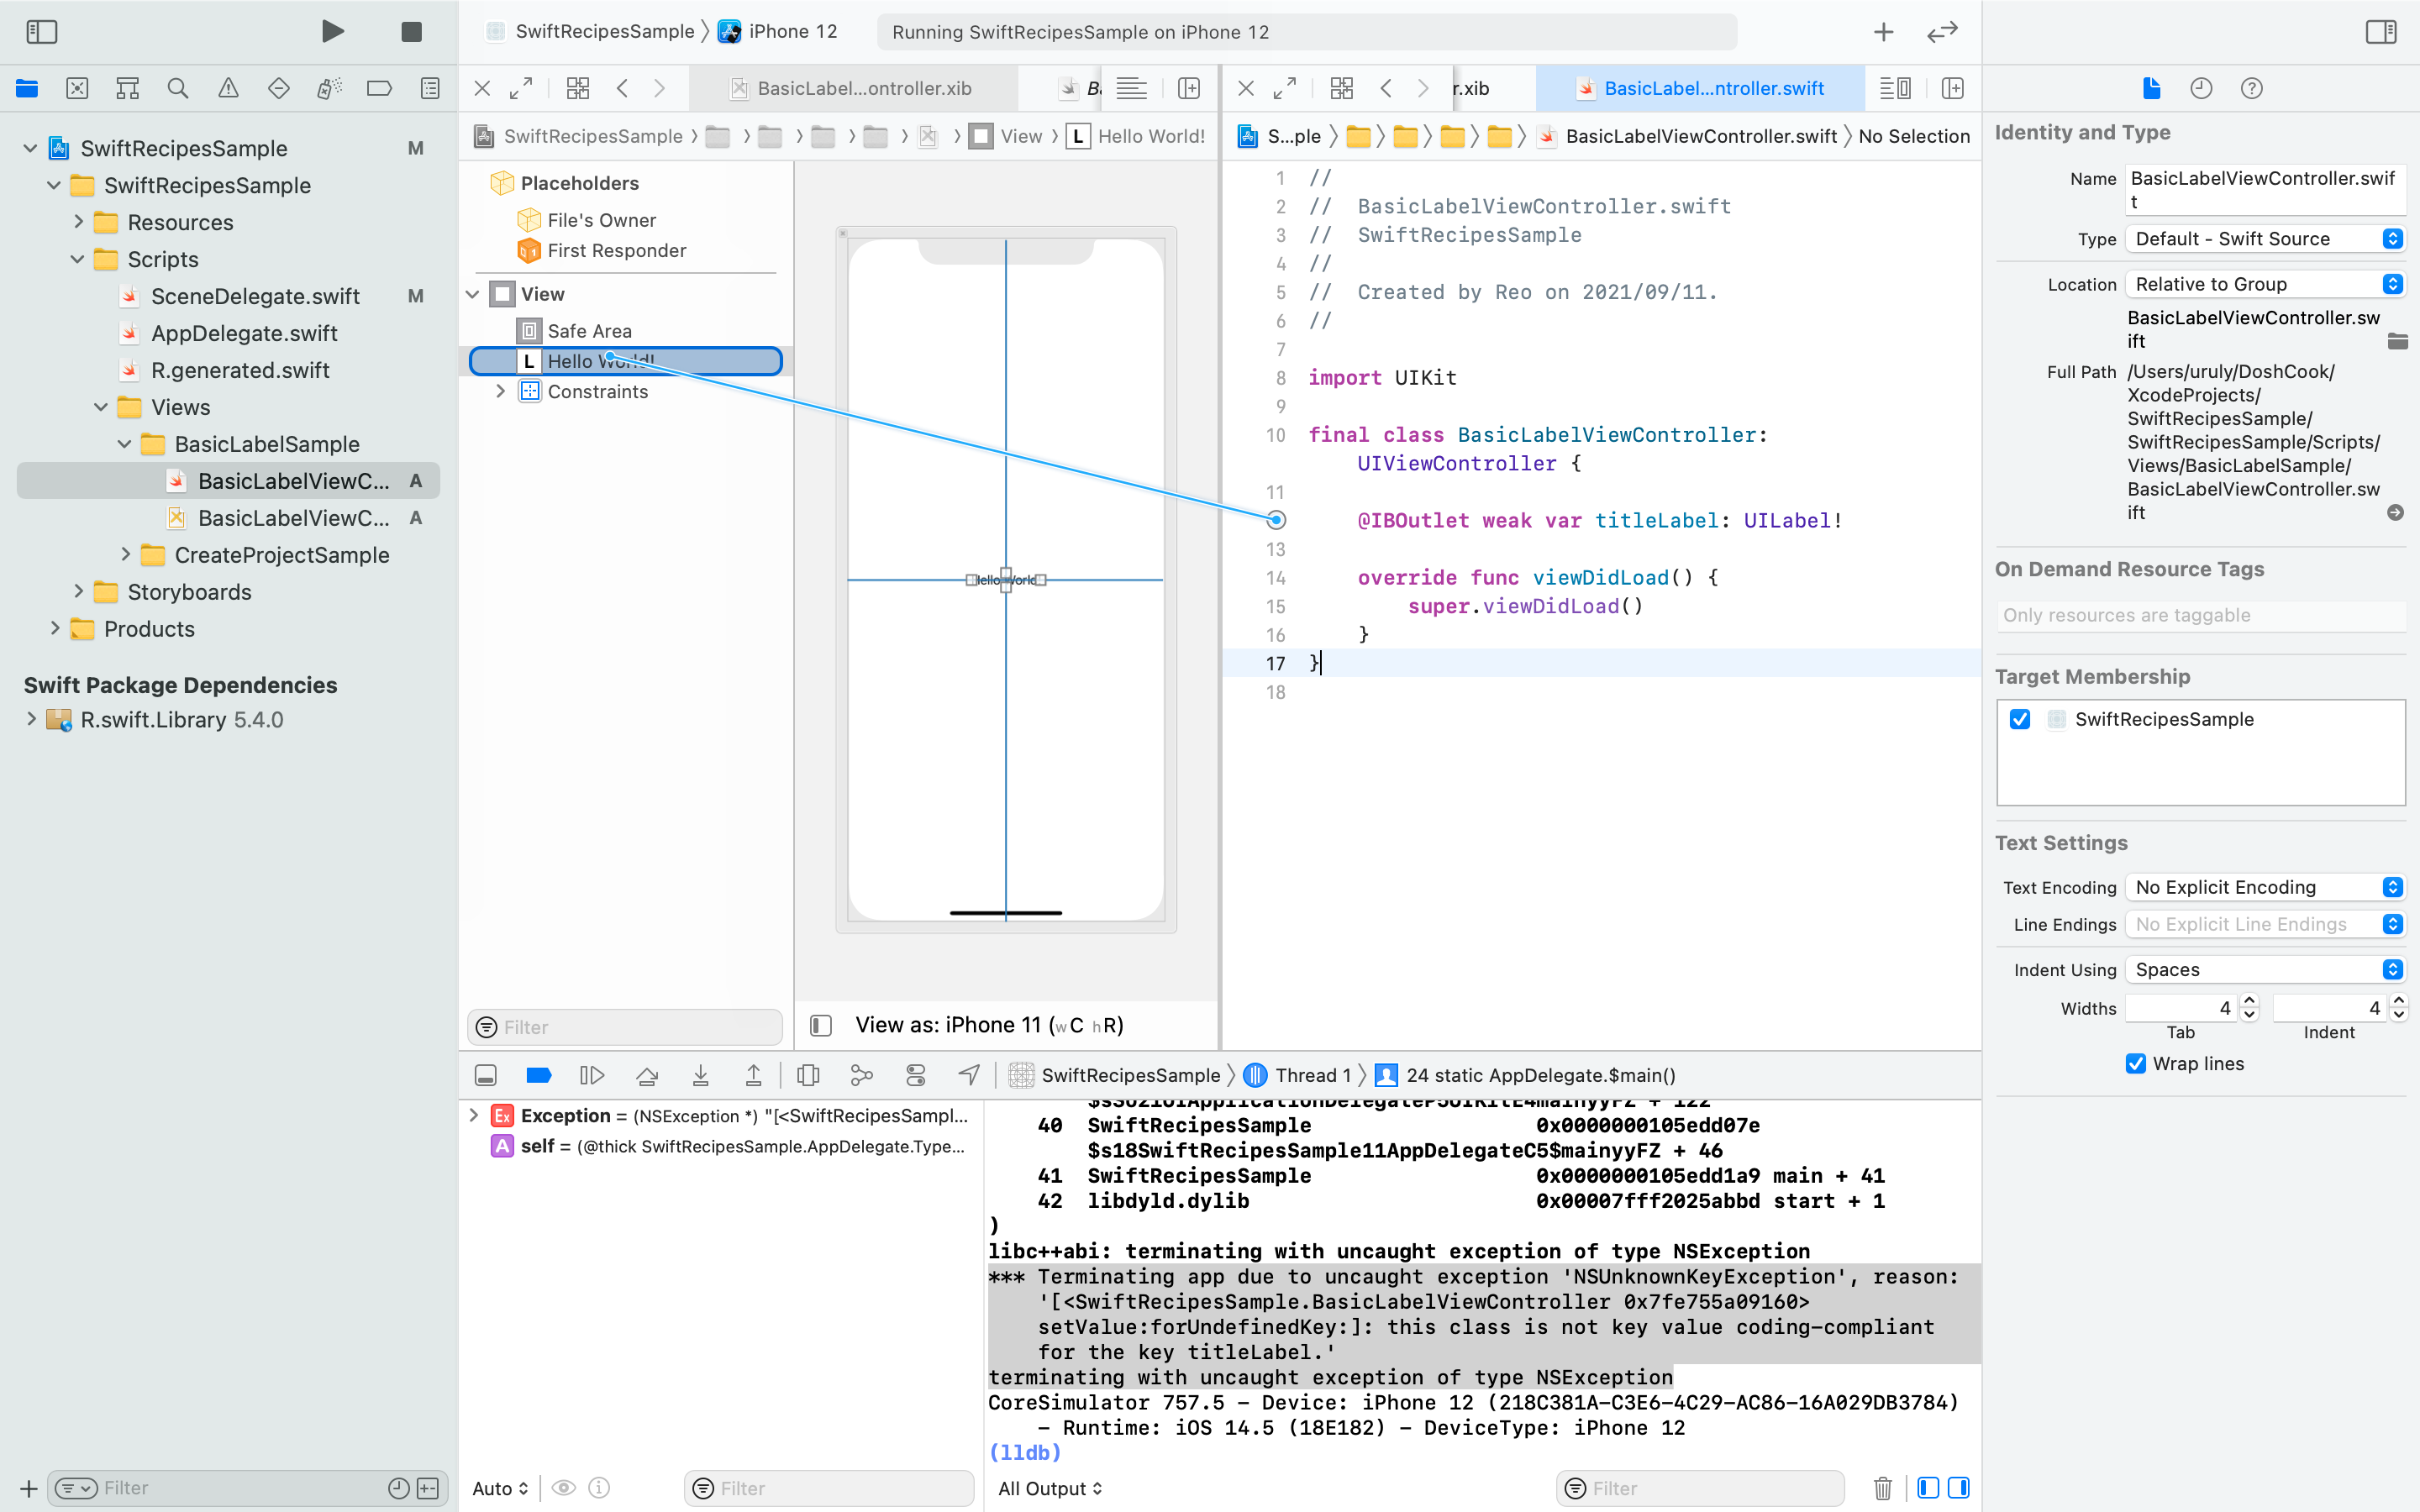
Wrong name! To reconfigure
If you have made a mistake in the name of the label, you will need to reconfigure it. If you change only the name of the code directly, you will get the following error, and it will crash.*** Terminating app due to uncaught exception 'NSUnknownKeyException', reason: '[<SwiftRecipesSample.BasicLabelViewController 0x7fe755a09160> setValue:forUndefinedKey:]: this class is not key value coding-compliant for the key titleLabel.'
terminating with uncaught exception of type NSException
In such a case, it is necessary to unlink them on XIB.
Open the .xib file, select File's Owner, press the Show the Connections inspector icon on the right side, and press X to remove the Outlets ⚠️.
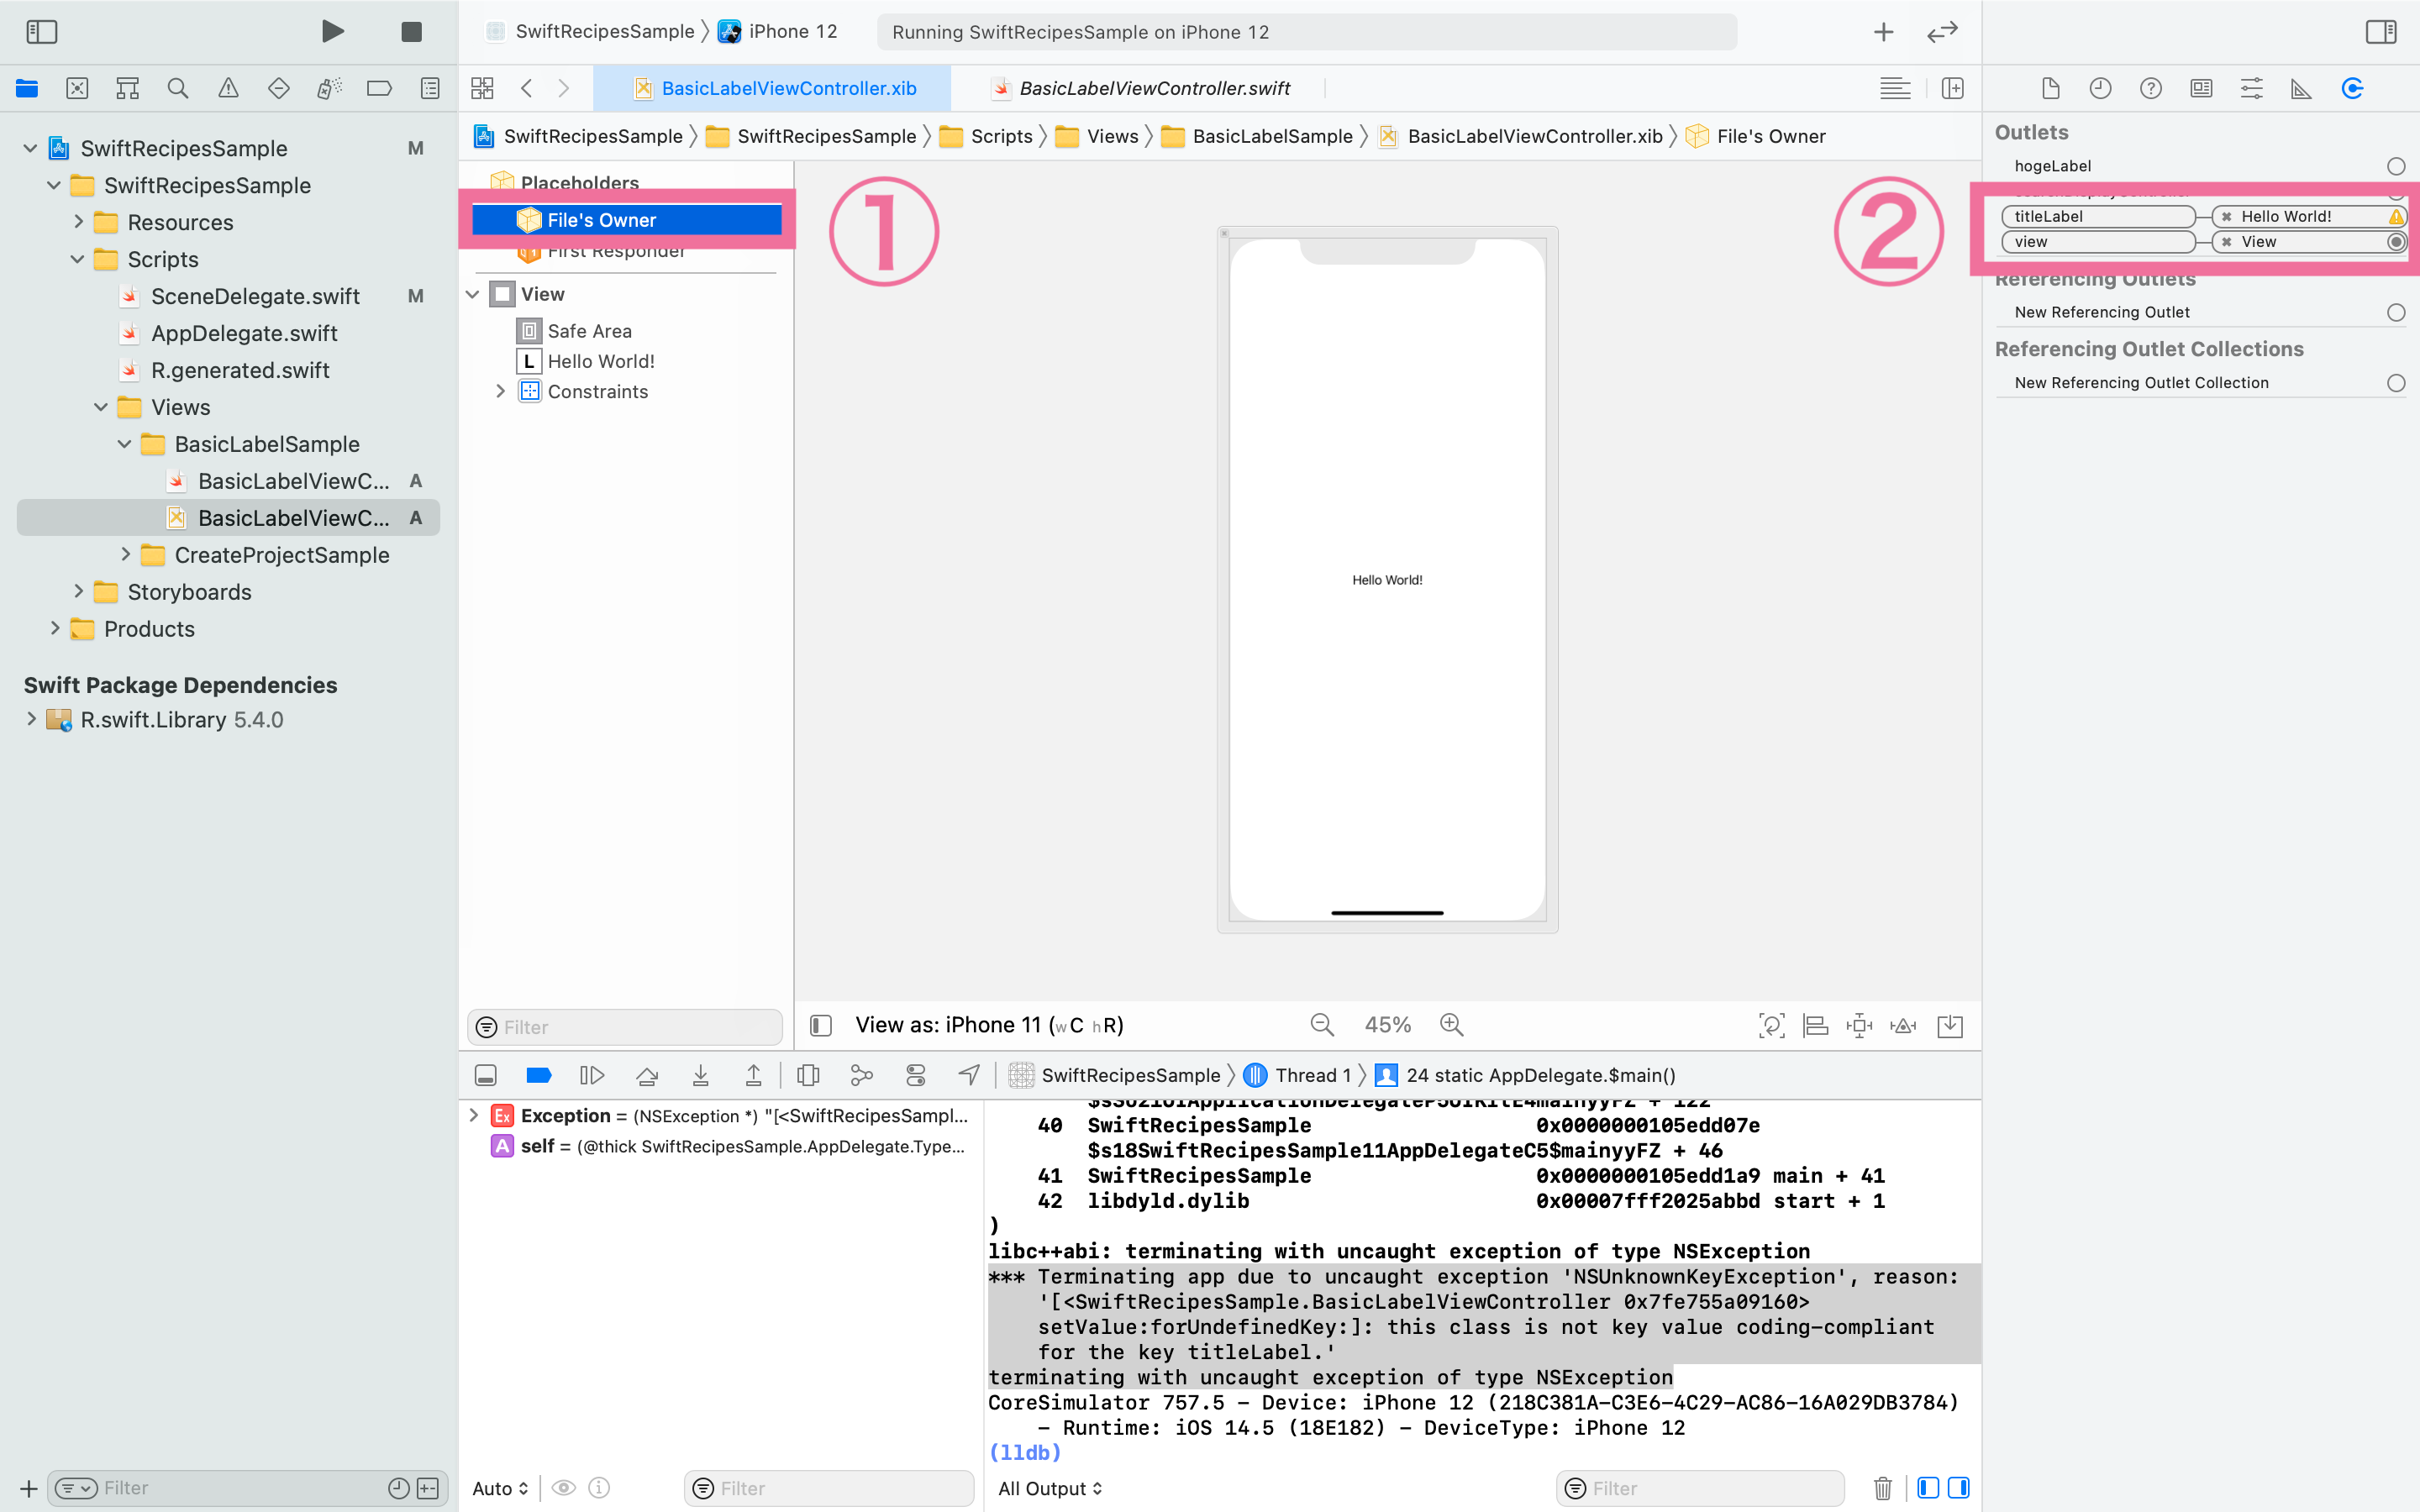
Then, please follow the above steps again to connect.
It can also be connected by pulling from the code side. (From the figure below).
Let's set up multiple labels.
Let's place the second label. The next label will be named descriptionLabel. This will be placed 8px below the titleLabel.
-
Place to XIB
Follow the same steps as the first one to place it in the XIB. Drag and drop it roughly where you want to place it. (Figure 11)
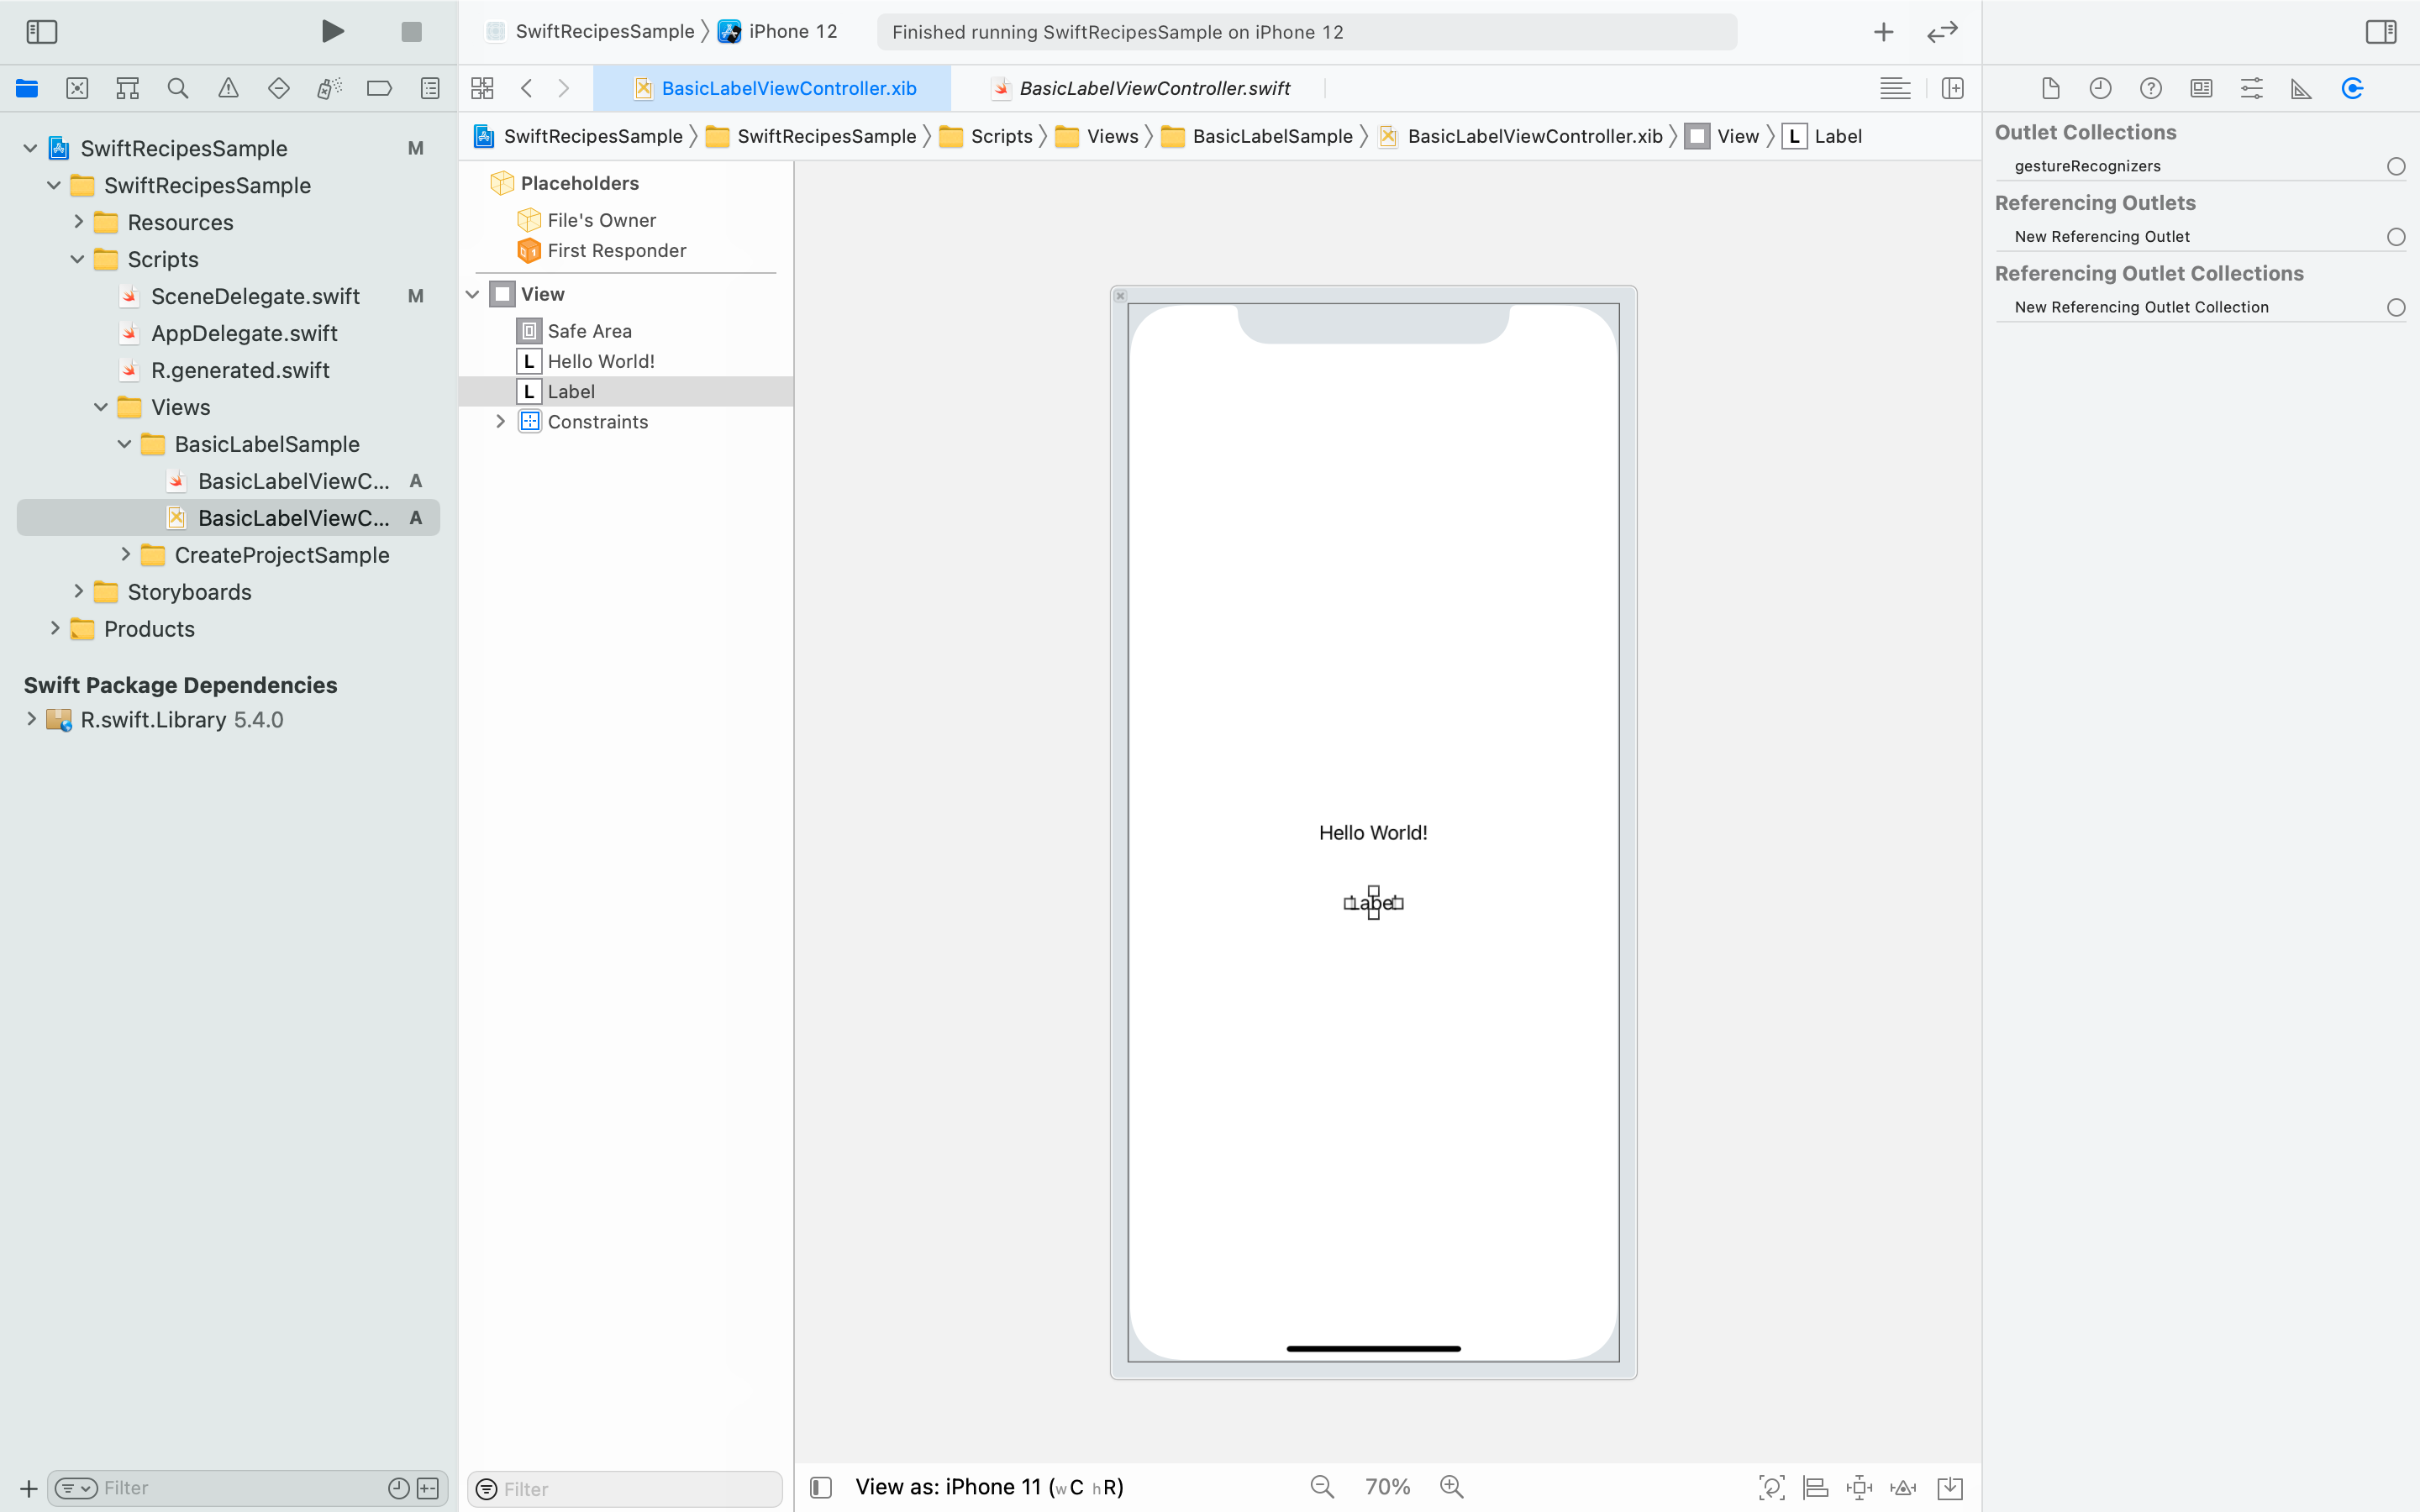
Figure 11 -
Add a vertical constraint.
Next, press the
Add New Constraintsicon at the bottom of the screen to configure the AutoLayout settings. Since we want to place it 8px below thetitleLabel, we will add the upper constraint as shown in Figure 12.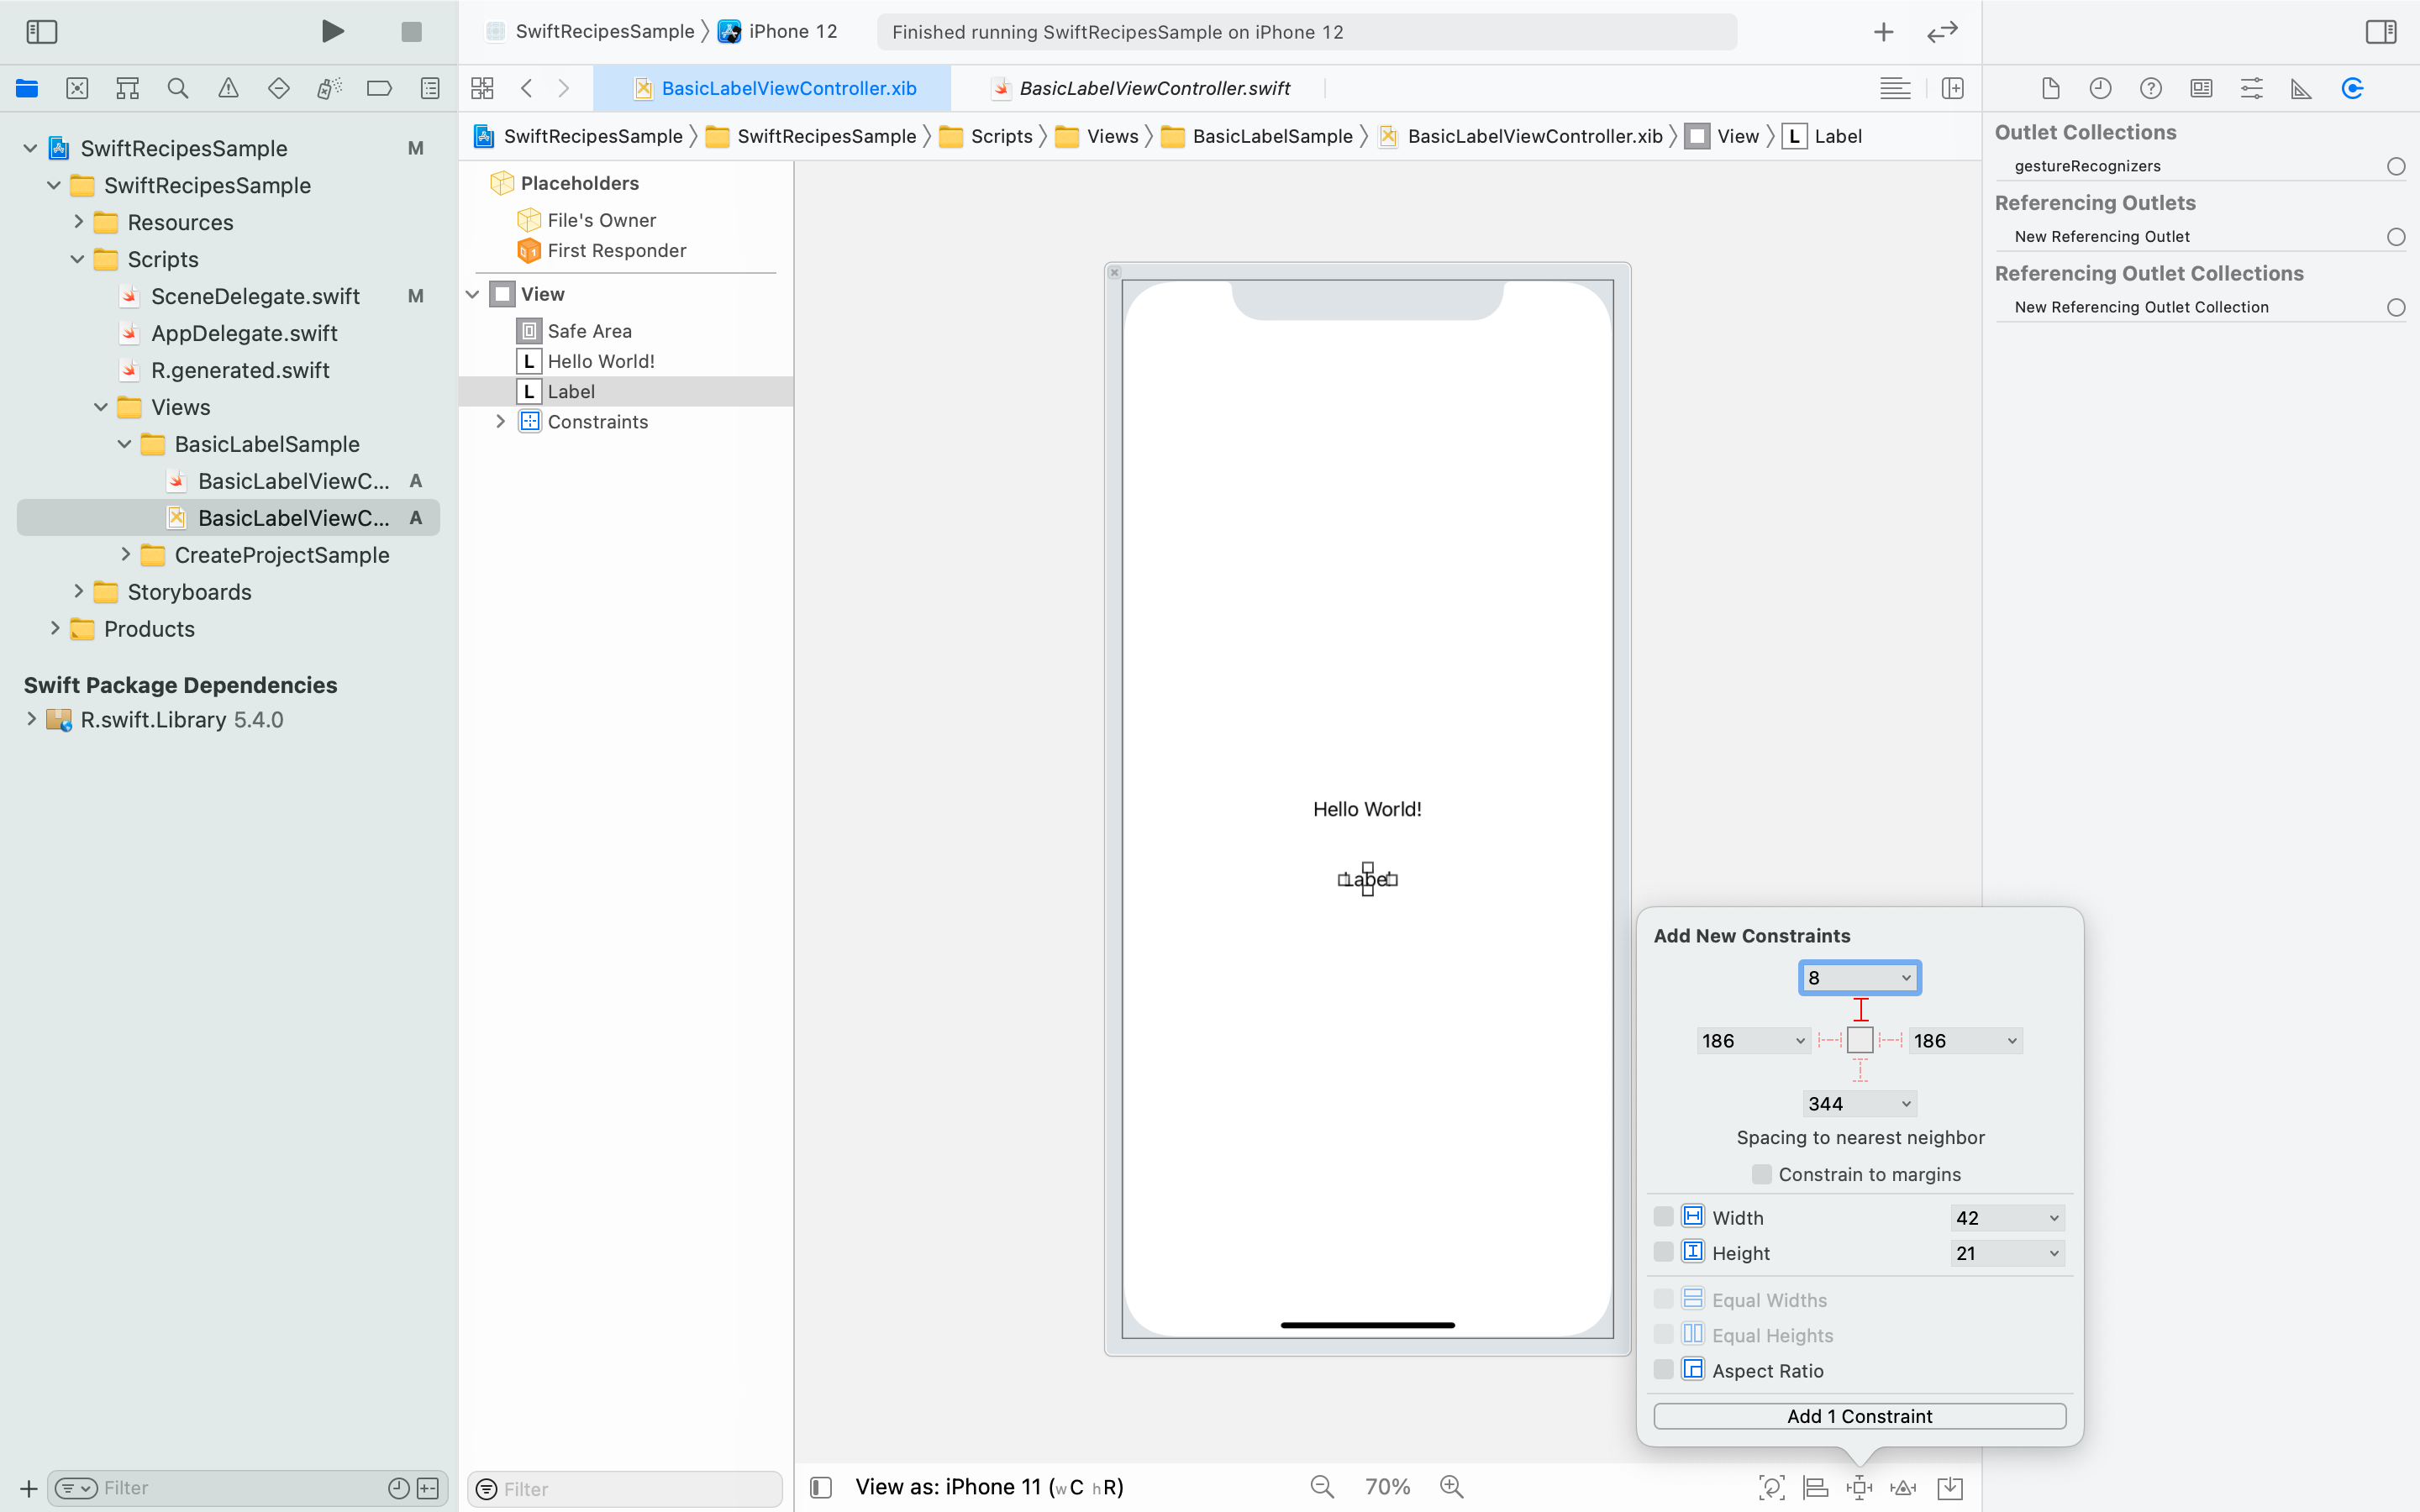
Figure 12When adding constraints, make sure you select the target view.(Figure 13)
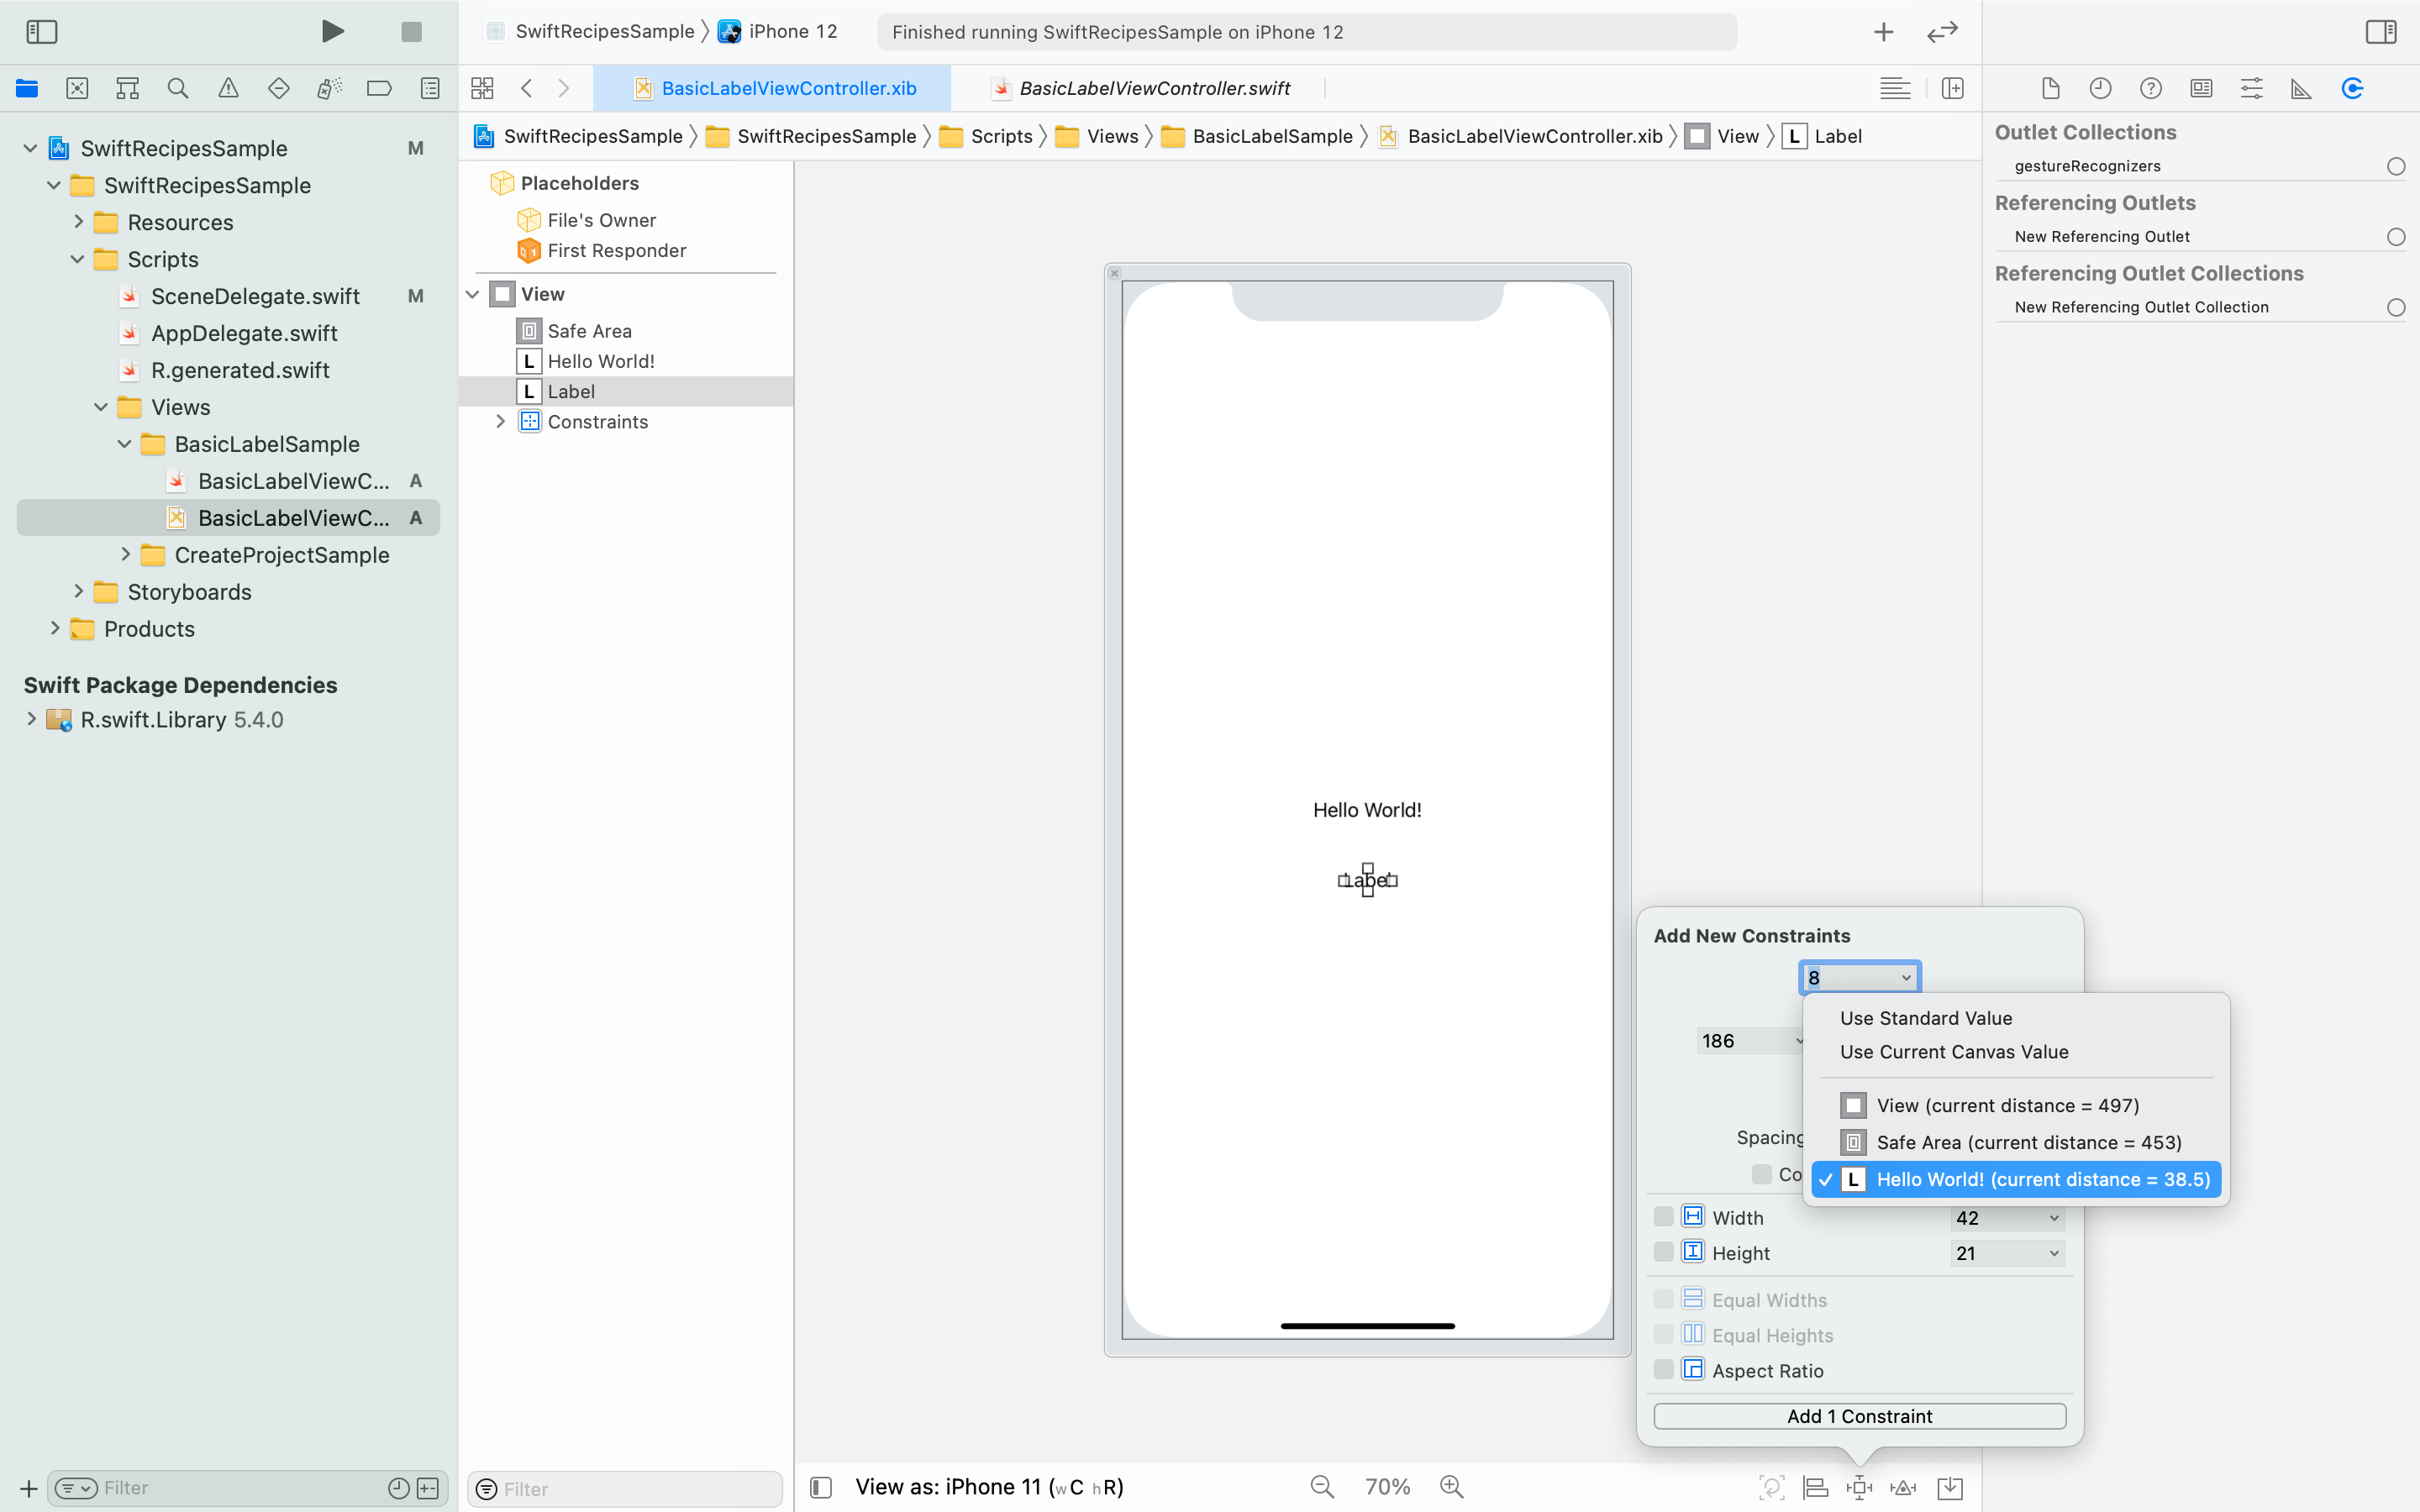
Figure 13 -
Add a horizontal constraint.
Finally, let's add a horizontal constraint.
You can set the margins on the left and right sides of the screen in Figure 12, but this time we will specify the center of the screen.Check the
Horizontally in Continercheckbox from theAlignicon. (Figure 14)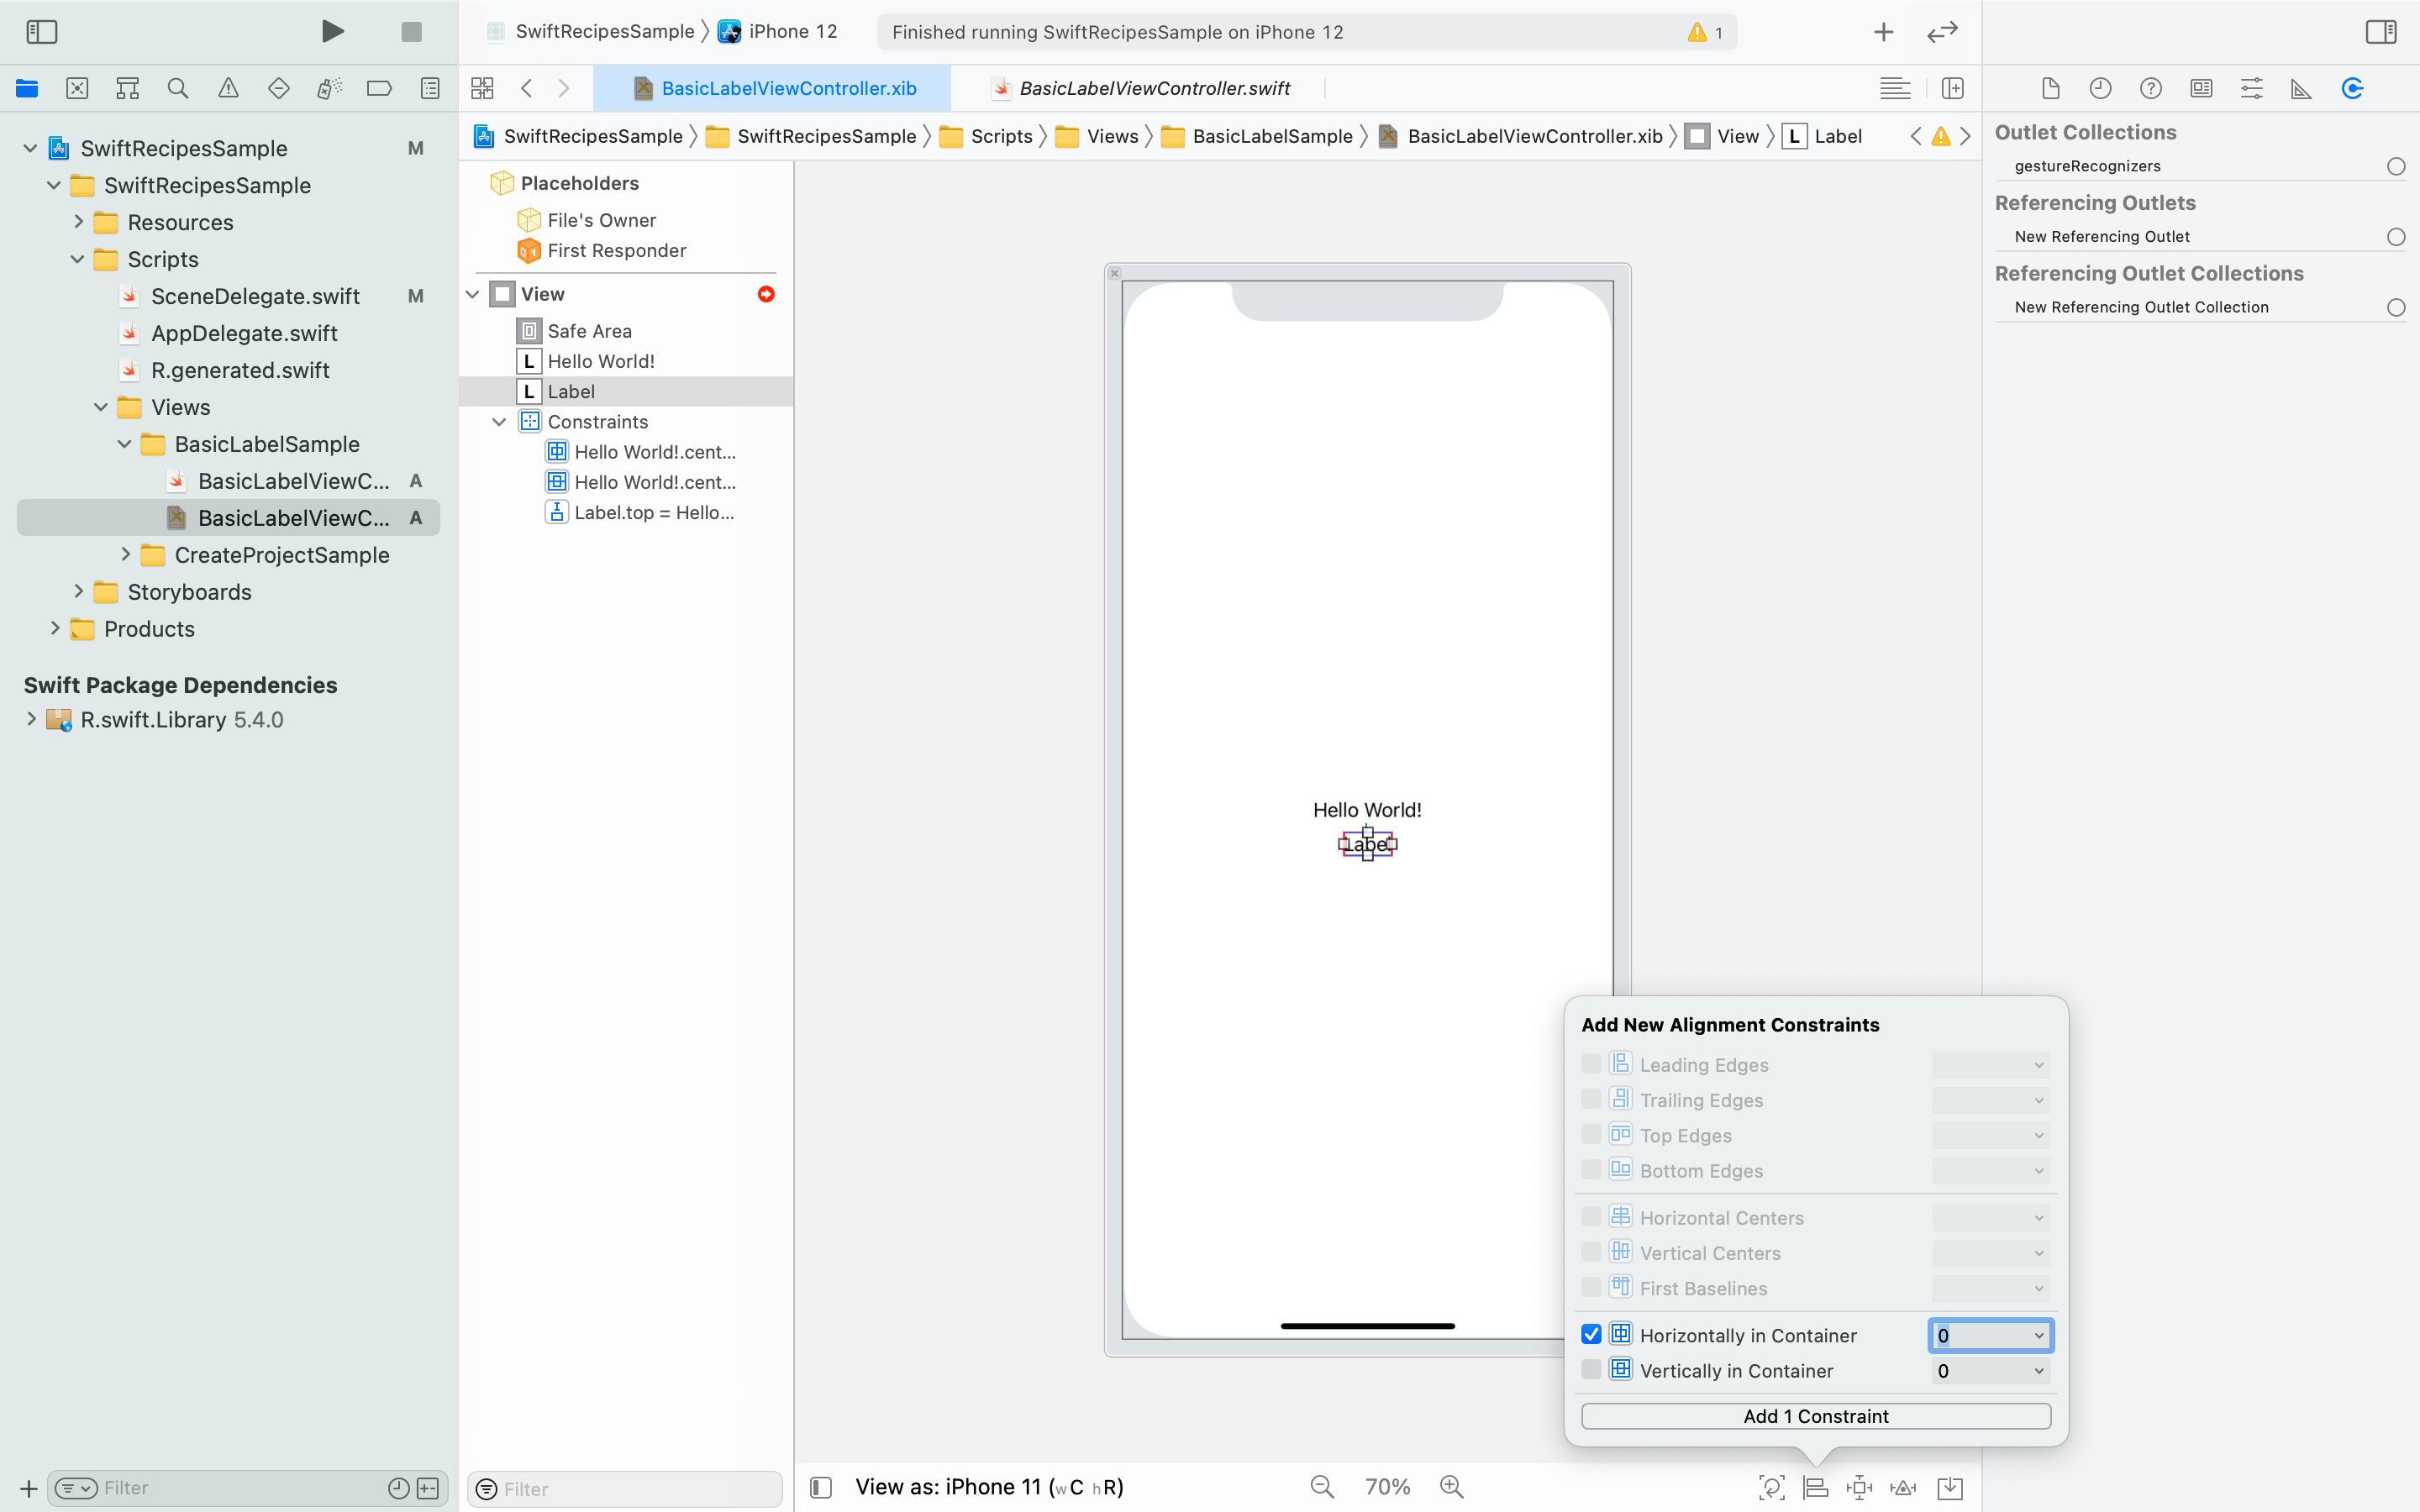
Figure 14
This completes the placement of the second label.
If you don't need to configure on the code, you don't need to connect it.
Adjusting the layout
First, let's increase the font size of the titleLabel.
Select "Hello World" on the XIB, and change the font from the Show the Attributes inspector icon. (Figure 15)
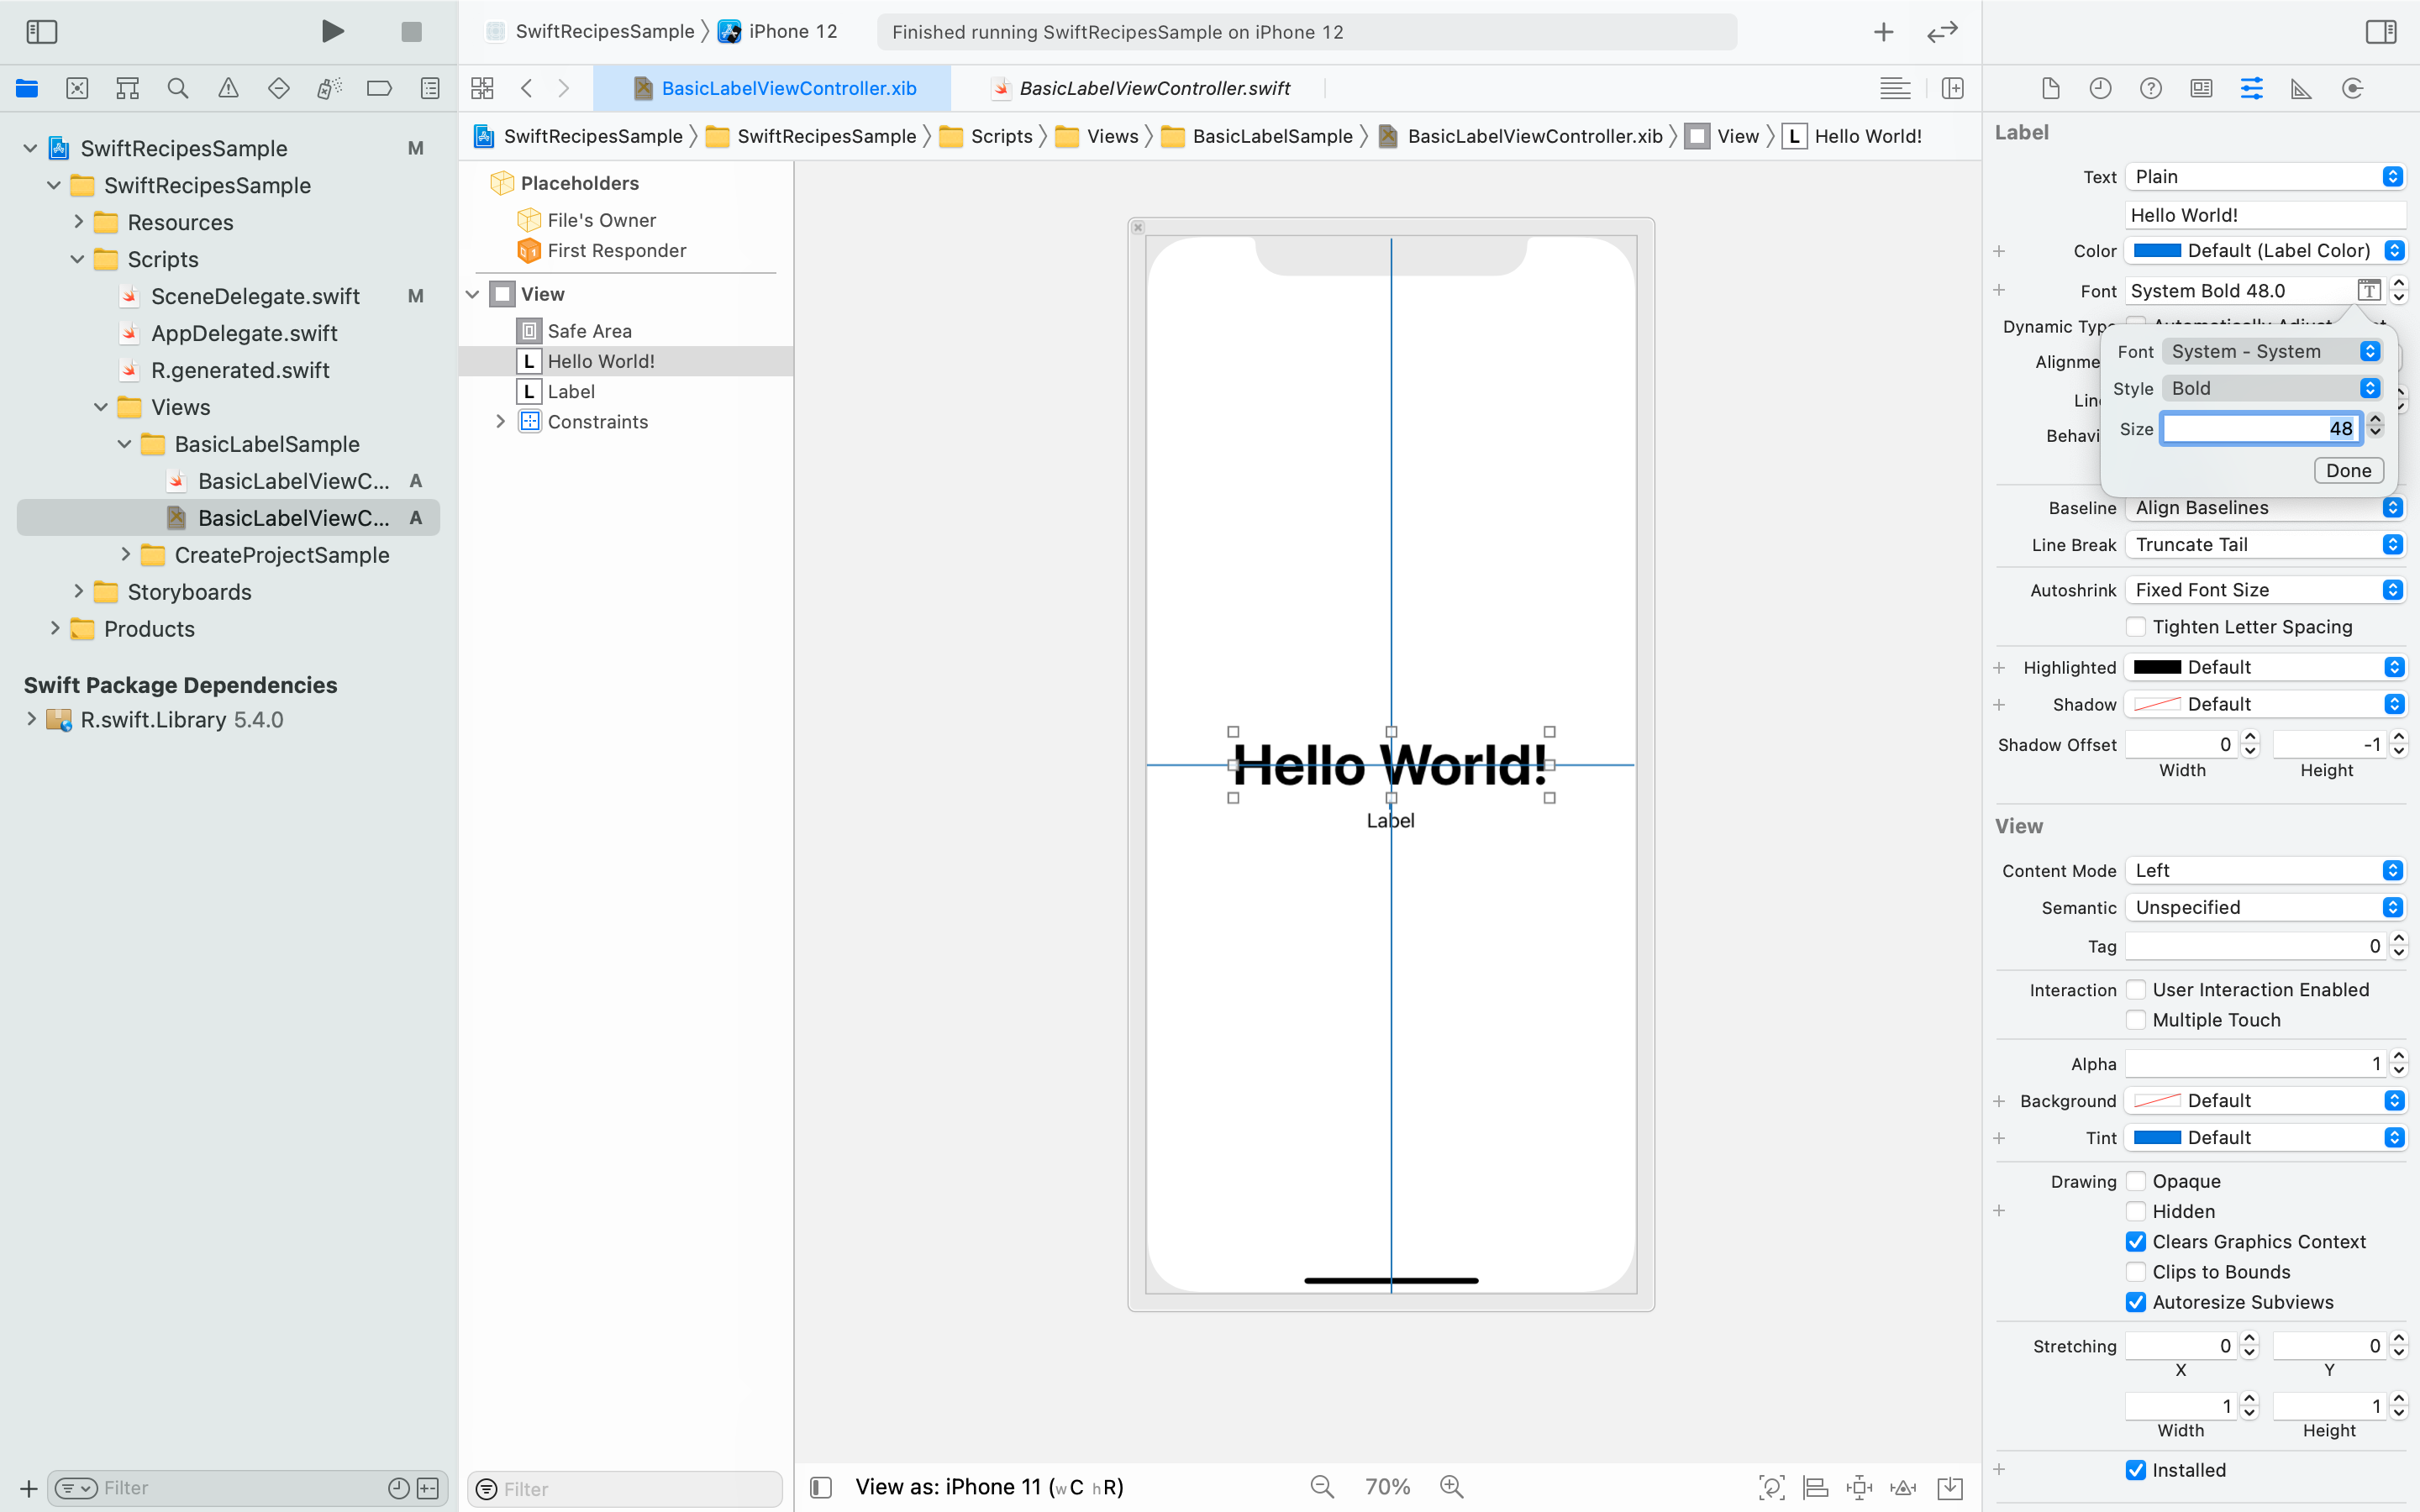
Figure 15
We also changed the text of the descriptionLabel to "Have fun with Swift!".
Finally, let's shift it slightly upward from the center of the screen. Select the horizontal line of the titleLabel and change the Constant from the Show the Attributes inspector icon on the right of the screen. (Figure 16)
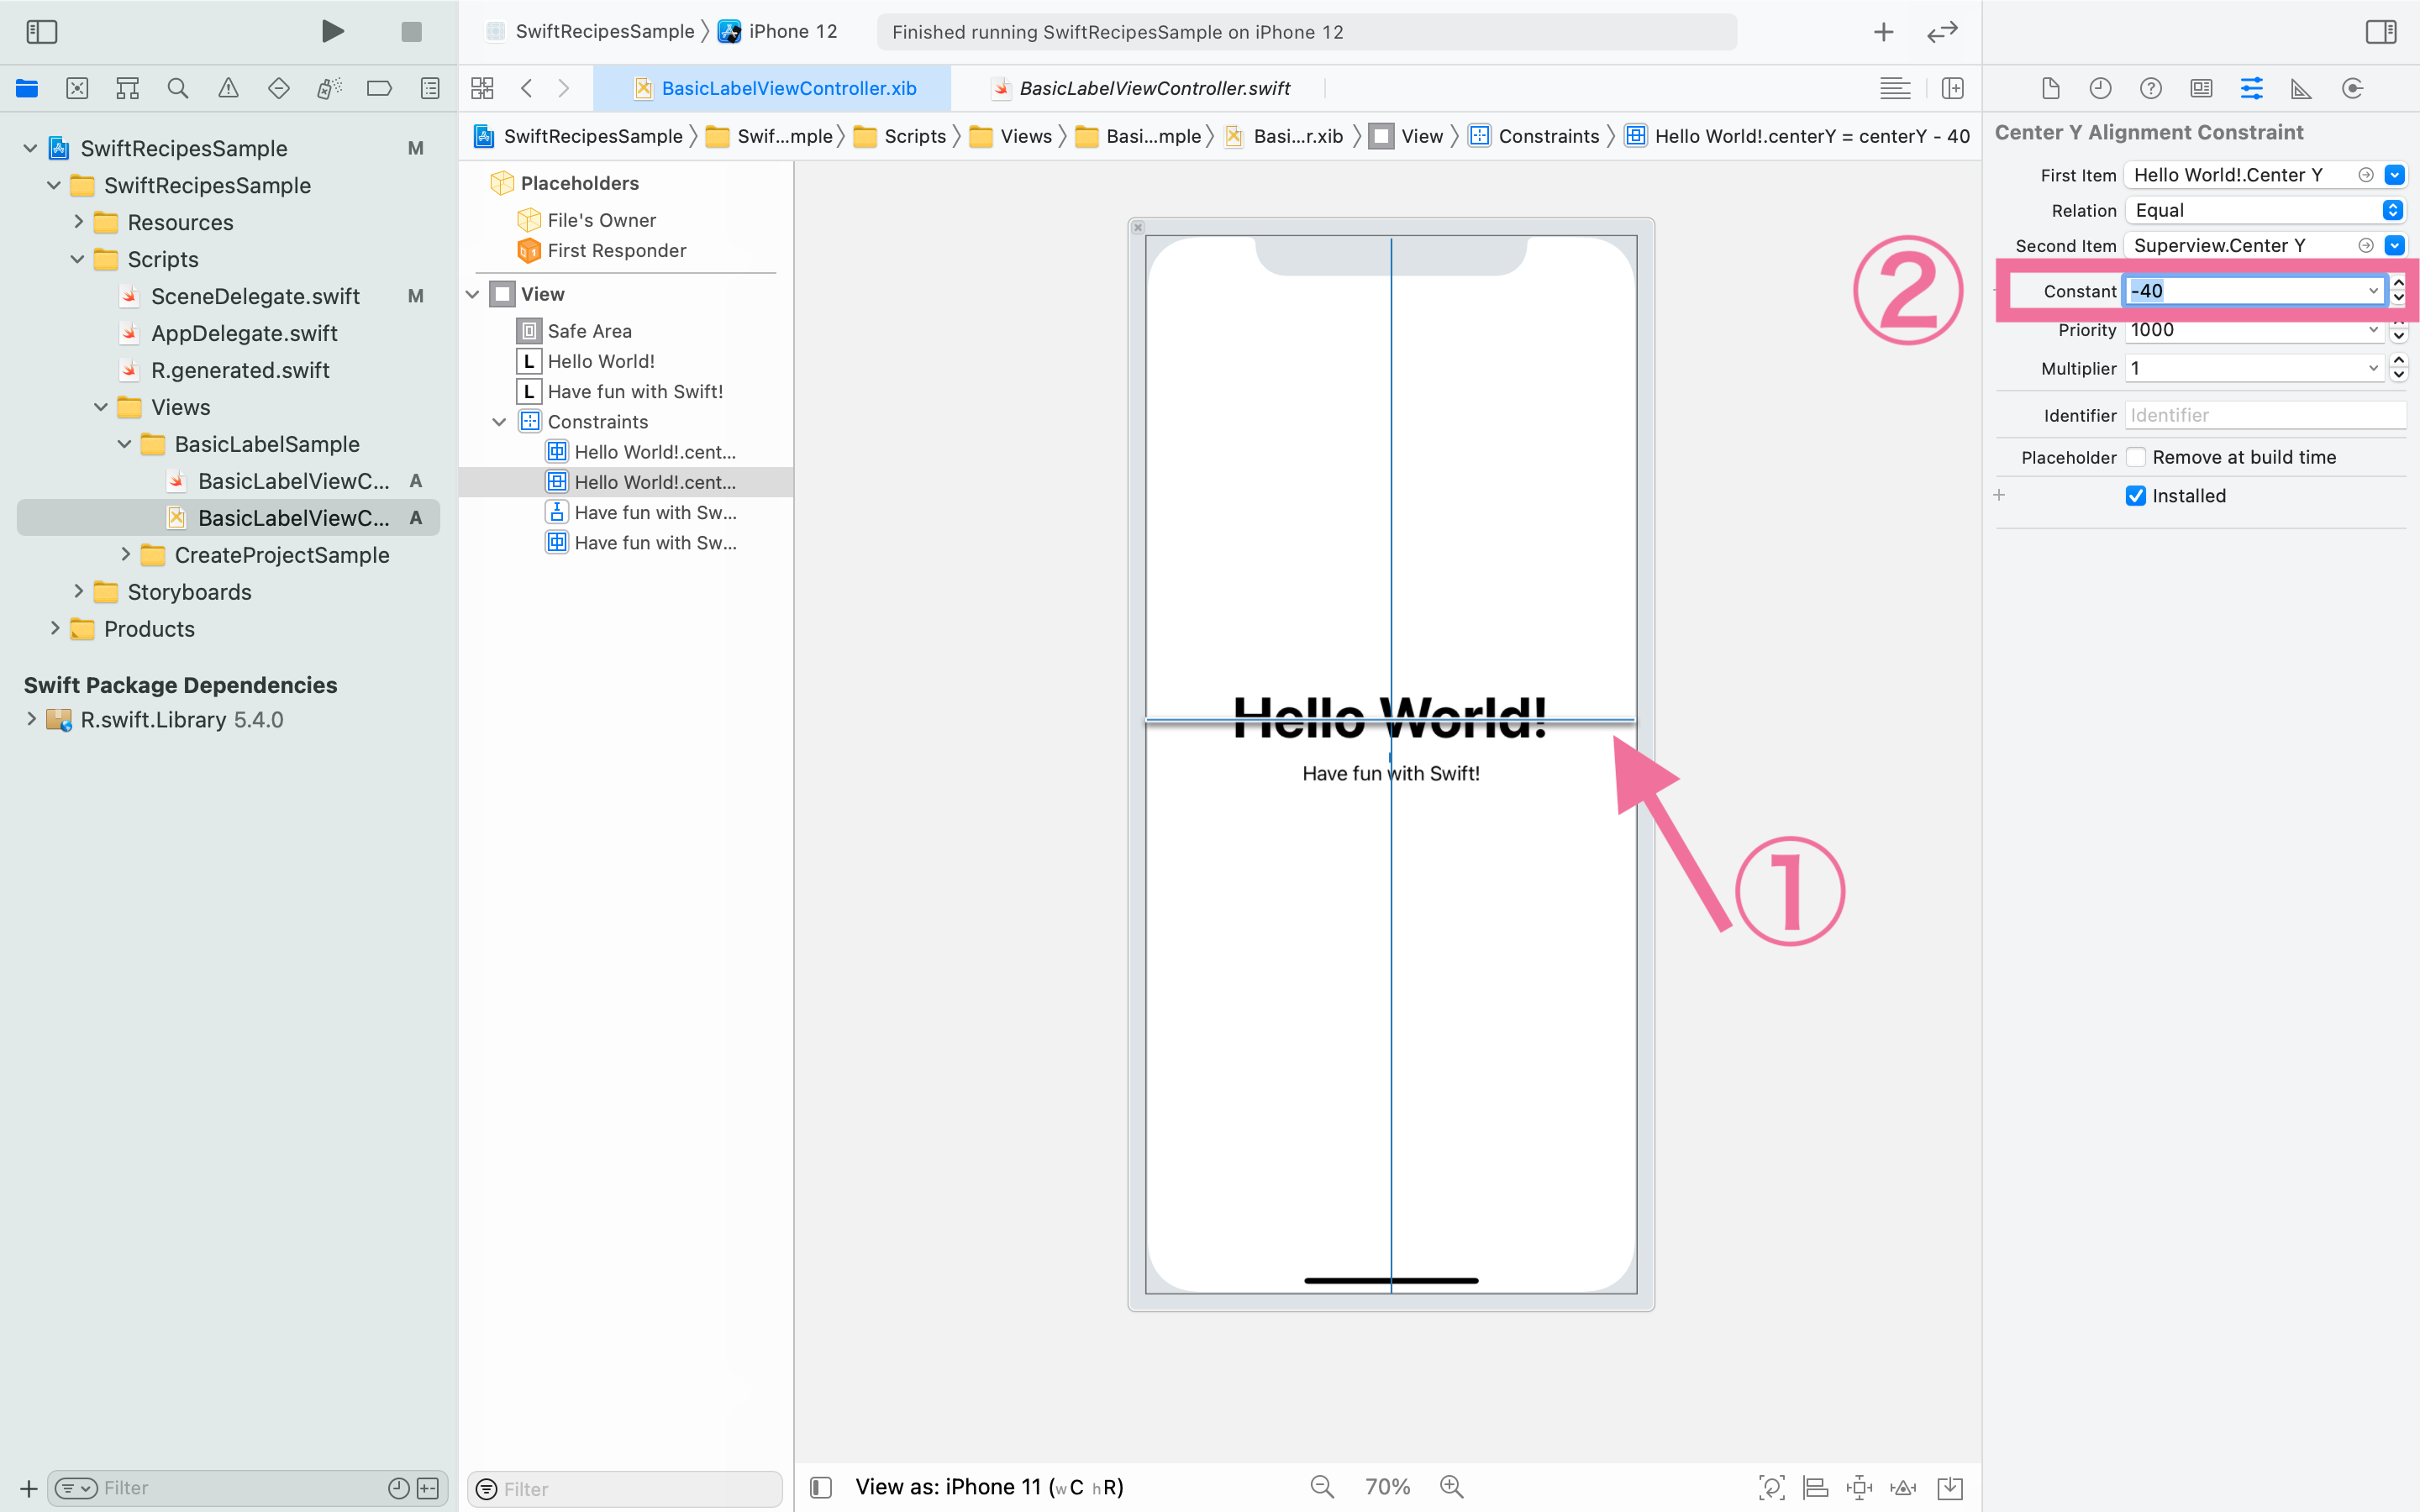
Figure 16
Connect multiple labels as an array
When connecting to the code, you can also put multiple labels together into an array.
-
Prepare an array with
IBOutletin the code as shown below.@IBOutlet private var labels: [UILabel] = [] -
Connect it to the label you want to put in the array. (Figure 17)

Figure 17 -
Check it is added to the
Outlet Collectionsof XIB. (Figure 18)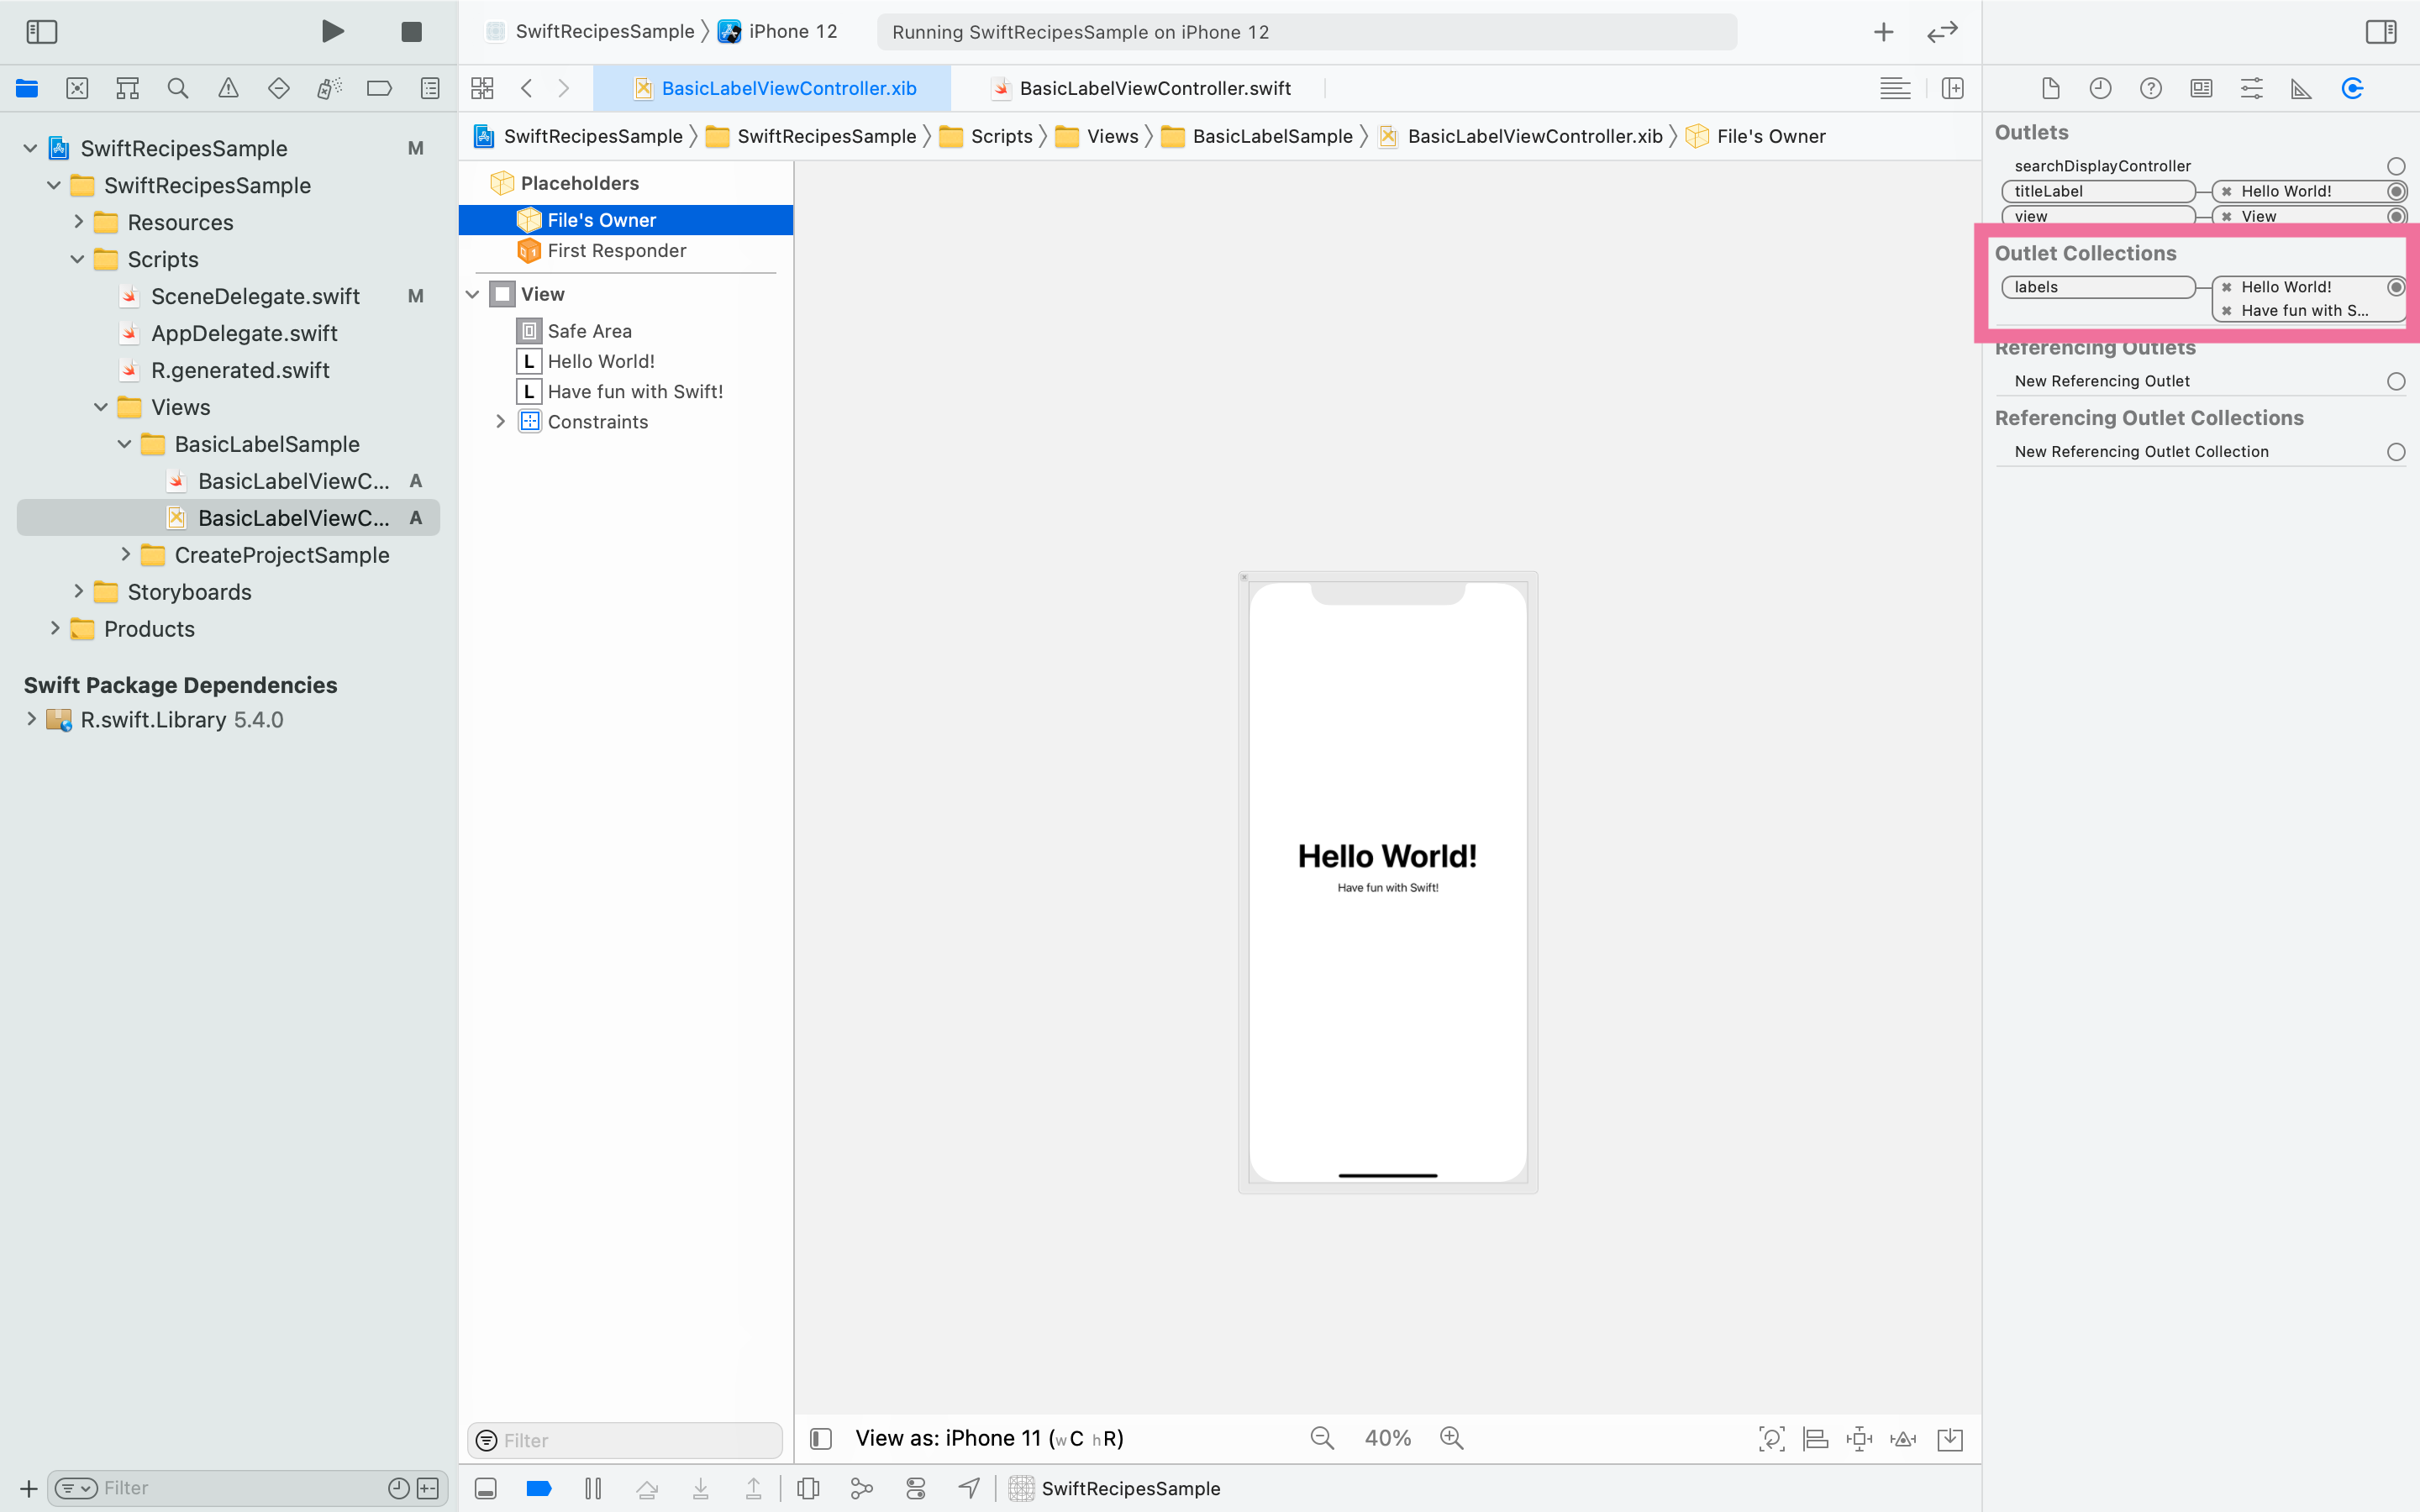
Figure 18 -
Let's change the color of the labels together in the code.
Use forEach to change the color of the labels all at once.
@IBOutlet private var labels: [UILabel] = []

override func viewDidLoad() {
    super.viewDidLoad()

    // Change the color of labels at once.
    labels.forEach {
        $0.textColor = .systemBlue
    }
}
This completes the purpose of this recipe.
Conclusion
These are the basics of how to place components using XIB.
If you use Storyboard, you can use Interface Builder to connect to the code in the same way.
The usage for each component will be added in the future.